Diy Wood Truck Bed Cover
Want to upgrade your truck with a custom look? A diy wood truck bed cover offers durability, style, and full control over design. This guide walks you through materials, tools, construction steps, and finishing touches—so you can build a professional-looking cover without breaking the bank.
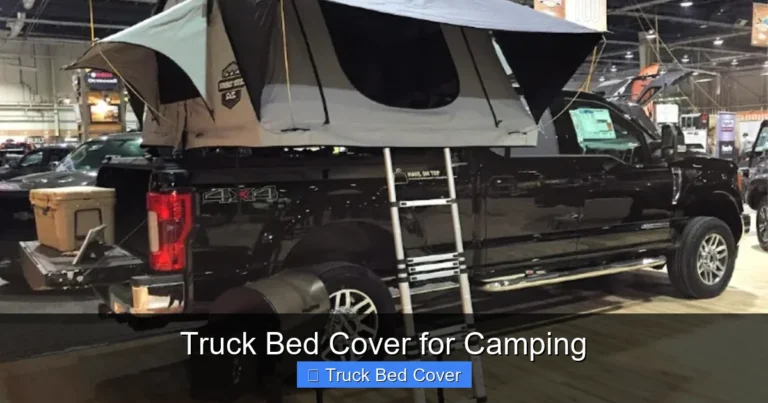
If you’ve ever wished your truck bed had a roof—without spending hundreds on a commercial hardtop—you’re not alone. Enter the diy wood truck bed cover, a clever blend of craftsmanship, functionality, and rugged aesthetics. Whether you’re hauling gear for a weekend camping trip, protecting sensitive equipment, or just want that classic truck look, building your own wooden cover is a rewarding project. It’s affordable, customizable, and gives you complete control over every detail. Plus, nothing says “man cave” like a handcrafted wooden lid sitting proudly atop your pickup.
Before diving in, it’s important to understand what makes a great diy wood truck bed cover. It’s not just about nailing some boards together. You need the right materials, precise measurements, and attention to weatherproofing. But don’t worry—this guide breaks everything down into simple steps anyone can follow. From selecting wood to sealing the final coat, we’ll walk you through it all. By the end, you’ll have a cover that looks great, performs well, and holds up for years to come.
Key Takeaways
- Custom Design: A diy wood truck bed cover lets you tailor size, shape, and finish to match your truck model and personal taste.
- Cost-Effective: Building it yourself saves money compared to buying pre-made metal or fiberglass covers.
- Durable Materials: Use pressure-treated lumber, marine plywood, or cedar for long-lasting performance in all weather conditions.
- Weather Protection: A well-built wooden cover shields your cargo from rain, snow, and UV damage.
- Easy Maintenance: Regular sealing and staining keep your cover looking new and extend its lifespan.
- Safety First: Always use proper lifting techniques and secure the cover firmly to prevent shifting during transport.
- Tool Essentials: Gather a circular saw, drill, level, clamps, measuring tape, and sandpaper before starting your project.
Quick Answers to Common Questions
Can I install a wooden bed cover on any truck?
Most standard pickup trucks can accommodate a DIY wooden cover, but measure carefully. Full-size, mid-size, and compact trucks vary in bed length and height. Ensure your chosen design fits within your vehicle’s specifications.
How heavy is a typical wooden truck bed cover?
A well-built diy wood truck bed cover usually weighs between 70 and 100 pounds. This is significantly lighter than metal or fiberglass options, improving fuel economy and reducing wear on your truck’s suspension.
Will wood rot in rainy climates?
Not if properly sealed. Use marine-grade plywood, pressure-treated framing, and high-quality exterior sealants. Reapply protective coatings every 2–3 years to maintain waterproofing.
Do I need special permits to modify my truck?
In most areas, adding a bed cover doesn’t require permits unless it alters emissions, height, or lighting. Check local regulations, especially if you plan to drive on highways or tow trailers.
Can I paint my wooden bed cover?
Yes! Paint provides extra protection and lets you customize the color. Use exterior-grade primer and enamel designed for wood. Sand lightly between coats for best adhesion.
📑 Table of Contents
Why Choose a Wooden Truck Bed Cover?
Wood has a timeless appeal that metal or fiberglass can’t quite match. There’s something satisfying about seeing knots, grain patterns, and natural textures in your truck bed. A diy wood truck bed cover isn’t just functional—it’s a statement. Whether you’re into rustic farm-style rigs or modern minimalist builds, wood offers endless styling possibilities.
Another big advantage is weight. While steel or aluminum covers are strong, they’re also heavy. A wooden cover is lighter, which means better fuel efficiency and less strain on your truck’s suspension. That said, wood does require more maintenance than metal, but with proper sealing and care, it can last a decade or more.
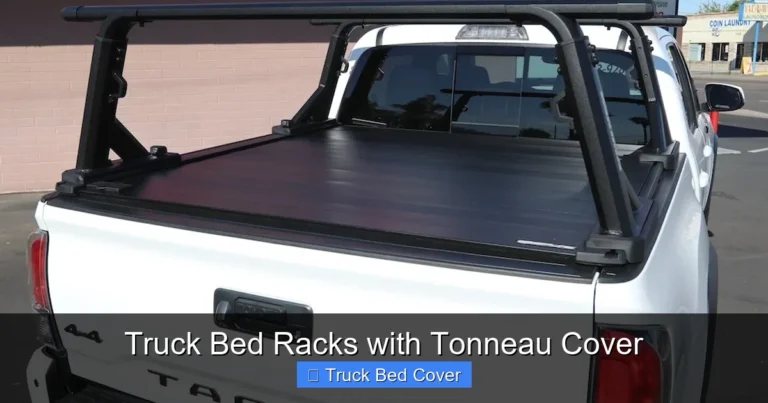
And let’s talk customization. With a DIY approach, you can add features like built-in toolboxes, LED lighting mounts, tie-down points, or even a flip-up rear panel. No off-the-shelf solution gives you that kind of freedom.
Essential Tools and Materials

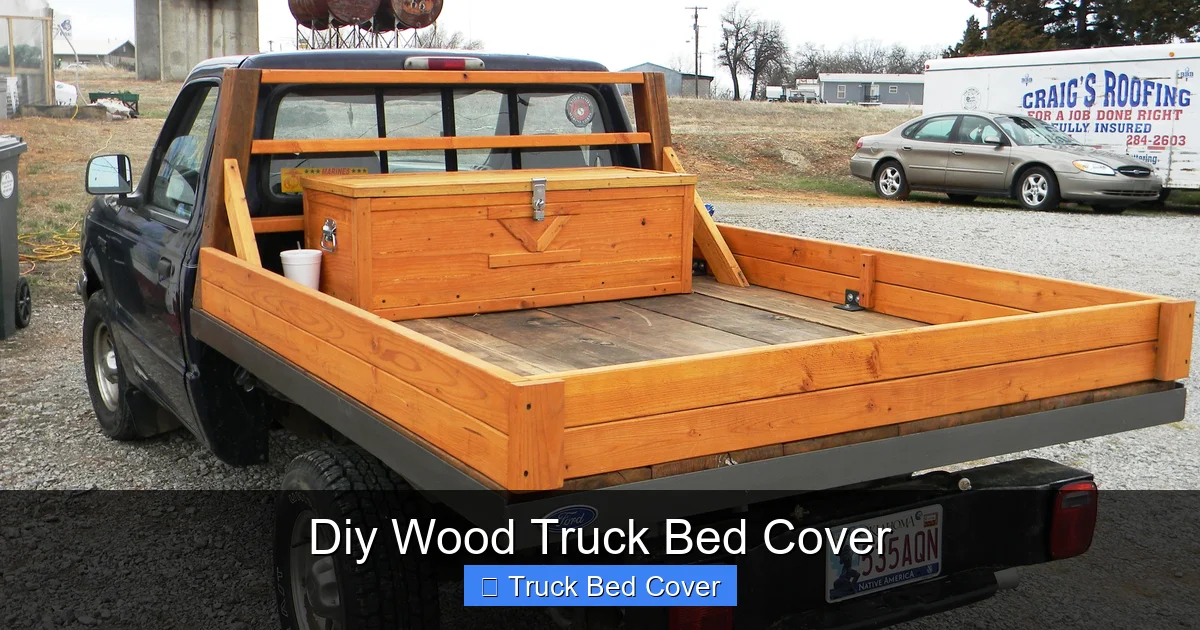
Visual guide about Diy Wood Truck Bed Cover
Image source: diyncrafty.com
Before you start cutting wood, gather your toolkit. You don’t need expensive machinery—just basic hand and power tools most people already own.
Tools You’ll Need
- Circular saw or miter saw
- Drill and drill bits
- Measuring tape and square
- Clamps
- Level
- Sandpaper (80–120 grit)
- Paintbrush or sprayer
- Staple gun (for interior trim)
- Safety gear: gloves, goggles, ear protection
Materials Checklist
- 2×4 lumber (for frame support)
- Marine-grade plywood (¾-inch thick, 4×8 sheet)
- Pressure-treated pine or cedar (for decking)
- Exterior wood screws (2½ inches)
- Wood glue
- Outdoor wood stain or sealant (oil-based recommended)
- Weather-resistant gasket material (optional, for edge sealing)
- Brackets or hinges (if making a hinged top)
Choosing the right wood is crucial. Cedar resists rot and insects naturally and smells great—perfect if you’re doing weekend projects. Pine is cheaper and easier to work with but needs regular sealing. Pressure-treated wood is ideal for load-bearing frames since it handles moisture well.
Step-by-Step Construction Guide
Building a diy wood truck bed cover might sound intimidating, but it’s really just a series of measured cuts and careful assembly. We’ll break it down into manageable parts.
Step 1: Measure Your Truck Bed
Start by removing the tailgate and measuring the inside of your truck bed. Note length, width, and depth at multiple points—trucks often have slight curves. Add 1 inch to each dimension to allow for overhang and trimming later. Write down these numbers; they’ll be your blueprint.
Step 2: Build the Frame
Using 2x4s, create a rectangular frame that matches your outer dimensions. Cut four side rails and two cross braces. Use wood glue and screws to join corners securely. Make sure the frame is perfectly square—use a carpenter’s square to check diagonals.
Now attach this frame to your truck bed rails using lag bolts or heavy-duty brackets. Drill pilot holes first to avoid splitting the wood. The frame should sit flush with the bed edges.
Step 3: Install the Deck Panels
Cut marine plywood to fit inside the frame. Leave a ¼-inch gap around the edges for expansion. Secure it with screws driven through the frame into the plywood. For extra strength, add a center brace underneath if your cover will carry heavy loads.
Next, lay your chosen decking material (cedar or pine) over the plywood. Space each board evenly—about ⅛-inch apart—to allow for airflow and prevent warping. Nail or screw them down, starting from the center and working outward.
Step 4: Add Roof Panels
Cut additional plywood or solid wood pieces to form the roof. Angle the front slightly higher than the back for water runoff. Attach it securely to the frame with screws. If you want a flip-up rear section, install piano hinges now.
Don’t forget to reinforce the front edge with a metal angle bracket—water pools here and causes the most damage.
Step 5: Finish and Seal
Once assembled, sand all surfaces smooth. Remove dust with a tack cloth. Apply two coats of outdoor wood stain or polyurethane sealant. Let dry completely between coats. This step is non-negotiable—wood exposed to sun and rain will warp, crack, or rot without protection.
For added weather resistance, consider applying a clear waterproof sealant over the entire surface.
Design Tips and Custom Features
A generic boxy cover is fine—but why settle when you can build something special?
Add Ventilation
Include small screened vents near the front or sides to reduce condensation buildup inside. This prevents mold and keeps your cargo dry.
Install Tie-Down Points
Drill holes near the corners and mount D-rings or bolt-on cleats. These make securing cargo so much easier and safer.
Lighting Integration
Run wiring through the frame to power LED strips along the edges. Some people even add motion-activated floodlights for nighttime visibility.
Storage Compartments
Create hidden compartments under the deck using lift-up panels. Great for storing tools, first aid kits, or spare parts.
Rustic vs. Modern Styling
Paint the wood black for a stealthy look, leave it natural for warmth, or add decorative inlays for flair. The choice is yours.
Remember: keep weight distribution balanced. Heavier items should go toward the center.
Maintenance and Longevity
Even the best-built diy wood truck bed cover won’t last forever—but with care, it can easily outlast factory alternatives.
Annual Inspection
Check for loose screws, warped boards, or signs of water damage. Tighten anything that feels wobbly.
Reapply Sealant Every 2–3 Years
UV rays break down protective coatings over time. Inspect annually and re-stain as needed.
Clean After Salt Season
If you live in an area where roads are salted in winter, rinse your cover with fresh water afterward to prevent corrosion.
Store Indoors When Possible
While most outdoor-rated wood holds up fine, keeping the cover in a garage or shed during harsh winters extends its life.
Avoid stacking heavy objects directly on the cover unless reinforced. Use a tarp or padding underneath if needed.
Safety Considerations
Safety isn’t optional when working with power tools and lifting heavy materials.
Lift Smart
A typical wooden cover weighs 70–100 pounds. Use a dolly or get help when moving it into place. Never try to lift it alone if it’s too heavy.
Secure Properly
Always latch or strap the cover down securely before driving. A loose cover can become a projectile in high winds.
Work in Good Light
Cutting and assembling require precision. Poor lighting increases the risk of mistakes and injuries.
Ventilate When Staining
Oil-based stains emit fumes. Work outdoors or in a well-ventilated area, and wear a mask.
Following these tips ensures your project stays fun—not frustrating—and keeps everyone safe.
Frequently Asked Questions
What type of wood is best for a truck bed cover?
Cedar and pressure-treated pine are popular choices due to their resistance to moisture and insects. Marine plywood is ideal for structural layers because it doesn’t delaminate in wet conditions.
How do I prevent my wooden cover from warping?
Use properly spaced ventilation gaps between deck boards, avoid direct prolonged sun exposure during installation, and always apply a breathable sealant that allows wood to expand and contract naturally.
Can I make a retractable wooden cover?
Yes, using sliding rails and a roller system allows you to open and close the cover smoothly. However, this adds complexity and cost—ideal for enthusiasts who frequently access the bed without removing the top.
Is a wooden bed cover legal in all states?
In most U.S. states, a fixed wooden cover is legal as long as it doesn’t exceed vehicle height limits or obstruct lights/registration tags. Always verify with your state’s Department of Motor Vehicles.
How much does it cost to build a DIY wooden bed cover?
Expect to spend $150–$400 depending on materials and size. Cedar and premium finishes increase cost, while pine and basic stains keep it budget-friendly. This is still far less than commercial hardtops.
Should I add insulation to my wooden cover?
Insulation is rarely necessary unless you’re hauling temperature-sensitive goods. If included, use closed-cell foam board for lightweight thermal resistance without adding excessive weight.