Diy Truck Bed Cover
Want to protect your truck bed without spending a fortune? A DIY truck bed cover lets you customize fit, style, and function while keeping costs low. Whether you’re hauling gear, protecting cargo, or just want a sleek look, this guide walks you through everything from materials to installation. You’ll learn which types work best, how to build them safely, and pro tricks to finish like a pro—all with simple tools and smart planning.
Have you ever looked at a new truck bed cover and felt the price tag stop you cold? Or maybe you bought one that didn’t fit quite right, or slid around in the rain? If so, you’re not alone. Many truck owners face the same frustration—wanting protection, security, and style without breaking the bank. That’s where DIY truck bed covers come in.
Building your own cover isn’t just about saving money; it’s about control. You choose the materials, design, and features that fit *your* truck and *your* lifestyle. Whether you drive a crew cab, short bed, or heavy-duty pickup, a custom-built cover can be tailored to your exact needs. Plus, there’s a real sense of pride knowing you built something yourself.
In this guide, we’ll walk you through every step—from picking the right type of cover to measuring, cutting, assembling, and installing it securely. No fancy tools required, just smart planning and a little elbow grease. Let’s get started!
Key Takeaways
- DIY truck bed covers are cost-effective: Save 30–60% compared to pre-made options by using affordable materials and basic tools.
- Choose the right type: Roll-up, tri-fold, retractable, and tonneau covers each offer unique benefits for access, security, and weather protection.
- Measure twice, cut once: Accurate measurements of your truck bed ensure a snug fit and prevent leaks or damage during use.
- Safety first: Always wear protective gear when cutting, drilling, or sanding materials like aluminum or fiberglass.
- Customization is key: Add LED lights, tie-down points, or reinforced seams to match your needs and enhance functionality.
- Weatherproofing matters: Seal edges with silicone and use rust-resistant hardware to extend the life of your DIY cover.
- Maintenance is simple: Clean regularly and inspect seals to keep your cover performing well year-round.
Quick Answers to Common Questions
Can I build a DIY truck bed cover if I’m a beginner?
Absolutely! Start with a simple tri-fold or roll-up design using basic tools. Watch video tutorials and follow step-by-step guides to build confidence.
What’s the cheapest material for a DIY cover?
OSB (oriented strand board) or scrap plywood works well for the frame. Pair it with heavy-duty canvas or drop cloth fabric for a budget-friendly setup.
Will a DIY cover protect my cargo from rain?
Yes, if properly sealed. Use silicone around edges and test it in light rain before relying on it heavily. Marine-grade materials last longest.
Do I need special tools?
No. A drill, saw, tape measure, and staple gun are enough for most projects. Rent or borrow power tools if you don’t own them.
Can I remove the cover easily?
Most DIY designs allow quick removal—especially roll-up and tri-fold styles. Make sure hinges and latches are accessible and not glued.
📑 Table of Contents
- Why Choose a DIY Truck Bed Cover?
- Types of DIY Truck Bed Covers
- Essential Materials and Tools for Your DIY Truck Bed Cover
- How to Measure and Plan Your DIY Truck Bed Cover
- Step-by-Step Guide to Building Your DIY Truck Bed Cover
- Installing Your DIY Truck Bed Cover Like a Pro
- Maintaining and Customizing Your DIY Truck Bed Cover
Why Choose a DIY Truck Bed Cover?
Before diving into tools and materials, let’s talk about *why* you’d even consider building your own cover. The answer is simpler than you think.
First, cost savings. Pre-made covers—especially high-end roll-ups or retracting models—can run from $500 to over $1,500. With a DIY approach, you might spend half that, sometimes less, depending on what you already have lying around. Plywood, marine-grade ply, or even repurposed metal sheets can become the backbone of your project.
Second, custom fit. No two truck beds are exactly alike. Even minor differences in length, width, or bed rail height can make a factory cover sit awkwardly or leave gaps. By building it yourself, you measure precisely and build to fit.
Third, personalization. Want extra tie-down rings? Built-in lighting? A low-profile look? You decide. DIY gives you full creative freedom.
Finally, skill development. This project teaches you practical skills: woodworking, metal fabrication, electrical basics, and waterproof sealing. And those skills? They’re useful beyond the truck bed.
Of course, DIY isn’t for everyone. It takes time, patience, and some basic handyman know-how. But if you’re willing to learn, the results are worth it.
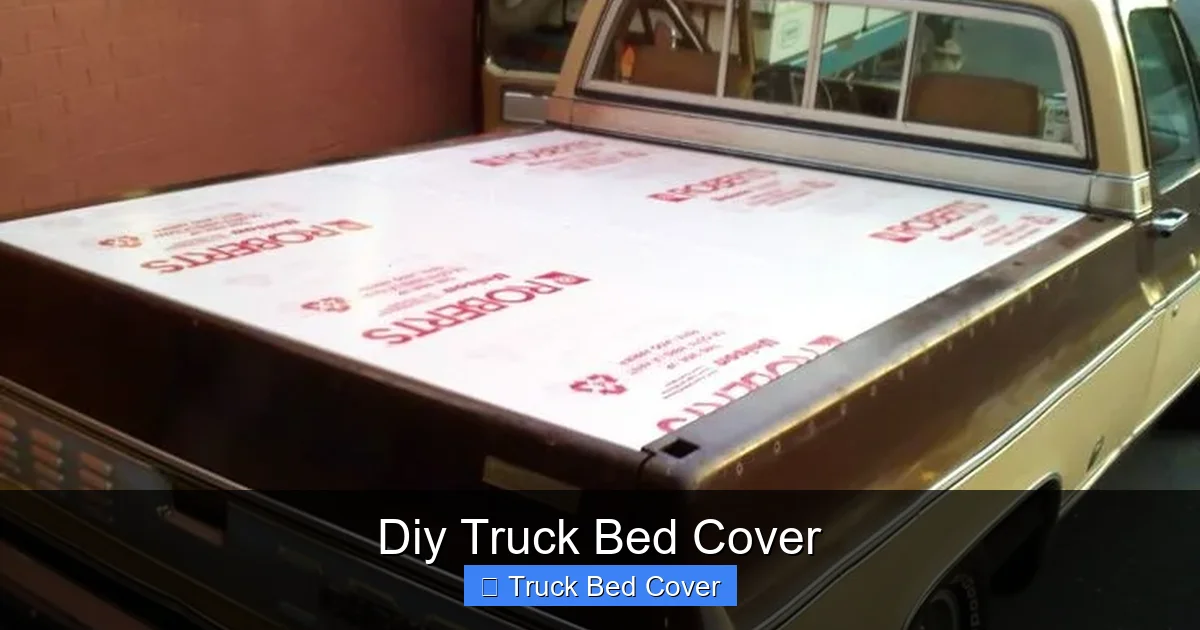
Types of DIY Truck Bed Covers
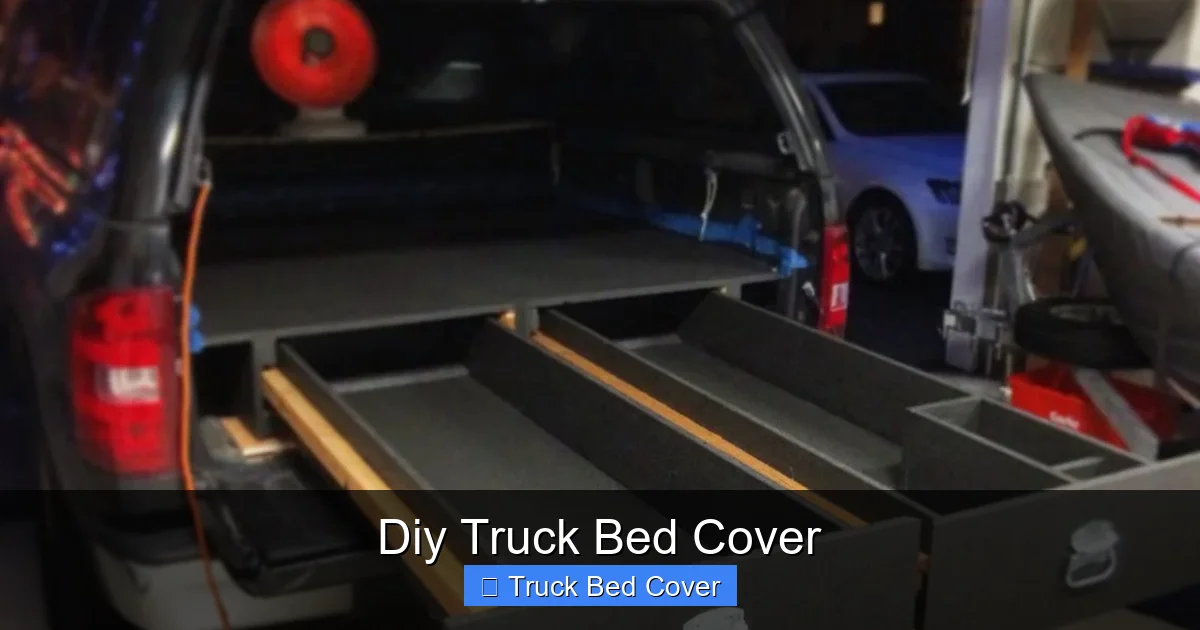
Visual guide about Diy Truck Bed Cover
Image source: i.pinimg.com
Not all covers are created equal. The type you choose depends on how you use your truck. Here are the most popular DIY-friendly styles:
Roll-Up Covers
Think of these as the “unzipper” of truck covers. They roll up toward the cab and secure with a latch or strap. Great for frequent access, but they require strong fabric or vinyl that resists UV and mildew.
To build one, you’ll need:
– A sturdy roller tube (PVC or aluminum works)
– Heavy-duty vinyl or canvas
– U-channel and end caps
– Bolts, brackets, and weather stripping
Tip: Use a tension rod system to keep the cover taut when rolled up.
Tri-Fold Covers
These fold into three sections across the bed. Easy to open and close, they’re ideal for quick access. Most DIY kits use plywood frames with fabric stretched over them.
Materials needed:
– Plywood (¾-inch marine grade)
– Cloth or vinyl sheet
– Hinges and latches
– Foam padding for edges
Pro tip: Reinforce the center fold with a metal bar to prevent sagging.
Retractable Covers
These slide back along rails and lock into place. While more complex, they’re sleek and space-efficient. DIY versions often use sliding tracks made from aluminum extrusions.
You’ll need:
– Aluminum angle iron or extrusion rails
– Sliding mechanism (ball bearings help)
– Fabric or aluminum panels
– Motorized or manual crank option
Note: Retractables are harder to DIY but rewarding if you enjoy mechanical projects.
Tonneau Covers
Originally from Europe, tonneaus are flat, low-profile covers that give your truck a streamlined look. They’re usually made from wood slats with fabric or vinyl tops.
Simple version:
– Cut wood slats to size
– Attach to bed rails with clamps
– Stretch fabric over top
– Secure with snaps or Velcro
This style is great for light-duty use and easy to modify.
Each type has pros and cons. Consider how often you access the bed, the weather in your area, and whether you carry sensitive gear. Now that you know the options, let’s talk materials.
Essential Materials and Tools for Your DIY Truck Bed Cover
Every good DIY project starts with the right stuff. Here’s what you’ll likely need:
Primary Materials
– Plywood or OSB: For frame construction. Marine-grade plywood is water-resistant and lasts longer.
– Vinyl or Canvas: Waterproof, UV-resistant fabric. Look for marine-grade vinyl for durability.
– Aluminum Sheet or Angle Iron: Lightweight and rust-proof. Great for modern looks.
– Foam Tape or Rubber Strips: Seals gaps and prevents rattling.
– Silicone Sealant: Critical for waterproofing edges and joints.
– Stainless Steel Hardware: Bolts, screws, hinges, and latches resist corrosion.
Tools You’ll Need
– Measuring tape and square
– Circular saw or jigsaw
– Drill and drill bits
– Screwdriver set
– Clamps (C-clamps or bar clamps)
– Utility knife or box cutter
– Staple gun (for fabric attachment)
– Sandpaper (80–120 grit)
– Safety goggles and gloves
Don’t have some of these? Rent or borrow from a hardware store. Some tools, like a staple gun, can be used for other home projects too.
Optional Upgrades
– LED work lights (wired under the cover)
– Magnetic or snap-on tie-downs
– Locking latches for security
– Reflective striping for visibility
Now that you’ve gathered your gear, let’s move to the fun part: measuring and planning.
How to Measure and Plan Your DIY Truck Bed Cover
Accuracy is everything. A cover that’s even an inch off will leak, rattle, or fall off. Follow this step-by-step process:
Step 1: Measure Your Truck Bed
Use a tape measure to record:
– Length (from tailgate to cab)
– Width (inside bed rails)
– Height (from floor to rail top)
– Distance between bed rails
Write it all down. Double-check. Then, add a ½-inch clearance on all sides for movement and sealing.
Step 2: Sketch Your Design
Draw a rough blueprint. Include:
– Frame dimensions
– Fabric overlap
– Hinge or rolling mechanism placement
– Drainage holes (if needed)
Label everything. This sketch becomes your map.
Step 3: Choose a Mounting Method
Options include:
– Over-bed rails (most common)
– Under-bed rails (lower profile)
– Bolted directly to the bed (not recommended—causes rust)
Over-bed is easiest for beginners. Just attach to the top of the rails using L-brackets.
Step 4: Test Fit Before Cutting
Lay your frame pieces on the bed. Make sure they sit evenly and don’t interfere with tailgate operation. Adjust as needed.
Pro tip: Use cardboard templates first. It’s cheaper than wasting good wood.
Once your plan is solid, it’s time to build.
Step-by-Step Guide to Building Your DIY Truck Bed Cover
Let’s break this down into manageable steps. We’ll focus on a tri-fold cover made from plywood and vinyl—great for beginners.
Step 1: Build the Frame
Cut four side rails and two crossbars from ¾-inch marine plywood. Each piece should be slightly shorter than the bed length and width (account for overhang).
Join corners with pocket hole jigs or corner brackets for strength. Sand smooth.
Step 2: Attach the Top Panels
Cut three rectangular panels (same width as bed, slightly shorter than bed length). Staple or screw them to the frame.
Leave a 1-inch gap between panels for folding.
Step 3: Stretch the Fabric
Cut a single piece of vinyl 2 inches wider than bed width and 3 inches longer than bed length.
Tack one edge with staples, then pull tight and staple the opposite edge. Center the fabric and staple remaining sides. Trim excess.
Step 4: Install Hinges and Latches
Attach piano hinges along the center seam for folding. Use stainless steel latches on the tailgate side to secure when closed.
Test the fold—it should go smoothly without binding.
Step 5: Add Weather Sealing
Run foam tape along the bottom edge where the cover meets the bed. Apply silicone sealant at all seams.
This stops water from sneaking in during rain.
Step 6: Final Touches
Paint or coat wood with outdoor sealant. Add reflective tape or LED lights if desired.
Now, let’s install it.
Installing Your DIY Truck Bed Cover Like a Pro
Installation is where your careful measurements pay off. Follow this sequence:
Step 1: Clear the Bed
Remove any loose items, dirt, or debris. Wipe down the rails.
Step 2: Position the Cover
Lift the cover into place. Make sure it sits flush on the rails and doesn’t drag on the bed floor.
Step 3: Secure the Frame
Drill pilot holes and attach L-brackets or J-hooks to the underside of the frame. Tighten bolts evenly—don’t overtighten or warp the wood.
Step 4: Test Operation
Open and close the cover several times. Listen for squeaks. Adjust hinges if needed.
Step 5: Final Seal
Apply silicone around the base and edges. Let dry 24 hours before driving.
Safety note: Never drive with the cover open unless it’s securely latched. Loose parts can fly off and cause accidents.
With the cover installed, you’re ready to hit the road—protected and proud.
Maintaining and Customizing Your DIY Truck Bed Cover
A good cover lasts years—if you take care of it. Here’s how:
Cleaning Tips
– Wipe down weekly with mild soap and water
– Avoid harsh chemicals that degrade vinyl
– Dry completely to prevent mold
Inspection Schedule
– Check seals monthly for cracks or compression loss
– Tighten loose bolts every few months
– Reapply silicone if you notice leaks
Common Repairs
– Replace torn fabric with a patch kit
– Sand and re-seal warped wood
– Lubricate hinges with silicone spray
Customization Ideas
– Add a roof rack mount
– Install a small toolbox inside
– Paint the frame in truck color
– Embed solar panels for charging devices
Remember: Every modification should improve function, not compromise safety.
Frequently Asked Questions
How much does a DIY truck bed cover cost?
You can build one for $50–$200 depending on materials. High-quality vinyl and aluminum increase cost, but pre-made covers start around $400.
Is a DIY cover as durable as a commercial one?
With proper materials and sealing, yes. Use marine-grade wood, UV-resistant fabric, and stainless hardware to match commercial quality.
Can I install it myself?
Yes, most DIY covers are designed for self-installation. Follow the build plan carefully and ask a friend for help lifting heavy components.
Will it fit my truck model?
As long as you measure accurately, you can build a custom-fit cover. Online forums and YouTube channels often share templates for specific trucks.
How do I prevent water leakage?
Seal all seams with silicone, use foam tape along the bed edge, and ensure the cover overlaps the tailgate slightly. Test in the rain after installation.
Can I add a lock to my DIY cover?
Yes. Install a padlock loop or magnetic lock on the tailgate side. Use stainless steel components to avoid rust.