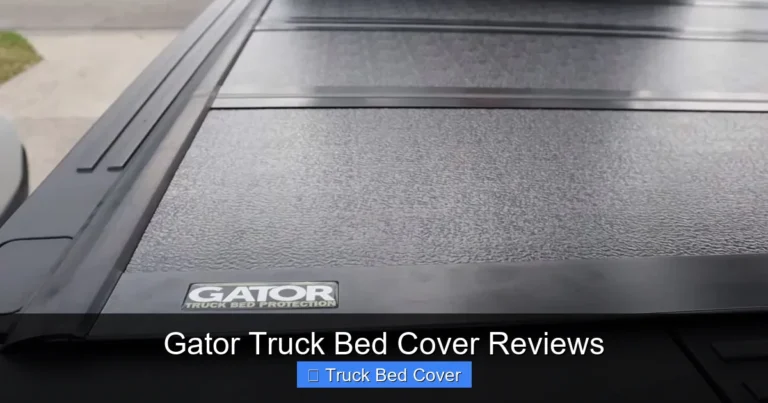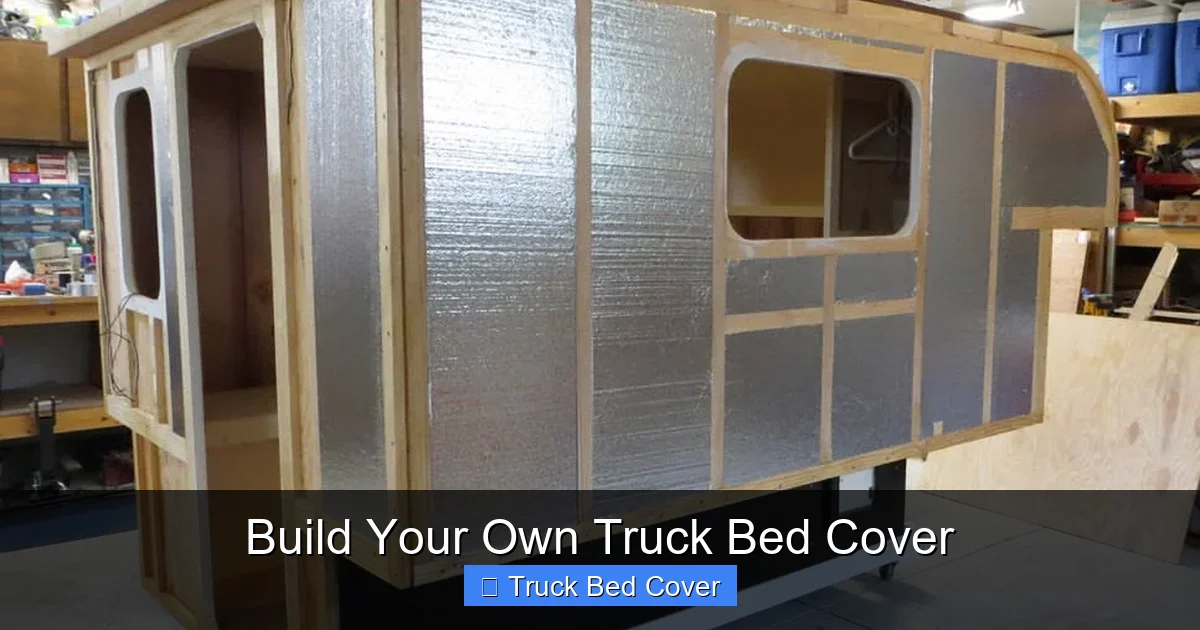
Build Your Own Truck Bed Cover
Building your own truck bed cover is an affordable, rewarding project that enhances functionality and style. With basic tools and materials, you can create a custom hard or soft cover tailored to your needs. This DIY approach saves money while giving you full control over design, durability, and features.
Key Takeaways
- Cost-effective solution: Building your own truck bed cover typically costs 30-50% less than purchasing pre-made covers from retailers.
- Custom fit: DIY covers can be precisely engineered to match your specific truck model and bed dimensions.
- Material flexibility: Choose from aluminum, fiberglass, canvas, vinyl, or composite materials based on budget and performance needs.
- Tool requirements: Basic workshop tools including drills, saws, measuring tape, and clamps are sufficient for most projects.
- Weather protection: Properly built covers offer excellent UV resistance, water sealing, and impact protection for cargo.
- Weight capacity: Hard covers can support up to 200+ pounds of weight when properly constructed and installed.
- Installation time: Most DIY covers can be installed in 4-8 hours depending on complexity and material choice.
Quick Answers to Common Questions
How much does it cost to build your own truck bed cover?
DIY truck bed covers typically cost $100-800 depending on materials and complexity. Budget options with vinyl and aluminum frames start around $100, while premium fiberglass or composite covers can reach $800 or more.
What tools do I absolutely need to build a truck bed cover?
Essential tools include a measuring tape, drill, saw (circular or jigsaw), clamps, safety glasses, and a level. These basics will get you through most truck bed cover projects without needing specialized equipment.
Can I build a cover that will actually keep water out?
Yes! Proper weather sealing with quality silicone sealant and weather stripping creates watertight seals. Test your cover with spray bottles before relying on it in heavy rain, and always address any leaks promptly.
How long should my DIY truck bed cover last?
With proper materials and maintenance, a well-built cover lasts 5-15 years. Quality marine-grade vinyl or fiberglass with aluminum frames typically outlasts budget materials. Regular cleaning and seal checks extend longevity.
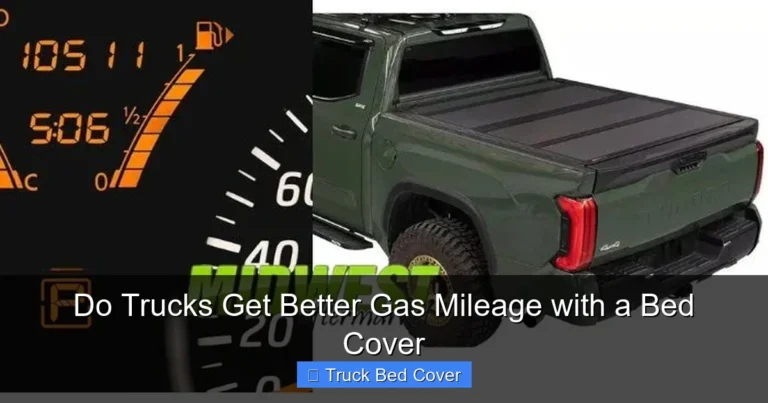
Will a homemade cover affect my truck’s gas mileage?
Any cover reduces aerodynamic drag, improving gas mileage. Well-designed covers can improve fuel economy by 5-10%. The savings from better aerodynamics often offset the initial cost difference compared to commercial covers.
📑 Table of Contents
- Introduction: Why Build Your Own Truck Bed Cover?
- Understanding Truck Bed Covers: Types and Functions
- Planning Your DIY Truck Bed Cover Project
- Materials and Tools You’ll Need
- Step-by-Step Construction Process
- Installation Tips and Common Mistakes
- Customization and Upgrades
- Advanced Techniques for Experienced Builders
- Conclusion: Your Perfect Truck Bed Solution Awaits
Introduction: Why Build Your Own Truck Bed Cover?
Have you ever struggled with rain soaking into your truck bed, or worse, your precious cargo getting damaged by sun exposure? Maybe you’re tired of the expensive, off-the-shelf covers that don’t quite fit right or lack the features you need. The good news? You can build your own truck bed cover that’s perfectly tailored to your truck and exactly what you want it to do.
Building your own truck bed cover isn’t just about saving money—it’s about creating something that works better for your specific situation. Whether you’re hauling tools for work, protecting fishing gear, or simply keeping groceries dry, a custom cover gives you the exact level of security and convenience you need. Plus, there’s something deeply satisfying about creating something with your own hands that solves a real problem.
Understanding Truck Bed Covers: Types and Functions
The Purpose of a Truck Bed Cover
A truck bed cover serves multiple important functions beyond just looking cool. It protects your cargo from rain, snow, UV rays, and theft. It improves fuel efficiency by reducing aerodynamic drag, which can save you money on gas over time. And let’s be honest—it just makes your truck look more put-together and professional.

Visual guide about Build Your Own Truck Bed Cover
Image source: i.pinimg.com
Soft vs. Hard Covers: Making the Right Choice
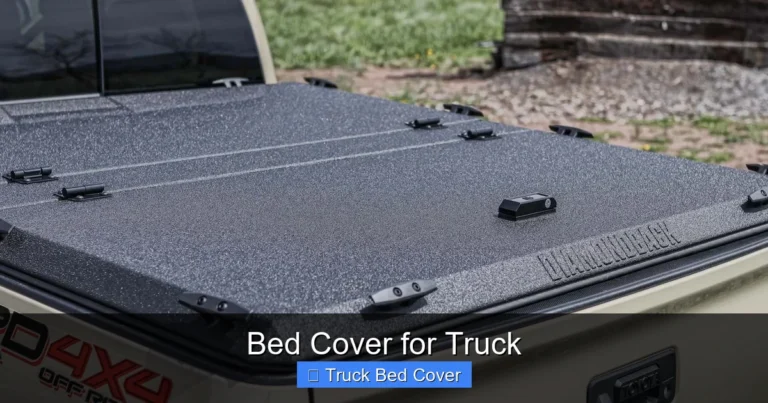
The two main categories of truck bed covers are soft covers (like tonneau covers) and hard covers (including fiberglass and aluminum options). Soft covers use fabric stretched over a frame and roll up for access. They’re lighter, cheaper, and easier to install but offer less security and protection. Hard covers are more durable, provide better security, and can support more weight—but they’re heavier and more expensive.
Popular Cover Styles
- Roll-up covers: Most popular soft covers that roll toward the cab
- Folding covers: Multiple panels that fold back in sections
- Retractable covers: Slide out from under the bed rail system
- Hard tri-fold: Three-panel hard cover that folds up
- Full-bed covers: Complete coverage with no gaps
Planning Your DIY Truck Bed Cover Project
Measure Twice, Cut Once: Accurate Dimensions Matter
The foundation of any successful DIY project starts with precise measurements. Measure your truck bed length, width, and depth at multiple points because trucks aren’t always perfectly square. For length, measure from the inside of the cab to the tailgate. For width, measure across the widest point inside the bed rails. Don’t forget to account for any bed liner thickness if you have one.
Budget Planning: What Will You Spend?
Your budget will largely determine your material choices. Here’s a rough breakdown:
– Budget option ($100-200): Vinyl with basic aluminum frame
– Mid-range ($200-400): Quality canvas with reinforced frame
– Premium ($400-800): Fiberglass or high-grade aluminum construction
– Luxury ($800+): Custom-molded composite materials
Skill Level Assessment
Be realistic about your abilities. If you’ve done basic woodworking or metal projects before, you’ll likely handle this fine. If you’re completely new to DIY, start with a simpler soft cover design rather than complex hard covers. Remember, mistakes can usually be corrected, but learning as you go is part of the fun.
Materials and Tools You’ll Need
Essential Materials List
- Cover material: Aluminum sheets, fiberglass panels, marine-grade vinyl, or canvas
- Frame components: Angle brackets, corner braces, mounting hardware
- Sealing materials: Silicone sealant, weather stripping, adhesive backing
- Support structure: Wooden or metal supports for hard covers
- Fasteners: Screws, bolts, washers appropriate for your chosen materials
Basic Tool Requirements
You won’t need a professional workshop setup. Here’s what works:
– Measuring tape and combination square
– Drill with various bits
– Circular or jigsaw for cutting
– Clamps to hold pieces together
– Safety glasses and gloves
– Level for ensuring proper installation
– Sandpaper or file for smoothing edges
Where to Source Materials
Most hardware stores carry basic materials, but for specialized items consider:
– Home improvement stores for standard hardware
– Marine supply stores for weather-resistant materials
– Online retailers for specialty items and bulk purchases
– Local metal shops for custom-cut aluminum or steel
Step-by-Step Construction Process
Design and Pattern Creation
Before cutting anything, create detailed drawings of your cover. Include all dimensions, attachment points, and any special features like latches or locks. For soft covers, lay out your fabric on a flat surface and trace around the pattern pieces you’ll need. For hard covers, create templates from cardboard to test fit before cutting permanent materials.
Frame Assembly (Hard Covers)
If building a hard cover, start with the frame structure. Cut your aluminum or wooden pieces according to your measurements. Pre-drill holes to prevent splitting, then assemble using corner brackets and screws. Ensure all joints are square and the frame is rigid. Test fit the frame in your truck bed before proceeding.
Panel Fabrication
For hard covers, cut your top panels to size. Use a router or sandpaper to smooth all edges. For soft covers, cut your fabric with extra allowance for hemming and attachment. Apply any necessary reinforcements like additional layers or stiffening materials in high-stress areas.
Weather Sealing Installation
Apply weather stripping along all edges where the cover meets the bed rails. Use quality silicone sealant for any seams or joints. This step is crucial for preventing water intrusion. Allow proper drying time according to manufacturer instructions before testing.
Final Attachment and Testing
Install your cover using appropriate fasteners. Start with corner mounts first, then work your way across. Test the operation multiple times to ensure smooth movement and proper sealing. Make any adjustments needed while everything is still accessible.
Installation Tips and Common Mistakes
Proper Installation Techniques
- Work in stages: Install one side first, test it, then move to the other
- Use shims: Thin pieces of wood or plastic to fill small gaps and improve fit
- Tighten gradually: Don’t overtighten screws—this can warp materials or strip threads
- Check alignment: Use a level to ensure the cover sits evenly across the bed
- Test weather sealing: Spray water on the cover to check for leaks before finalizing
What Not to Do
Avoid these common pitfalls:
– Cutting materials without proper measurements
– Using inadequate fasteners that won’t hold up to weather conditions
– Skipping the weather sealing step
– Rushing the drying time for adhesives and sealants
– Installing without checking clearances around tailgate and bed rails
Maintenance and Care
Once installed, your DIY cover will last longer with proper care:
– Clean regularly with mild soap and water
– Check seals annually for wear
– Lubricate moving parts if applicable
– Store soft covers properly when not in use
– Address any damage immediately to prevent further deterioration
Customization and Upgrades
Adding Security Features
Enhance your cover’s security with:
– Locking latches or hasps
– Keyed locks for complete access control
– Heavy-duty mounting hardware
– Additional support struts for larger covers
Functional Add-Ons
- LED lighting strips: For visibility and nighttime access
- Built-in tool organizers: Storage compartments within the cover
- Air vent systems: To prevent condensation buildup
- Removable panels: For easy partial access without full removal
Aesthetic Improvements
Make your cover match your truck’s style:
– Paint hard covers to match your truck color
– Add trim pieces or molding
– Install branded emblems or logos
– Use contrasting stitching on soft covers
Advanced Techniques for Experienced Builders
Structural Reinforcement
For larger or heavier-duty applications, consider:
– Adding cross-bracing within the frame
– Using thicker gauge materials in load-bearing areas
– Implementing a truss system for long spans
– Incorporating shock absorbers for high-traffic use
Water Management Systems
Take your weather protection to the next level with:
– Integrated gutters along the sides
– Drainage channels in the cover design
– Secondary sealing layers
– Quick-release drain plugs for heavy rain situations
Smart Integration
Modernize your DIY cover with technology:
– Solar-powered LED lighting
– Remote-controlled operation systems
– Temperature sensors for cargo monitoring
– GPS tracking integration for security
Conclusion: Your Perfect Truck Bed Solution Awaits
Building your own truck bed cover transforms from a simple project into a valuable skill that pays dividends every time you use your truck. You get exactly what you want—perfect fit, ideal materials, and features tailored to your specific needs. While it requires some time and effort upfront, the satisfaction of creating something that solves your problems cannot be measured in dollars alone.
Remember that this is a learn-as-you-go process. Your first cover might not be perfect, and that’s okay. Each project teaches you something new about your truck, your capabilities, and what really matters in a good cover. The beauty of DIY is that you can improve with each iteration, making better covers year after year.
Whether you’re a weekend warrior, a serious outdoors enthusiast, or someone who simply appreciates well-made solutions to everyday problems, building your own truck bed cover is a rewarding investment in both your vehicle and your skills. Start small, stay safe, and enjoy the journey of creating something truly yours.
Frequently Asked Questions
Do I need special tools to build a truck bed cover?
No special tools are required beyond basic workshop equipment. A measuring tape, drill, saw, clamps, and safety gear are sufficient for most DIY projects. Even beginners can accomplish this with patience and careful measurement.
What’s the best material for a DIY truck bed cover?
The best material depends on your priorities. Aluminum offers durability and light weight, fiberglass provides strength and aesthetics, vinyl is budget-friendly and flexible, while canvas combines affordability with weather resistance for most applications.
How do I ensure my cover fits perfectly on my truck?
Take multiple measurements at different points in your truck bed, as they may not be perfectly square. Create detailed templates before cutting materials, and allow extra material for trimming during final installation for the best fit.
Can I build a cover that supports weight?
Yes, hard covers can support 150-200+ pounds when properly constructed with adequate framing and strong materials. Design includes cross-bracing and reinforced corners for optimal weight distribution and structural integrity.
How often should I maintain my DIY truck bed cover?
Inspect your cover monthly for damage and clean it quarterly with mild soap and water. Reapply sealant annually or whenever you notice signs of wear. Address any issues immediately to prevent further deterioration.
Is building my own cover really worth the effort?
Absolutely. DIY covers save 30-50% compared to retail prices, offer perfect customization, teach valuable skills, and provide satisfaction from creating something functional. The investment of time pays dividends in performance, savings, and personal accomplishment.