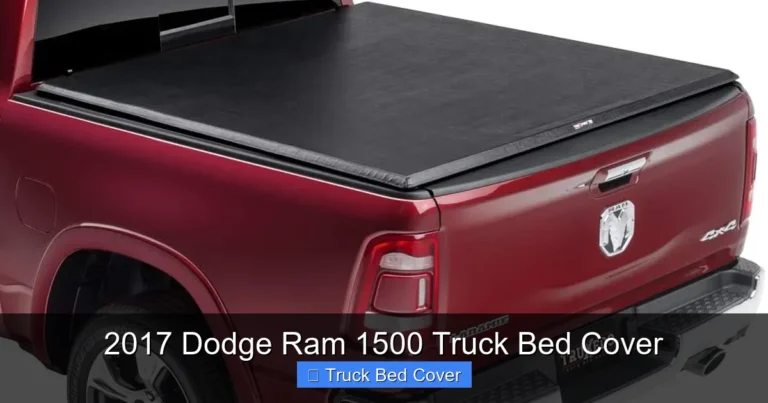
Build a Truck Bed Cover
Building your own truck bed cover is a smart way to save money while adding functionality and style to your vehicle. Whether you’re hauling gear, protecting cargo, or just want a sleek look, a DIY truck bed cover offers flexibility and personalization like no store-bought option can. With the right tools and materials, even beginners can create a durable, weather-resistant cover that fits perfectly.
Key Takeaways
- Cost Savings: Building your own truck bed cover can save hundreds compared to purchasing pre-made options.
- Custom Fit: A DIY cover allows you to match your truck’s exact bed dimensions for a perfect seal.
- Material Flexibility: Choose from aluminum, fiberglass, canvas, or plywood depending on your needs and budget.
- Weather Protection: Properly built covers shield cargo from rain, snow, sun, and debris.
- Installation Simplicity: Most DIY designs use clamps, hinges, or bolt-on systems for easy setup and removal.
- Enhanced Security: Lockable designs deter theft and keep valuables safe during transport.
- Eco-Friendly Option: Repurposing materials reduces waste and supports sustainable DIY projects.
Quick Answers to Common Questions
Can I build a truck bed cover if I’m a beginner?
Absolutely! Start with a simple soft or folding design using plywood and basic tools. Follow step-by-step guides, and don’t hesitate to ask for help online or from local workshops.
How much does it cost to build a truck bed cover?
Materials typically range from $100–$400 depending on size and quality. Compare that to $500–$1,500 for commercial covers—you save significantly.
Will a DIY cover withstand heavy rain?
Yes, if built correctly with proper sealing, overhangs, and weather-resistant materials. Use rubber gaskets and sealants to create a watertight barrier.
Do I need welding skills to build a strong cover?
Not necessarily. Most DIY covers use screws, bolts, or rivets instead of welding. Aluminum can be joined with rivets or adhesive bonding for strength without flame work.
How long does it take to build a truck bed cover?
A basic folding cover takes 8–15 hours over a weekend. Custom or retractable designs may require several days or weeks due to complexity.
📑 Table of Contents
- Why Build Your Own Truck Bed Cover?
- Understanding Your Options: Types of Truck Bed Covers
- Choosing the Right Materials for Your Build
- Step-by-Step Guide to Building a Truck Bed Cover
- Advanced Features to Add to Your DIY Cover
- Maintenance Tips for Long-Lasting Performance
- Common Mistakes to Avoid When Building a Truck Bed Cover
- Conclusion: Why DIY Is the Smart Choice
Why Build Your Own Truck Bed Cover?
Have you ever driven home after a weekend of camping or hauling supplies only to find your truck bed soaked, cluttered, or exposed to the elements? You’re not alone. Millions of truck owners face this daily challenge. Instead of spending $500–$1,500 on a commercial tonneau cover, many are turning to building a truck bed cover themselves—and it’s easier than you think.
A DIY truck bed cover gives you full control over design, durability, and function. Want a hardtop that locks shut? You can build one. Prefer a soft roll-up model that’s lightweight and affordable? That’s doable too. Whether you’re a seasoned woodworker or a first-time builder, this guide walks you through everything you need to know—from measuring your bed to choosing the best materials and installing your finished product.
In this article, we’ll break down the entire process into clear, manageable steps. We’ll compare material options, share pro installation tips, and even show you how to add features like toolboxes, tie-down points, or LED lighting. By the end, you’ll know exactly how to build a truck bed cover that’s strong, stylish, and built to last.
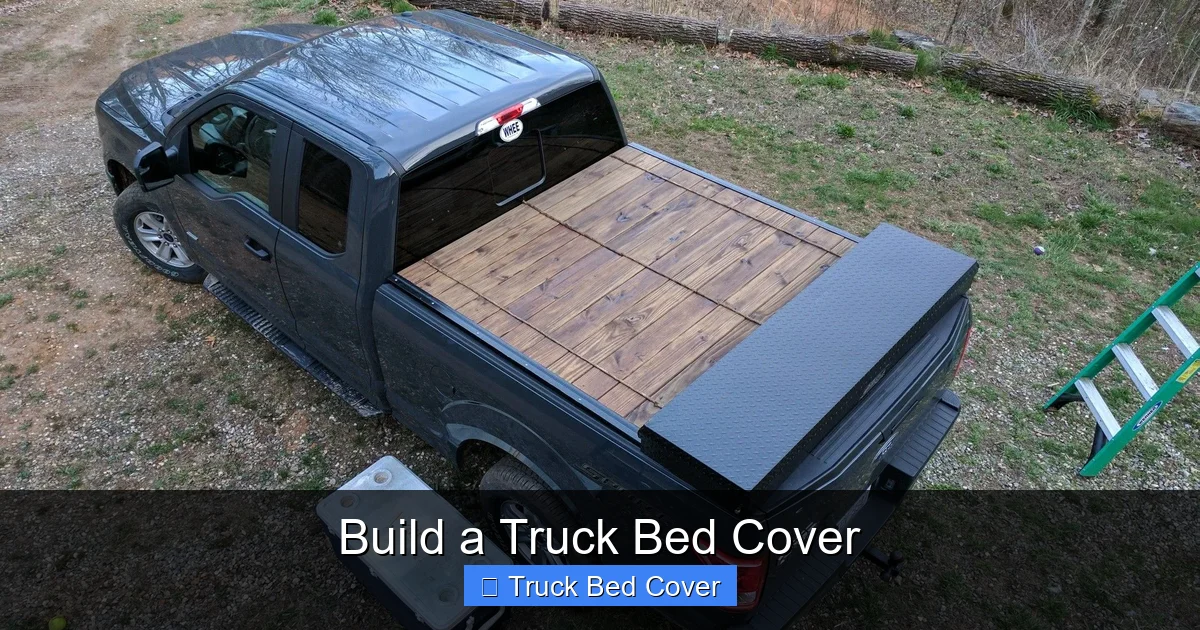
Understanding Your Options: Types of Truck Bed Covers
Before jumping into construction, it’s important to understand the different types of covers available. Each has pros and cons depending on your use case—whether you’re a daily commuter, off-road adventurer, or contractor hauling tools.
Visual guide about Build a Truck Bed Cover
Image source: i.ytimg.com
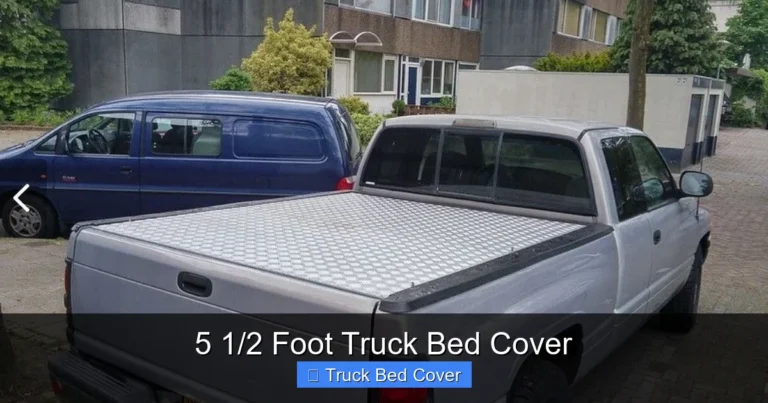
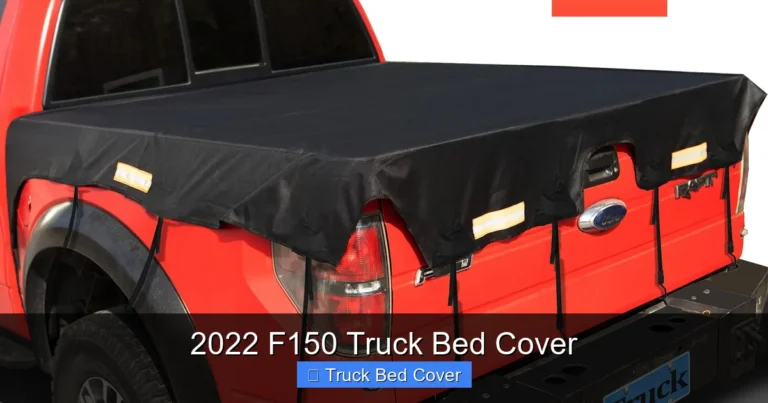
Soft Roll-Up Covers
These are the most common and affordable type. Made from heavy-duty vinyl or canvas, they roll up against the cab and secure with side straps or buckles. Ideal if you need quick access to your bed without removing the entire cover. They’re lightweight, fold compactly, and often cost under $200 when bought pre-made—but building one saves even more.
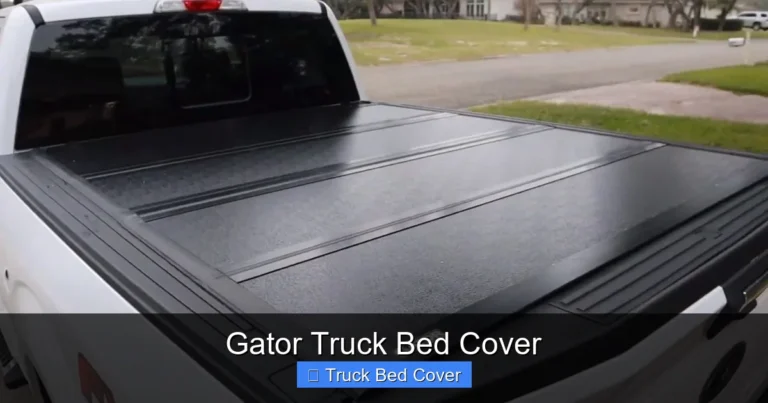
Hard Folding Covers
Also called tri-fold covers, these use rigid panels connected by hinges. They offer better security and wind resistance than soft covers but are heavier and bulkier. Perfect for people who want full bed access while maintaining protection.
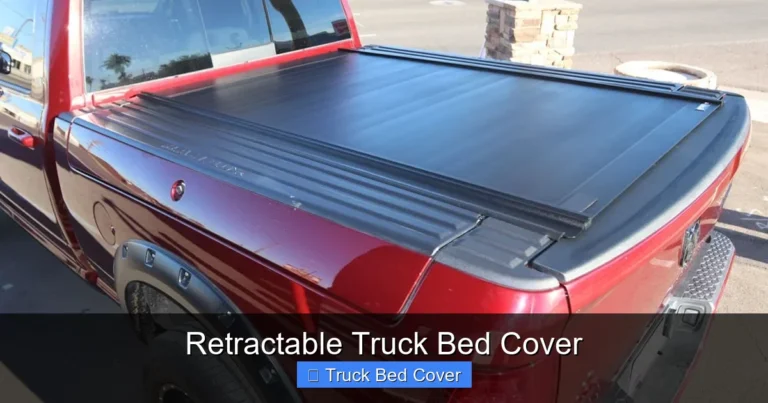
Retractable (Rolling) Hard Covers
These slide open like a garage door, offering unobstructed access. They’re sleek and modern but expensive when purchased commercially. However, with careful planning, you can build a retractable-style system using rails, rollers, and a sturdy deck.
Liftgate or Drop-Over Covers
These sit directly in the bed and latch over the tailgate. Great for trucks with non-locking beds. While simpler to install, they may interfere with tailgate functions. Building a liftgate-style cover requires precise measurement and a secure latch mechanism.
Custom Hardtops
For those wanting maximum protection and a factory-finish look, a fully custom hardtop made from aluminum or fiberglass is ideal. These are heavy-duty, lockable, and weatherproof—but also the most complex to build. We’ll cover this advanced project later.
Choosing the Right Materials for Your Build
The success of your truck bed cover hinges on the materials you choose. Let’s explore popular options based on strength, weight, cost, and ease of fabrication.
Aluminum Sheet Metal
Lightweight yet incredibly strong, aluminum resists rust and stands up to harsh weather. It’s easy to cut, shape, and weld (or rivet). Many DIYers use 1/8″ or 1/4″ thick sheets for their deck and sides. Plus, it looks sharp and modern.
Plywood or OSB Board
Cheap and easy to work with, wood is great for beginners. Use marine-grade plywood to prevent rot. Just remember: wood absorbs moisture, so always seal it with polyurethane or epoxy. Also, it adds significant weight—up to 100 lbs or more.
Fiberglass Panels
Durable and corrosion-proof, fiberglass is excellent for long-term outdoor use. However, it’s harder to cut without specialized tools and requires resin application, which involves fumes and safety precautions. Best left for experienced builders.
Vinyl or Canvas Fabric
Used in soft covers, these materials stretch over frames or attach via snaps. They’re breathable, UV-resistant, and easy to replace. For DIY fabric covers, you’ll need a strong frame (usually aluminum or steel) to support the material.
Composite Materials
Made from recycled plastics and wood fibers, composites are lightweight, low-maintenance, and eco-friendly. They’re more expensive than wood but cheaper than fiberglass. Ideal for a balance between durability and affordability.
Fasteners and Hardware
Don’t overlook screws, bolts, hinges, latches, and rubber seals. Use stainless steel or coated hardware to prevent rust. Consider rubber gaskets around edges to create a watertight seal.
Step-by-Step Guide to Building a Truck Bed Cover
Now let’s get hands-on. We’ll walk through building a simple but effective hard folding truck bed cover using plywood and aluminum trim—perfect for beginners.
Tools & Materials Needed
- Marine-grade 1/2″ plywood (for deck and panels)
- Aluminum angle trim (for edges)
- Stainless steel hinges (2–3 pairs)
- Heavy-duty latches (2–4)
- Screws, bolts, and rubber seals
- Tape measure, circular saw, drill, jigsaw
- Sandpaper, wood filler, polyurethane finish
Step 1: Measure Your Truck Bed
Start by measuring the inside dimensions of your truck bed: width, length, and height at the sides. Add 1 inch to each side for overhang—this ensures the cover sits flush and seals properly. Note any irregularities like wheel wells or bedliner texture.
Step 2: Cut the Deck Panel
Using your measurements, cut a single piece of plywood to form the base of the cover. This will be slightly smaller than the bed opening to allow for clamping. Round the corners slightly to reduce wind noise.
Step 3: Build the Side Panels
Cut two side panels to fit vertically along the sides of the deck. Attach them using screws and wood glue. Reinforce with triangular braces underneath for extra strength.
Step 4: Attach Hinges and Latches
Mount hinges along the front edge of the cover so it folds back toward the cab. Install latches near the tailgate to secure the folded sections. Test the folding motion before finalizing all fastenings.
Step 5: Seal and Finish
Apply a generous coat of waterproof polyurethane sealant to all surfaces. Install rubber weather stripping around the perimeter to block water and dust. Sand lightly between coats for a smooth finish.
Step 6: Install the Cover
Position the cover in the bed and secure the rear panel with bolts through the tailgate frame. Adjust hinges as needed for smooth operation. Test multiple open/close cycles to ensure alignment.
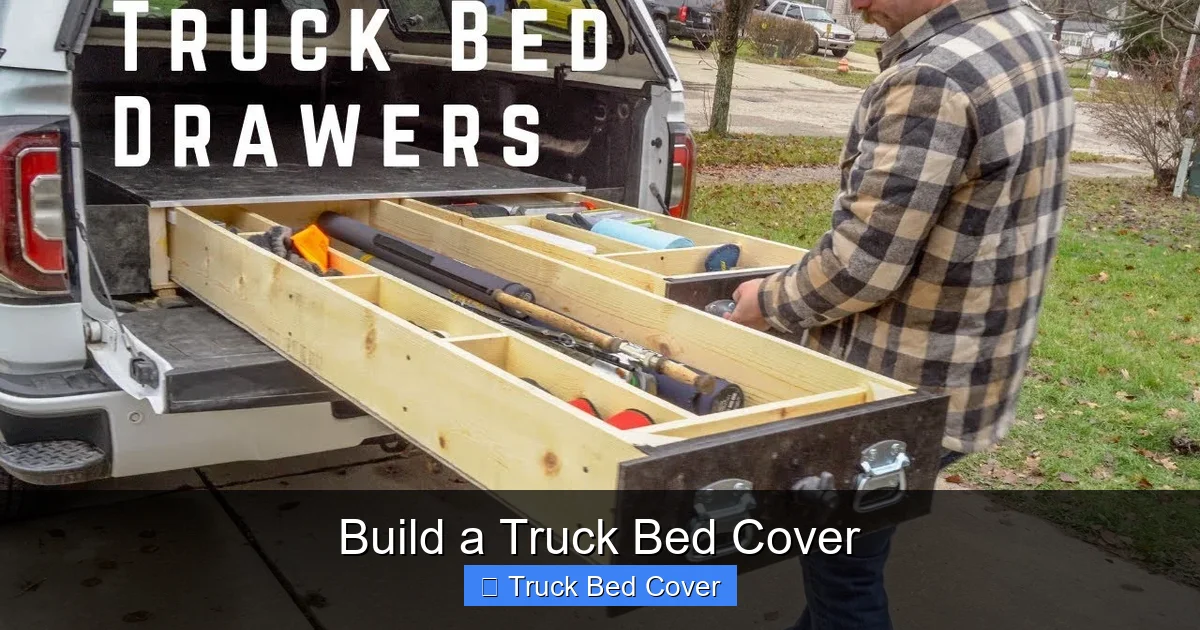
Advanced Features to Add to Your DIY Cover
Once you’ve mastered the basics, consider upgrading your build with smart features that boost utility and convenience.
Integrated Toolbox Compartment
Cut a recessed section into the deck for a removable toolbox. Use a gasket seal and lockable latch for security. This keeps tools dry and accessible without taking up bed space.
LED Lighting System
Add battery-powered or wired LED strips under the cover or along the edges. Great for nighttime loading or signaling your truck in low visibility. Use waterproof connectors and switches for reliability.
Tie-Down Anchors
Drill and insert threaded inserts or weld-on brackets for cargo straps. Position them evenly across the deck to secure loads safely during transit.
Ventilation System
Install small vents or mesh-covered openings to reduce condensation inside the covered bed. Essential for long trips with wet gear or livestock.
Lockable Lid with Keyed Cylinder
Replace standard latches with keyed deadbolts or cam locks. This prevents unauthorized access—especially useful for contractors or hunters storing valuable equipment.
Removable Side Rails
Add aluminum rails to the sides so you can attach accessories like racks, bike carriers, or cargo dividers. Modular design increases versatility.
Maintenance Tips for Long-Lasting Performance
A well-built truck bed cover should last years—but only if you maintain it. Here’s how to keep yours in top shape.
Regular Cleaning
Wipe down the cover monthly with mild soap and water. Avoid harsh chemicals that can degrade sealants or fade finishes. Pay special attention to seams and latches where dirt accumulates.
Inspect Fasteners Annually
Check screws, bolts, and hinges for looseness or corrosion. Tighten or replace as needed. Stainless steel parts rarely fail, but painted hardware can rust over time.
Reapply Sealant Every 1–2 Years
UV rays and temperature changes cause sealants to crack. Reapply polyurethane or silicone caulk around edges and joints to maintain a watertight seal.
Store Indoors When Possible
If you don’t need constant coverage, remove the cover and store it in a dry place. This extends its lifespan and reduces wear from exposure.
Lubricate Moving Parts
Use a silicone-based lubricant on hinges and latches to prevent sticking. Never use oil-based products—they attract dust and gum up mechanisms.
Common Mistakes to Avoid When Building a Truck Bed Cover
Even experienced builders make errors. Learn from these frequent pitfalls to save time and money.
- Incorrect Measurements: Always double-check your truck bed dimensions. A 1/2-inch error can mean a poorly fitting cover that leaks or drags.
- Ignoring Weight Limits: Heavy covers affect fuel economy and suspension. Know your truck’s payload capacity before adding weight.
- Skipping Weather Sealing: Without proper gaskets or overhangs, rain seeps in. Always include a drip edge and flexible sealants.
- Using Low-Quality Materials: Cheap plywood swells in damp conditions. Invest in marine-grade or treated lumber.
- Neglecting Aerodynamics: Sharp edges and loose panels create wind noise. Smooth transitions and snug fits improve driving comfort.
Conclusion: Why DIY Is the Smart Choice
Building your own truck bed cover isn’t just a project—it’s an investment in your vehicle’s function, security, and appearance. You’ll save hundreds, gain customization freedom, and take pride in a creation made specifically for your truck.
Whether you go soft, hard, folding, or fully custom, the principles remain the same: measure carefully, choose quality materials, and prioritize sealing and stability. With the steps and tips in this guide, you’re equipped to tackle the job confidently.
So grab your tape measure, fire up the saw, and turn that bare truck bed into a protected, organized, and professional-looking workspace. Your future self—and your cargo—will thank you.
Frequently Asked Questions
What’s the best material for a DIY truck bed cover?
For most DIYers, marine-grade plywood with aluminum trim offers the best balance of cost, ease of use, and durability. It’s strong enough for daily use and simple to cut and assemble.
Can I install a truck bed cover myself?
Yes, almost all DIY covers are designed for self-installation. Use clamps, bolts, or hinges—no professional tools required. Just follow instructions and take your time.
Will a homemade cover void my truck warranty?
Generally no, unless modifications alter structural components or damage the bed. Bolt-on covers usually don’t interfere with factory warranties. Check your manual or consult a dealer if unsure.
How do I make my cover lockable?
Add keyed latches or deadbolts to the front or side panels. Ensure they’re securely mounted to handle tension from wind or attempted break-ins.
Can I add a cover to a truck without a tailgate?
Yes, many DIY designs work with or without tailgates. Just adjust measurements and secure the rear panel differently—often using bed cross members.
Is it worth building a cover instead of buying one?
For most people, yes. You save money, enjoy full customization, and gain the satisfaction of a project built just for your truck. Even if you later buy a commercial cover, the experience teaches valuable skills.