Diy Bed Cover for Truck
A DIY bed cover for truck is an affordable, customizable solution that protects your cargo from weather, theft, and wear. Whether you’re hauling tools, gear, or groceries, building your own bed cover gives you control over fit, style, and durability—without the high cost of factory options. With basic materials and clear instructions, almost anyone can create a professional-looking cover in just a weekend.
Key Takeaways
- Cost-Effective Customization: A DIY bed cover for truck saves money compared to branded covers while offering full customization in size, shape, and features.
- Improved Cargo Protection: Protect your belongings from rain, snow, sun damage, and prying eyes with a well-built cover that seals tightly against the truck bed.
- Easy Installation & Removal: Most DIY designs use clamps, straps, or rails, making them simple to install and remove when needed.
- Enhanced Fuel Efficiency: A secure, aerodynamic bed cover reduces wind resistance, improving gas mileage by up to 5–10% during highway driving.
- DIY Skills Build Confidence: Completing this project boosts handyman skills and opens doors to future truck upgrades and repairs.
- Eco-Friendly Option: Reusing materials like plywood, aluminum sheets, or old tarps reduces waste and supports sustainable living.
- Weather Resistance Is Key: Always choose waterproof, UV-resistant materials to ensure long-term performance in all seasons.
Quick Answers to Common Questions
Can I build a DIY bed cover if I’m not experienced in carpentry?
Absolutely! Start with simple designs like a flat top or tri-fold using pre-cut materials. Online tutorials and video guides make even beginners feel confident. The key is patience and following measured steps.
Will a DIY cover protect my truck bed from dents?
Yes, but indirectly. A cover keeps loose objects from shifting around inside the bed, reducing impacts on the walls. However, it won’t stop direct hits—so avoid dropping heavy items on it.
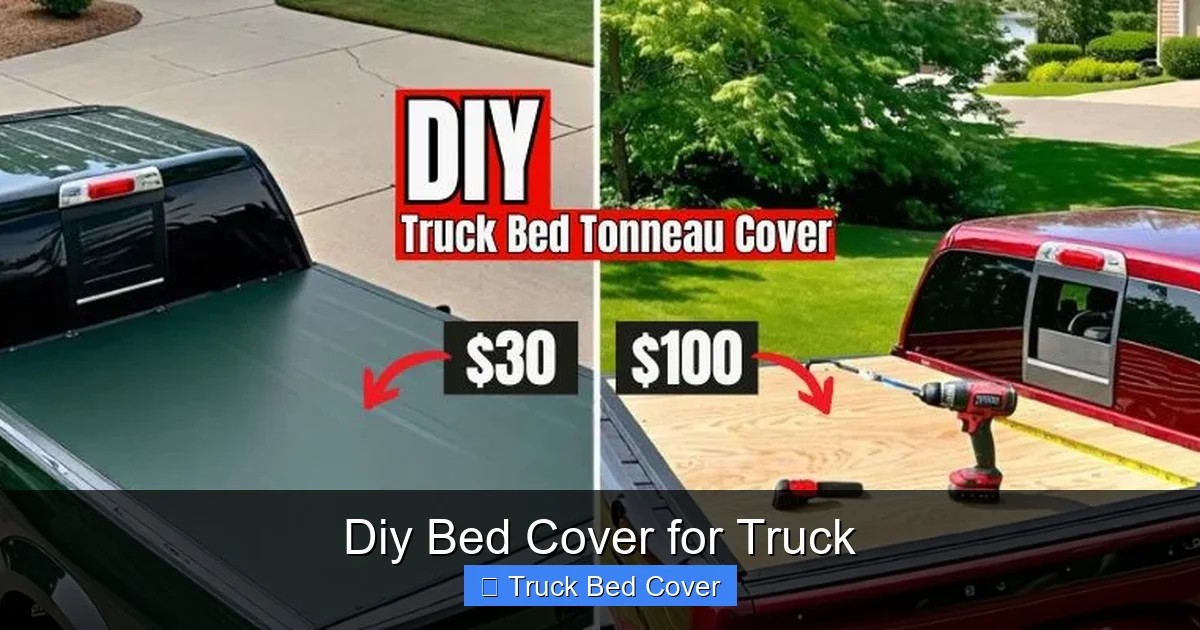
How much does a DIY bed cover typically cost?
Expect to spend $75–$300 depending on materials and complexity. Marine plywood and aluminum cost more, while repurposed wood keeps costs low. Commercial covers start around $500+.
Can I install the cover myself without professional help?
Yes! Most DIY covers use clamp-on or bracket systems that don’t require drilling into your truck. Just follow the mounting instructions carefully and double-check alignment.
Are DIY covers legal in all states?
In most U.S. states, as long as the cover doesn’t obstruct license plates, taillights, or exceed height limits, it’s legal. Always check local regulations before installing.
📑 Table of Contents
- Why Build Your Own Truck Bed Cover?
- Understanding Your Truck Bed Dimensions
- Choosing the Right Materials for Your DIY Bed Cover
- Designing Your Bed Cover: Style Meets Function
- Step-by-Step Construction Process
- Installation Tips for Maximum Security and Performance
- Maintenance and Longevity of Your DIY Bed Cover
- Customization Ideas to Personalize Your Cover
Why Build Your Own Truck Bed Cover?
If you drive a pickup truck, you know how valuable that open bed is. It’s your mobile workspace, storage locker, and adventure companion. But that same openness comes with downsides: your stuff gets soaked in rain, exposed to thieves, or ruined by sun bleaching. Enter the diy bed cover for truck—a practical, budget-friendly upgrade that transforms your truck into a secure, weatherproof vehicle.
Many people assume that only expensive, factory-installed tonneau covers offer real protection. But with a little planning, some basic tools, and the right materials, you can build a cover that rivals commercial products—and often costs less than half the price. Plus, you get to design it exactly how you want: roll-up? tri-fold? retractable? hard shell? The choice is yours.
In this complete guide, we’ll walk you through everything you need to know about creating your own diy bed cover for truck. From measuring your bed to choosing materials, from cutting and assembling to sealing and installing—we’ve got you covered (literally). Whether you’re a weekend warrior, a DIY enthusiast, or just tired of watching your tools rust under the summer sun, this project will give you peace of mind and a sense of accomplishment.
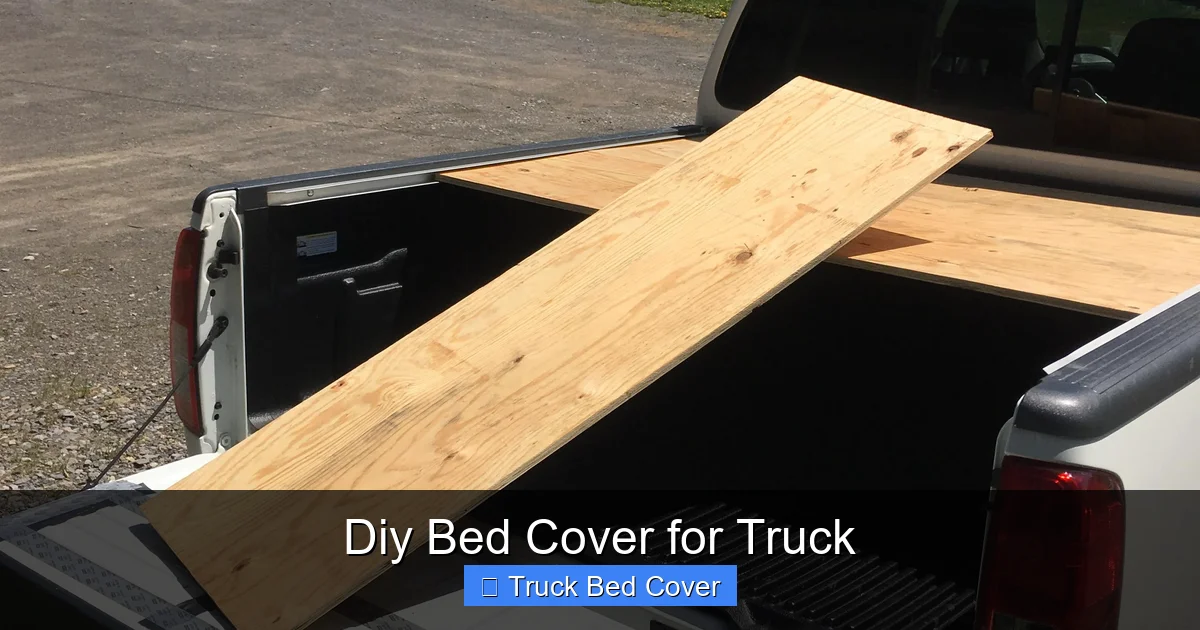
Understanding Your Truck Bed Dimensions
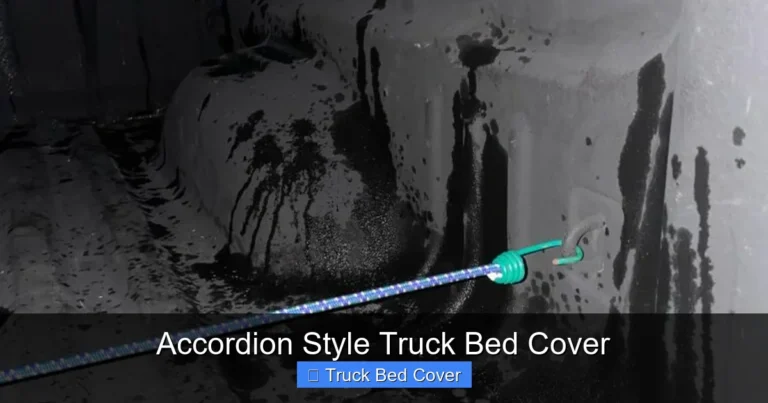
Visual guide about Diy Bed Cover for Truck
Image source: tonneauguide.com
Before you grab a saw or start shopping for lumber, you must measure your truck bed accurately. Every pickup—even from the same manufacturer—has slight variations in length, width, and height. A cover that fits one Ford F-150 might not fit another model or year. So grab a tape measure and take these critical measurements:
Essential Measurements to Take
- Bed Length: Measure from the front of the cab to the tailgate. Add 1–2 inches for overlap at each end.
- Bed Width: Measure inside the bed rails at both ends. Use the smaller dimension to ensure the cover doesn’t extend beyond the sides.
- Bed Height: Measure from the floor to the top of the bed rails. This affects how tall your cover needs to be.
- Cargo Tie-Down Points: Note where factory tie-downs are located—they’ll help anchor your cover securely.
For example, if your bed is 6.5 feet long, 5.5 feet wide, and 18 inches high, your cover frame should match those dimensions with a small buffer for sealing. Don’t forget to account for any toolboxes, bed liners, or aftermarket accessories that might interfere.
Pro Tip: Take photos of your bed from above and side profiles. These visuals will help you plan cuts and avoid costly mistakes.
Choosing the Right Materials for Your DIY Bed Cover
The heart of any diy bed cover for truck is its construction material. You want something durable, lightweight, and weatherproof. Here are the most popular options:
1. Plywood vs. Marine-Grade Plywood
Standard plywood works for temporary or low-traffic use, but it swells in humidity and cracks over time. Marine-grade plywood—with waterproof glue and rot-resistant layers—is ideal for long-term outdoor exposure. Brands like Baltic Birch or ACX marine plywood last much longer and handle moisture better.
2. Aluminum Sheets
Lightweight, strong, and rust-proof, aluminum is a favorite among DIYers. It resists dents and doesn’t warp like wood. Look for ¼-inch or ⅜-inch thick sheets for rigidity without added weight. Anodized or powder-coated finishes add extra protection and style.
3. Polycarbonate or Acrylic Panels
Want windows or vents? Transparent polycarbonate panels offer impact resistance and UV protection. They’re heavier than plastic alternatives but far safer than glass. Acrylic is lighter but more prone to scratching.
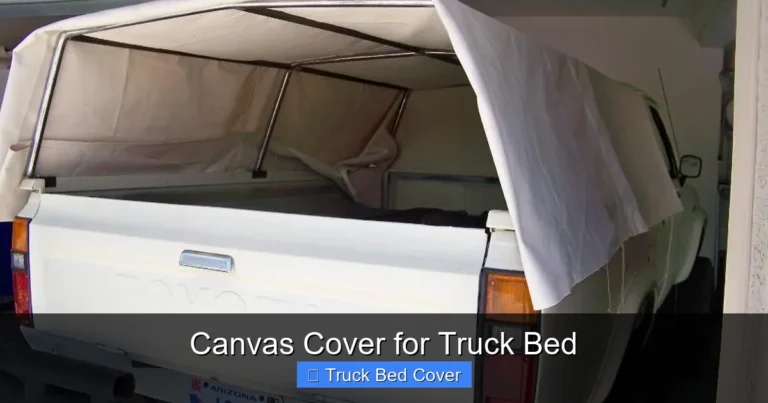
4. Fabric Options: Vinyl vs. Canvas
For soft-top covers, vinyl is waterproof and easy to clean. Canvas breathes better (good for temperature control) but requires treatment to resist mold and mildew. Both work well if sealed properly.
5. Sealants and Fasteners
Don’t skimp on silicone sealant, foam weatherstripping, or stainless steel bolts. These prevent leaks and ensure your cover stays tight through wind, rain, and rough roads.
Budget Tip: Check local classifieds, salvage yards, or online marketplaces for discounted surplus materials. Old boat docks, warehouse shelving, or construction sites sometimes yield usable scraps.
Designing Your Bed Cover: Style Meets Function
Now comes the fun part—designing your cover! There are several popular styles, each with pros and cons:
Tri-Fold Covers
Most common and easiest to build. Divide your cover into three sections hinged together. When opened, they fold neatly behind the cab. Ideal for frequent access. Use piano hinges for smooth operation.
Roll-Up Covers
Fabric rolls along a track at the front. Great for quick access and compact storage. Requires a sturdy rail system and tension rods. Best with vinyl or reinforced canvas.
Retractable Hard Covers
Slide back like a garage door. More complex to build but offers full-bed coverage when closed. Needs linear tracks, bearings, and a manual crank or motorized option.
Top-Mount Hard Shells
Fixed panels mounted directly to the bed rails. Most rigid and secure. Can include lockable latches and integrated hinges. Heavier but very durable.
Hybrid Designs
Combine elements—like a hard shell with a roll-up section. Get the best of both worlds: security when closed, flexibility when open.
When designing, consider:
- How often you need access?
- What kind of cargo do you carry?
- Is your truck used daily or seasonally?
- Do you live in a rainy, snowy, or dusty climate?
Sketch your idea on graph paper first. Label all parts: frame, panels, hinges, latches, seals. Then estimate material quantities and costs.
Step-by-Step Construction Process
Ready to build? Follow this general workflow:
Step 1: Build the Frame
Cut four side rails and two cross members from 1×2 or 2×4 lumber. For aluminum frames, use angle brackets and corner connectors. Sand edges smooth to prevent snags.
Step 2: Attach Panels
Secure your chosen material (plywood, aluminum, etc.) to the frame using screws, rivets, or adhesive. Pre-drill holes to avoid splitting wood. Overlap seams slightly and seal with caulk.
Step 3: Install Hinges and Latches
Mount hinges at the front edge for folding or sliding mechanisms. Add latches or buckles at the rear to keep the cover locked down. Test movement before finalizing.
Step 4: Weatherproof the Edges
Apply rubber gaskets or foam tape along the bottom and sides where the cover meets the bed rails. This creates a watertight seal. Silicone spray helps too.
Step 5: Mount to the Truck
Use U-bolts, L-brackets, or bed rail clamps to attach the frame securely. Avoid drilling directly into the truck bed—use existing bolt holes or non-permanent mounts if possible.
Step 6: Test and Adjust
Close the cover fully. Check for gaps, looseness, or water intrusion during light rain. Make adjustments as needed.
Example: For a tri-fold cover, space the center hinge so each panel is about 1/3 the bed length. Use heavy-duty hinges rated for outdoor use.
Safety First: Wear gloves, safety glasses, and ear protection when cutting or drilling. Work in a well-ventilated area when using adhesives or sealants.
Installation Tips for Maximum Security and Performance
Even the best-designed cover won’t protect your cargo if it’s loose or leaking. Follow these installation best practices:
Use Quality Clamps and Brackets
Avoid flimsy plastic clips. Opt for stainless steel U-bolts or adjustable bed rail clamps. They distribute pressure evenly and resist corrosion.
Seal Gaps with Foam Tape
Apply closed-cell foam tape along the entire perimeter of the cover’s underside. It compresses when clamped down, creating a tight seal against dust and water.
Install Drainage Channels
If your cover collects condensation or rainwater, drill small drainage holes near the edges and direct them into the bed using PVC tubing.
Lubricate Moving Parts
Wax hinges and sliding tracks annually to prevent sticking and rust. Use silicone-based lubricant—never oil, which attracts dirt.
Add Anti-Theft Features
Install padlock hasps, cable locks, or keyed latches. Consider integrating a GPS tracker inside the cover for high-value items.
Check Fit Monthly
Truck beds settle over time. Recheck tightness every few months, especially after heavy loads or off-road use.
Real-World Example: One DIYer built a roll-up cover using marine plywood, aluminum channels, and a canvas top. After six months of daily use in Arizona heat, he reported zero water leaks and only minor fraying at the edges—fixable with a simple patch kit.
Maintenance and Longevity of Your DIY Bed Cover
Like any outdoor structure, your diy bed cover for truck needs care to last. Here’s how to maintain it:
Clean Regularly
Wipe down surfaces weekly with mild soap and water. For fabric tops, use a vinyl cleaner and avoid harsh chemicals that strip protective coatings.
Inspect for Damage
Look for cracks, warping, rust, or loose fasteners every few weeks. Replace damaged parts immediately to prevent bigger issues.
Reapply Sealants Annually
Silicone sealant degrades in sunlight. Reapply it each spring before the rainy season hits.
Store Properly When Not in Use
If you remove the cover seasonally, store it in a dry place out of direct sun. Roll fabric covers loosely—don’t crease them.
Winter Care
In snowy climates, clear ice buildup gently with a plastic scraper. Never use metal tools that could scratch surfaces.
With proper maintenance, a well-built DIY cover can last 5–10 years or more. Many DIYers report their covers outlasting expensive commercial models due to superior customization and attention to detail.
Customization Ideas to Personalize Your Cover
Make your truck truly yours with creative upgrades:
Add Ventilation
Drill small holes near the front and rear with mesh screens to reduce airflow blockage while keeping debris out.
Integrate Lighting
Install LED strips inside the cover for nighttime visibility. Use solar-powered lights to avoid wiring headaches.
Paint or Wrap It
Match your truck’s color or go bold with matte black, camouflage, or reflective graphics. Use automotive-grade paint or vinyl wraps for longevity.
Include Tool Storage
Build compartments into the underside for wrenches, flashlights, or emergency kits.
Mount Bike Racks
Attach a roof-style rack to the top of the cover for transporting bikes or kayaks.
These tweaks turn utility into expression—proving that a diy bed cover for truck isn’t just functional; it’s personal.
Frequently Asked Questions
What tools do I need to build a DIY bed cover?
You’ll need a circular saw or jigsaw, drill, screwdriver, measuring tape, level, clamps, sandpaper, and safety gear. Optional: a table saw for precision cuts.
How long does it take to build a DIY bed cover?
Most people finish a basic tri-fold or flat cover in one weekend (8–12 hours). Complex designs like retractables may take 2–3 days.
Can I use regular plywood instead of marine-grade?
Temporarily, yes—but standard plywood absorbs moisture and swells. For long-term use, especially in humid or wet climates, marine-grade is strongly recommended.
Will a DIY cover improve my truck’s gas mileage?
Yes! A well-fitted cover reduces drag by sealing the open bed. Studies show improvements of 3–10%, depending on speed and design.
Can I add a lock to my DIY bed cover?
Definitely. Install a padlock hasp, keyed latch, or cable lock. Position them discreetly to deter thieves while maintaining ease of access.
What’s the biggest mistake new DIYers make?
Underestimating weather sealing. Even small gaps let water in. Always prioritize quality gaskets, sealants, and tight fits over speed or aesthetics.