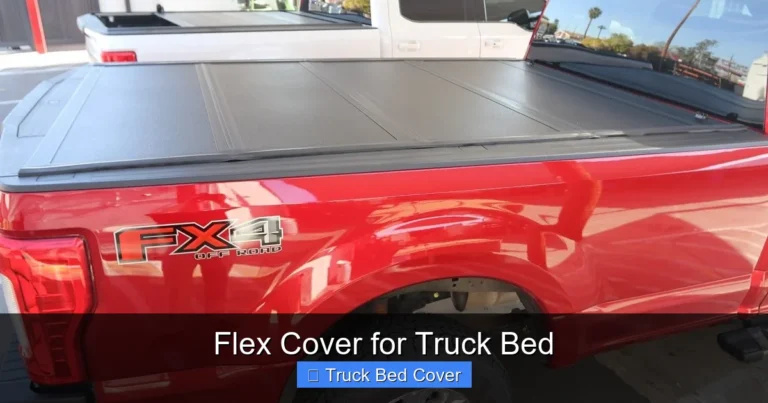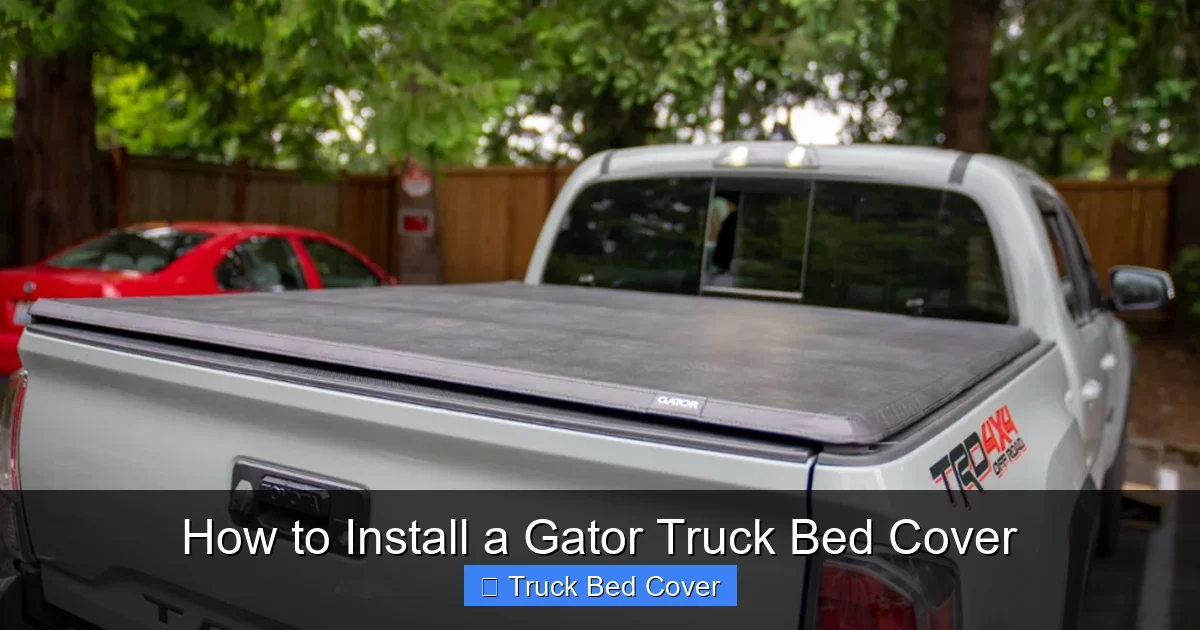
How to Install a Gator Truck Bed Cover
Installing a Gator Truck Bed Cover is easier than you think—even if you’re not a DIY expert. With the right tools, clear instructions, and a little patience, you can secure your truck bed in under an hour. This guide walks you through every step, from prepping your vehicle to final adjustments, so your gear stays safe and your truck looks sharp.
Key Takeaways
- Tools You’ll Need: Most installations require only basic hand tools like a socket wrench, screwdriver, and tape measure—no power tools needed.
- Pre-Installation Prep: Clean your truck bed thoroughly and ensure it’s level for a smooth, secure fit.
- Alignment Is Key: Position the cover carefully before tightening bolts to avoid gaps or misalignment.
- Weather Matters: Install on a calm day; wind or rain can complicate securing the cover properly.
- Test the Fit: After installation, open and close the cover several times to check for smooth operation.
- Maintenance Tips: Regularly inspect seals and hardware to keep your Gator cover performing at its best.
- Safety First: Always wear gloves and eye protection when handling tools and metal parts.
[FEATURED_IMAGE_PLACEHOLDER]
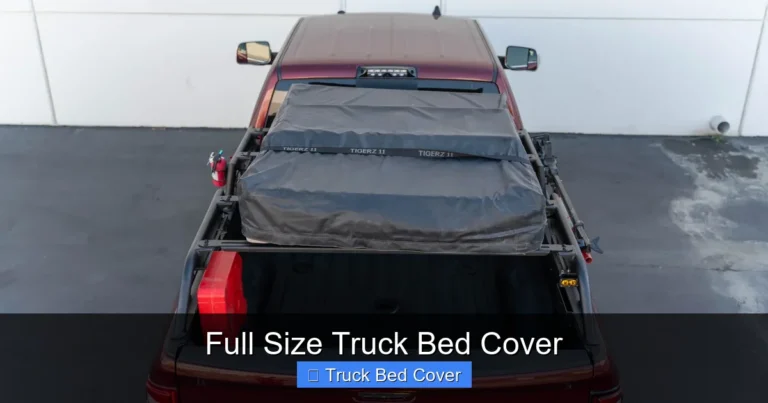
Installing a Gator truck bed cover is one of the smartest upgrades you can make to protect your cargo, improve fuel efficiency, and give your truck a sleek, finished look. Whether you’re hauling equipment, transporting gear for weekend adventures, or just want to keep rain and dirt out of your bed, a high-quality tonneau cover like the Gator series delivers. Known for their durability, ease of use, and excellent sealing properties, Gator covers come in multiple styles—rolling, folding, and retractable—each designed to suit different needs and driving habits.
But here’s the thing: even the best truck bed cover won’t do much good if it’s not installed correctly. A poorly fitted cover can rattle, leak, or even fall off during transport, defeating the entire purpose. That’s why we’re diving deep into a complete, step-by-step guide on how to install a Gator truck bed cover. From unpacking your kit to making final adjustments, this article will walk you through everything you need to know—whether you’re a seasoned DIYer or tackling your first truck modification project.
Key Takeaways
- Understanding how to install a gator truck bed cover: Provides essential knowledge
Quick Answers to Common Questions
Can I install a Gator truck bed cover myself?
Absolutely! Most Gator covers are designed for DIY installation and typically take less than two hours to complete. With basic tools and following the included instructions, almost anyone can get it done.
Do I need to drill holes to install a Gator cover?
No, most Gator systems use clamp-on installation that attaches to existing truck bed rails without drilling. However, some custom setups may require minor modifications—always check your specific model’s requirements.
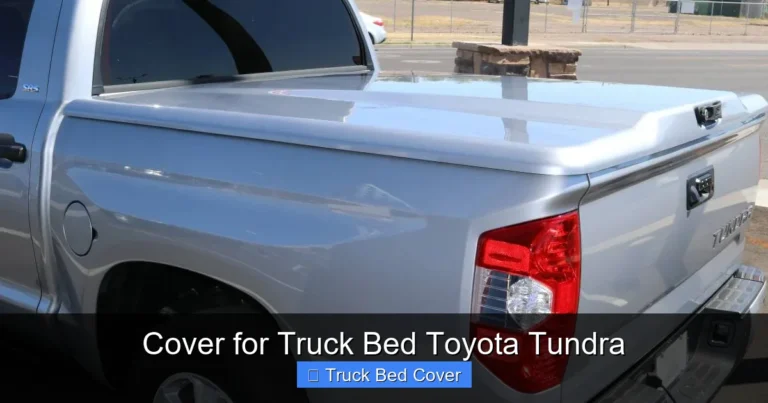
Will a Gator cover fit my truck?
Gator offers models tailored to specific truck makes and model years. Be sure to select the correct fit when purchasing. Using the wrong size can lead to poor sealing or improper operation.
How do I clean my Gator truck bed cover?
Simply wipe the surface with a damp cloth and mild soap. For tougher stains, use a soft brush and avoid abrasive cleaners or solvents that could damage the material.
What should I do if my cover starts leaking?
First, check that all seals are properly attached and clamps are tightened evenly. Reapply weather stripping if necessary, and ensure the tailgate closes flush with the cover.
📑 Table of Contents
- Understanding Your Gator Truck Bed Cover
- Tools and Materials You’ll Need
- Step 1: Prepare Your Truck Bed
- Step 2: Unpack and Inspect the Gator Kit
- Step 3: Install the Side Rails
- Step 4: Attach the Cover to the Rails
- Step 5: Seal and Secure the Edges
- Step 6: Test the Installation
- Final Tips for Long-Term Performance
Understanding Your Gator Truck Bed Cover
Before grabbing your tools, it’s important to understand what makes a Gator cover special—and how to choose the right model for your truck. Gator offers several popular types:
– Gator Roll-Up Covers: These are among the most popular due to their simplicity and affordability. Made from heavy-duty vinyl, they roll up tightly against the cab and lock securely in place.
– Gator Folding Covers: Ideal for frequent access, these feature multiple panels that fold neatly over the bed.
– Gator Retractable Covers: For those who want maximum flexibility, these slide open like a garage door and store compactly behind the cab.
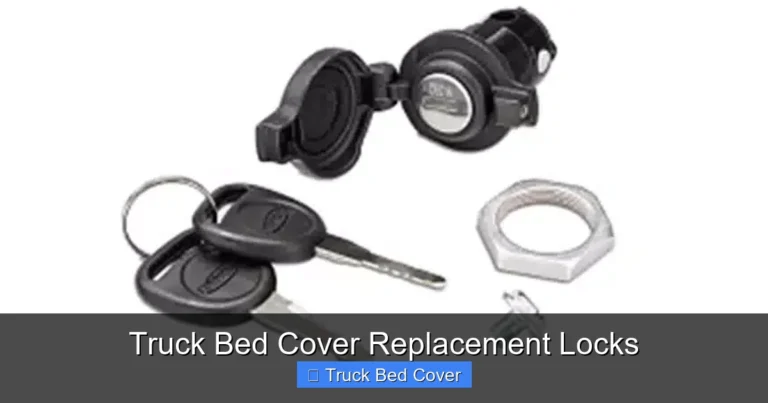
Each model comes with specific hardware tailored to your truck’s bed length and rail system. Most Gator kits include side rails, clamps, bolts, rubber seals, and mounting brackets. Some also include weather stripping and drain tubes to manage condensation.
Knowing which type you have helps you anticipate installation steps. For example, a roll-up cover requires fewer moving parts than a folding model, but both follow a similar process: prepare the bed, attach rails, mount the cover, and test the fit.
Tools and Materials You’ll Need
Visual guide about How to Install a Gator Truck Bed Cover
Image source: realtruck.com
You don’t need a full workshop setup to install a Gator truck bed cover—just a few common tools and a clean workspace. Here’s what to gather before starting:
- Socket wrench or adjustable wrench – Most hardware uses standard 1/4-inch or 5/16-inch bolts.
- Screwdriver (Phillips and flathead) – For adjusting clamps or tightening screws.
- Tape measure – To confirm proper spacing between rails and clamps.
- Ladder or step stool – Especially helpful for taller trucks or hard-to-reach areas.
- Clean cloth and mild soap – For cleaning the truck bed surface.
- Rubber mallet (optional) – Useful for gently tapping components into alignment.
- Work gloves – Protect your hands from sharp edges and hardware.
Having everything ready ahead of time saves frustration and prevents mid-installation trips to the hardware store. Also, double-check the contents of your Gator kit against the instruction manual—some models include extras like foam tape or additional sealants that aren’t always obvious at first glance.
Step 1: Prepare Your Truck Bed
The foundation of a successful installation starts with a clean, dry truck bed. Any dirt, debris, or moisture can compromise the seal and cause long-term issues like rust or mold.
Begin by removing loose items from the bed—tools, spare tires, or storage bins. Then, wash the entire surface with soapy water and rinse thoroughly. Let it air-dry completely, or use a clean towel to remove any remaining moisture. Pay special attention to the area where the side rails will sit; this section must be free of grease, oil, or old adhesive residue.
Next, inspect the truck bed rails themselves. These are the metal tracks running along the top edge of the bed where the cover attaches. Make sure they’re straight, undamaged, and free of rust. If your truck doesn’t have factory-installed rails, don’t worry—most Gator kits come with universal mounting brackets that work on trucks without them.
Finally, lay down a piece of cardboard or soft fabric to protect the bed paint while you work. This prevents accidental scratches from tools or dropped hardware.
Step 2: Unpack and Inspect the Gator Kit
Now that your truck is prepped, unbox your Gator cover and lay out all components. This is a great time to familiarize yourself with each part before assembly begins.
Typical contents include:
- Side rails (left and right)
- End caps
- Clamp assemblies
- Bolts, washers, and nuts
- Weather stripping or foam tape
- Instruction manual
Check for any visible damage during shipping—cracked plastic parts or bent metal pieces should be reported to the manufacturer immediately. Also, verify that you have all the hardware specified for your truck model. Mixing up bolts or using incorrect fasteners can lead to weak connections or leaks.
Take a moment to read through the instruction manual. While we’re covering general best practices here, your specific Gator model may have unique features—like integrated tailgate seals or quick-release mechanisms—that require special attention.
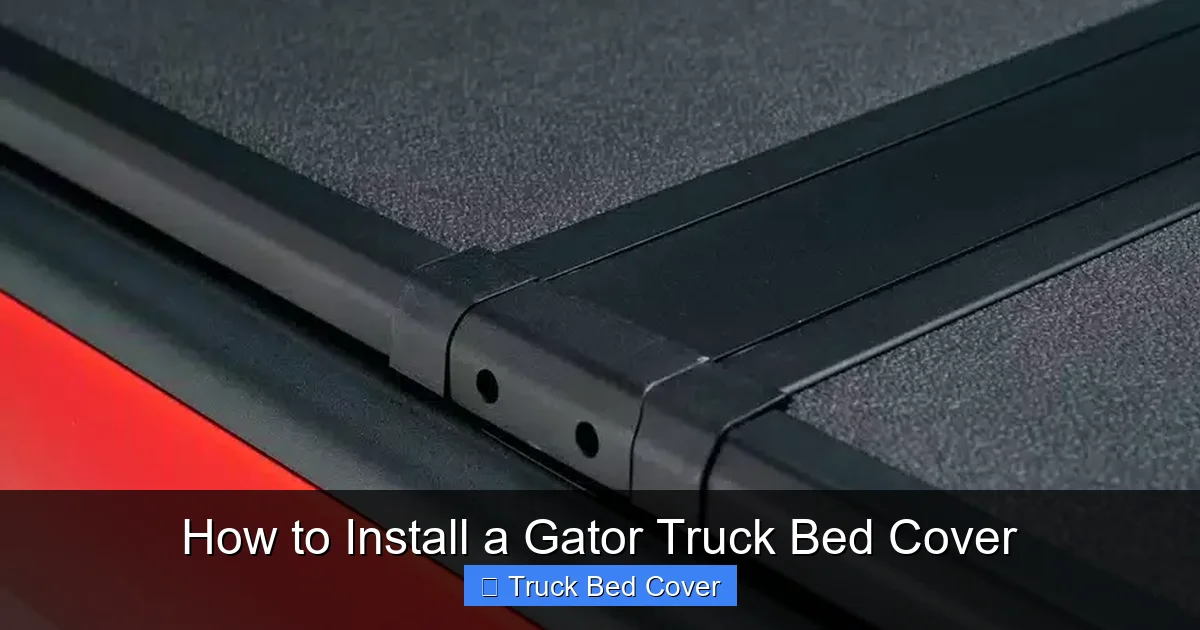
Step 3: Install the Side Rails
With everything laid out and inspected, it’s time to attach the side rails. These form the backbone of your cover and must be perfectly aligned for a tight, watertight seal.
Start by attaching the end caps to the rails. Slide them onto the ends and secure with the provided screws. Don’t overtighten—just snug enough to hold steady during installation.
Next, position the rails along the top edge of the truck bed. Use the clamp assemblies to fasten them in place. Most Gator systems use T-style or U-style clamps that grip the bed rail without drilling into the truck frame.
Pro tip: Measure twice before tightening! The rails should run parallel to each other and sit flush against the bed walls. Use a tape measure to confirm equal distance at both front and back. Uneven rails can cause the cover to sag or bind when opened.
Once aligned, hand-tighten the clamps first. Then, go back and fully tighten them with your wrench. Check again after tightening to ensure nothing shifted.
Step 4: Attach the Cover to the Rails
This is where the magic happens—literally. Depending on your Gator model, the cover attaches in slightly different ways, but the core principle remains the same: slide or hook the cover onto the rails and secure it.
For roll-up covers, locate the roller tube at the front of the bed. Insert it into the designated slot on the rail. Then, feed the rear of the vinyl sheet into the track at the tailgate side. Pull the sheet taut and lock it into place using the built-in latch or buckle.
For folding covers, unfold the panels and align them with the rails. Most models use snap-on connectors or sliding clips that click into the rail track. Work from one end to the other, ensuring each panel is seated fully before moving on.
Retractable models typically involve sliding the main beam into the rail system at the front and locking it at the back. Follow the manufacturer’s guidance for tension adjustment—too loose, and the cover won’t stay closed; too tight, and it won’t roll smoothly.
As you attach the cover, periodically test its movement. It should glide easily without resistance. If you feel binding, stop and recheck rail alignment.
Step 5: Seal and Secure the Edges
Even the best-fitting cover can leak if the edges aren’t properly sealed. This is especially true around the tailgate and cab wall.
Most Gator kits include adhesive-backed foam tape or rubber gaskets. Apply these along the bottom edge of the cover where it meets the bed. Press firmly to ensure a strong bond.
If your model includes a tailgate seal, attach it now. This flexible strip runs across the top of the tailgate and compresses when the tailgate closes, creating a watertight barrier.
Double-check all clamps, bolts, and latches. They should feel secure but not overly tight—remember, metal expands and contracts with temperature changes, so some give is normal.
Step 6: Test the Installation
Before considering the job done, put your new cover through its paces.
Open and close it several times to check for smooth operation. Listen for unusual noises like rattling or grinding—these often indicate loose hardware or misaligned rails.
Test it in light rain (if possible) or use a hose to spray water over the bed. Look for any signs of leakage around seams or edges. Adjust seals or re-tighten clamps as needed.
Also, drive short distances at low speeds to simulate real-world conditions. This helps identify vibrations or shifts that might not appear when parked.
Final Tips for Long-Term Performance
A great installation isn’t just about getting it done—it’s about keeping it working well for years. Here are a few maintenance tips:
- Regular Cleaning: Wipe down the cover monthly with mild soap and water. Avoid harsh chemicals that can degrade vinyl.
- Inspect Hardware Annually: Check for rust, stripped threads, or worn-out seals. Replace as needed.
- Lubricate Moving Parts: Use silicone-based lubricant on rollers or hinges to prevent sticking.
- Store Properly: If leaving the cover rolled or folded for extended periods, ensure it’s dry and not compressed under heavy objects.
And remember: if you ever notice condensation building up inside the bed, most Gator models are designed with ventilation channels or drain tubes to allow airflow while preventing leaks.
Frequently Asked Questions
How long does it take to install a Gator truck bed cover?
Most installations take between 1 to 2 hours, depending on your experience level and the complexity of the model. Rolling covers tend to be quicker than folding or retractable ones.
Can I install a Gator cover on a truck without factory rails?
Yes, many Gator kits include universal mounting brackets that work on trucks without pre-installed rails. Just follow the included instructions for adapter placement.
Is a Gator cover waterproof?
While no cover is 100% waterproof, Gator covers are designed with high-quality materials and tight seals that effectively block most rain and snow. Minor seepage may occur in extreme conditions.
Do I need special tools to install a Gator cover?
No, most installations require only a socket wrench, screwdriver, and tape measure. No power tools or professional equipment are needed.
Can I remove and reinstall the cover frequently?
Yes, Gator covers are built for repeated removal and reinstallation. However, excessive handling without care can wear out seals or loosen hardware over time.
Will installing a cover void my truck’s warranty?
Generally, no—as long as the installation doesn’t damage the truck bed or frame. Always consult your owner’s manual or dealership if concerned about warranty implications.