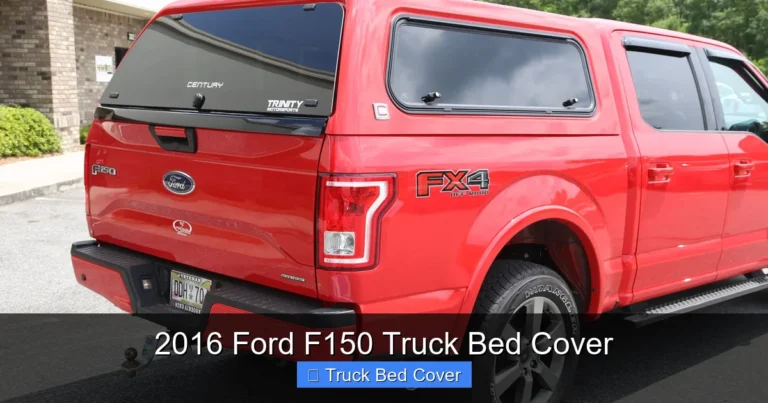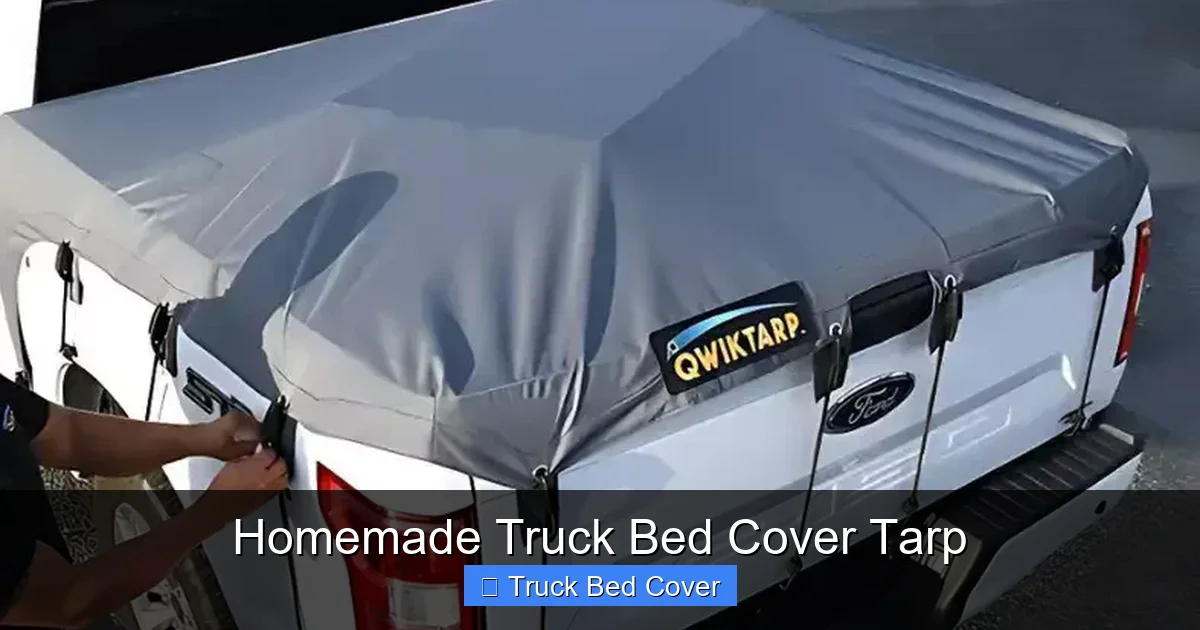
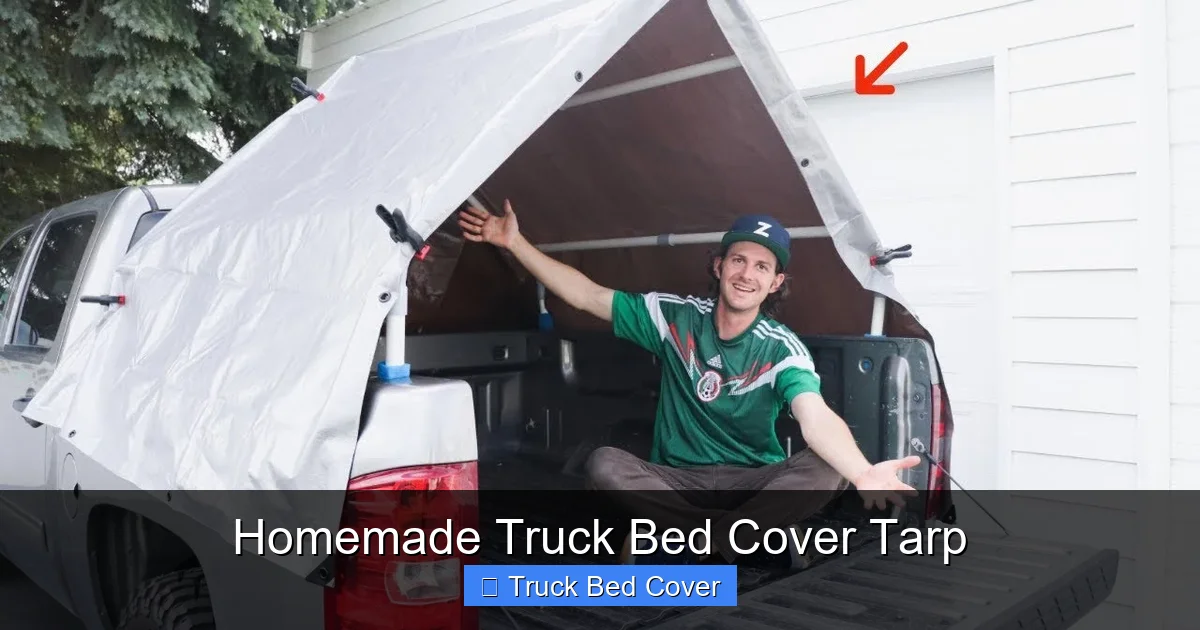
Homemade Truck Bed Cover Tarp
Creating a homemade truck bed cover tarp is a smart, budget-friendly way to protect your gear from rain, dirt, and sun damage. With simple materials and basic tools, you can build a custom fit that lasts for years—no expensive store-bought covers needed. Whether you’re hauling equipment or camping supplies, this DIY project gives you control over size, material, and security.
Have you ever loaded up your truck with lumber, furniture, or camping gear only to watch it get soaked by an unexpected downpour? Or worse—return home to find your cargo buried under a layer of dust and grime? If so, you’re not alone. Truck owners across the country face this same frustration every time they hit the road. While there are plenty of store-bought truck bed covers available, many come with limitations: they’re expensive, don’t always fit perfectly, or require extra hardware you may not have.
That’s where a homemade truck bed cover tarp comes in. It’s a practical, affordable, and surprisingly effective solution that lets you take control of your cargo protection. Whether you’re a weekend warrior, a tradesperson, or just someone who values their gear, making your own tarp means you get exactly what you need—no compromises.
In this complete guide, we’ll walk you through everything you need to know about creating a reliable, long-lasting homemade truck bed cover tarp. From choosing the right fabric to securing it properly, we’ll cover all the steps so you can build something that works as hard as you do.
Key Takeaways
- Durable Protection: A homemade truck bed cover tarp shields your cargo from weather, dust, and UV rays using heavy-duty fabrics like canvas or vinyl.
- Cost-Effective: Making your own tarp saves money compared to commercial covers, especially when you reuse old sheets or tarps.
- Custom Fit: You control the size and shape, ensuring full coverage without overhangs that flap in the wind.
- Easy to Install: Most homemade tarps use bungee cords, ratchet straps, or tie-downs for quick setup and removal.
- Reusable & Repairable: Unlike paper or plastic bags, a well-made tarp can be used season after season and patched if damaged.
- Safety First: Properly secured tarps prevent shifting loads and reduce wind resistance during travel.
- Eco-Friendly Option: Upcycling old materials reduces waste while giving them a second life on your truck.
Quick Answers to Common Questions
How thick should my tarp be?
For everyday use, choose fabric at least 10 ounces per square yard. Thicker materials resist tears and weather better, lasting longer than thinner alternatives.
Can I use a plastic tarp instead?
While plastic tarps are cheap, they’re prone to cracking in cold weather and don’t breathe well, trapping condensation. Canvas or vinyl-coated polyester is a more durable choice.
Do I need special tools to make this?
Basic tools like scissors, a needle and thread (or sewing machine), and a hammer for grommet installation are sufficient. No power tools required!
Will this work for pickup trucks with toolboxes?
Yes! Just adjust measurements to account for the box. You may need to leave a gap or design a removable section for access.
How do I fix a torn grommet?
Remove the old ring, insert a new one using a grommet setter (available at hardware stores), and hammer it securely in place. Reinforce nearby fabric if needed.
📑 Table of Contents
- Why Choose a Homemade Truck Bed Cover Tarp?
- Choosing the Right Materials for Your Homemade Tarp
- Step-by-Step Guide to Building Your Own Tarp
- Securing Your Tarp Like a Pro
- Maintenance and Longevity Tips
- Common Mistakes to Avoid
- Real-Life Examples and Success Stories
- Conclusion: Build Smart, Drive Confidently
Why Choose a Homemade Truck Bed Cover Tarp?
Before diving into materials and methods, let’s talk about why going the DIY route makes sense. Commercial truck bed covers—like roll-up tonneau covers or soft tri-folds—can cost hundreds of dollars. Even basic tarps from big-box stores often lack durability and proper sizing. By contrast, a homemade tarp uses off-the-shelf materials you likely already have access to, such as old sails, canvas drop cloths, or even heavy-duty moving blankets.
Plus, when you make your own cover, you’re not just saving money—you’re getting a product tailored to your exact needs. Want extra length to drape over the sides? No problem. Need reinforced corners for tying down? Easy to add. And because you built it yourself, you’ll feel confident knowing it can handle tough conditions.
Let’s explore the benefits in more detail.
Affordability Without Sacrificing Quality
Many people assume that “cheap” means low quality. But with the right approach, a homemade tarp can outperform flimsy store-bought versions. For example, instead of buying a $50 polyester tarp that tears after one storm, you could use a $20 canvas sheet reinforced with rope and grommets—materials that last for years.
And here’s another advantage: you avoid hidden costs. Store-bought covers often require additional accessories like clamps, rails, or mounting kits. With a DIY tarp, those extras aren’t necessary. You keep things simple and functional.
Perfect Fit Every Time
One of the biggest headaches with universal truck bed covers is the gap between the cover and the tailgate. This leaves your cargo exposed to wind, rain, and debris. A homemade tarp eliminates this issue because you measure and cut it specifically for your truck’s dimensions.
Want to add a 6-inch overhang on each side? Just extend the fabric accordingly. Need a flap that folds down over the tailgate? Add it before sewing or gluing everything together. The flexibility is unmatched.
Eco-Conscious Choice
If sustainability matters to you, consider repurposing old materials. Many households have forgotten treasures like boat tarps, old tents, or even fire-resistant blankets lying around. Instead of tossing them out, why not give them a new purpose on your truck?
This approach reduces landfill waste and keeps useful items in circulation longer. Plus, you’ll feel good about supporting a circular economy while protecting your belongings.
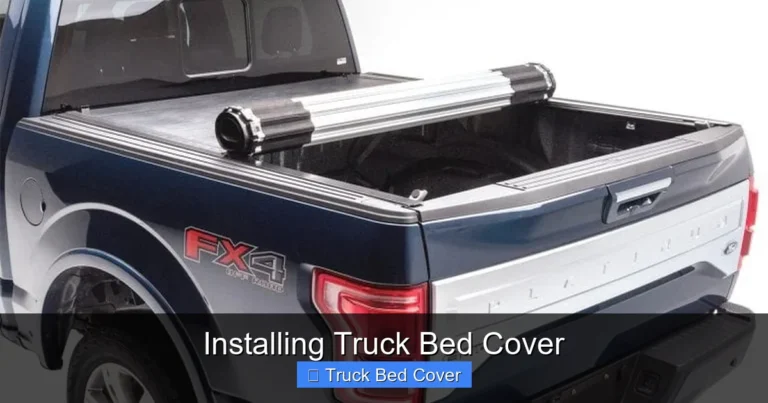
Choosing the Right Materials for Your Homemade Tarp
Visual guide about Homemade Truck Bed Cover Tarp
Image source: i.ytimg.com
The success of your homemade truck bed cover tarp hinges largely on the materials you choose. Not all fabrics are created equal—some work better than others depending on your climate, budget, and intended use.
Top Fabric Options
- Canvas: Breathable, durable, and resistant to mildew. Ideal for dry climates but can absorb water if untreated.
- Vinyl-Coated Polyester: Waterproof and tear-resistant. Great for wet environments but less breathable.
- Canvas Drop Cloths: Inexpensive and widely available at craft stores. Often pre-treated for water resistance.
- Old Sails or Boat Tarps: Naturally designed for outdoor exposure. Look for UV-stabilized versions to prevent cracking.
- Heavy-Duty Moving Blankets: Flame-retardant and reusable. Good for short-term protection but not ideal for long-term outdoor storage.
When selecting fabric, prioritize thickness (measured in denier) and weight. Aim for at least 10-ounce material for everyday use. Lighter fabrics might save money upfront but won’t hold up well over time.
Reinforcement Essentials
Even the sturdiest fabric needs reinforcement at stress points. Consider adding:
- Rope or Webbing: Sew or staple onto edges to prevent fraying.
- Grommets: Metal rings inserted into corners and along borders for easy tying.
- Velcro Strips: Useful for quick closures without knots.
- Straps or Buckles: Adjustable fasteners help secure the tarp tightly.
These additions make installation faster and more secure—especially important when driving at high speeds.
Step-by-Step Guide to Building Your Own Tarp
Ready to get hands-on? Here’s how to build a professional-looking homemade truck bed cover tarp in six straightforward steps.
Step 1: Measure Your Truck Bed
Start by measuring the interior length, width, and height of your truck bed. Don’t forget to include the tailgate area—it affects how much fabric you’ll need. Write down these numbers so you can buy enough material without wasting money.
Tip: Use a tape measure and mark the spots where you’ll place grommets later.
Step 2: Cut the Fabric to Size
Lay your chosen fabric flat and use chalk or a marker to trace your measurements. Add an extra 8–12 inches on all sides for overlap and tying space. Double-check your cuts before proceeding—measure twice, cut once!
If you’re using multiple pieces (for large beds), seam them together using heavy-duty thread. Reinforce seams with double stitching or fabric glue for added strength.
Step 3: Reinforce Edges and Corners
To prevent unraveling and increase durability, reinforce every edge with either:
– Canvas webbing
– Nylon rope
– Elastic cord
Attach grommets every 12–18 inches along the perimeter. For corners, add extra layers of fabric or metal corner brackets to distribute tension evenly.
Pro Tip: Pre-treat edges with waterproof sealant if your fabric isn’t already coated.
Step 4: Add Tie-Down Points
Decide where you’ll anchor your tarp. Common locations include:
– Overlapping flaps at the front and rear
– Side edges near the wheel wells
– Center of the bed for crisscross straps
Install D-rings or loops here so you can loop ropes, bungee cords, or ratchet straps through them.
Step 5: Test the Fit
Before finalizing, lay the tarp over your truck bed to check alignment. Make adjustments as needed—trim excess fabric or reposition grommets.
Remember: a snug fit prevents flapping and improves fuel efficiency.
Step 6: Install and Secure
Once satisfied with the fit, secure the tarp using:
– Bungee cords around the bed frame
– Ratchet straps over the top
– Ropes tied to stake pockets (if available)
Always double-check tightness before loading cargo.
Securing Your Tarp Like a Pro
No matter how well-made your homemade truck bed cover tarp is, it won’t do its job if it blows off in the wind. Proper securing techniques are non-negotiable.
Bungee Cords vs. Ratchet Straps
Bungee cords are flexible and great for quick setup, but they lose elasticity over time. Ratchet straps offer maximum tension and are ideal for heavy loads or long trips.
For best results, combine both: use bungees for initial placement and ratchets for final tightening.
Wind-Resistant Techniques
To minimize flapping:
– Overlap the front flap over the cab slightly.
– Tie side edges down low, close to the bed rails.
– Use cross-straps across the center to stabilize the middle.
Avoid leaving gaps—even small openings create suction that lifts the tarp.
Weather-Specific Tips
– Rain: Ensure water flows off the sides rather than pooling. Slight upward tilt helps drainage.
– Snow: Remove heavy snow buildup to avoid tearing. Use a soft brush to clear gently.
– Heat: Choose UV-resistant fabric to prevent melting or brittleness.
Maintenance and Longevity Tips
Like any tool, your homemade tarp benefits from regular care. Follow these tips to extend its lifespan:
Clean After Each Use
Wipe down the surface with a damp cloth to remove dirt and salt. Let it air dry completely before storing.
Store Properly
Roll the tarp loosely instead of folding creases. Keep it in a cool, dry place away from direct sunlight.
Inspect Regularly
Check for:
– Frayed edges
– Loose grommets
– Mold or mildew
Repair minor issues immediately to prevent bigger problems later.
Patch Small Tears Quickly
Carry a repair kit with duct tape, fabric patches, and thread. Address damage within 24 hours to maintain waterproof integrity.
Common Mistakes to Avoid
Even experienced DIYers make errors. Watch out for these pitfalls:
– Using too thin a fabric—results in rapid wear.
– Skipping edge reinforcement—leads to unraveling.
– Over-tightening straps—can rip grommets.
– Ignoring ventilation—trapped moisture causes mildew.
– Neglecting seasonal maintenance—reduces longevity.
Learning from others’ mistakes helps you skip trial-and-error phases.
Real-Life Examples and Success Stories
Meet John, a contractor who built his own tarp from an old sail. He saved $300 compared to buying a commercial cover and now uses it daily to protect roofing materials. “It fits perfectly and hasn’t failed me yet,” he says.
Another user, Maria, repurposed a canvas drop cloth and added Velcro strips for fast access. She loves how lightweight it is and how easy it rolls up after each job site visit.
These stories show that creativity and common sense go a long way.
Conclusion: Build Smart, Drive Confidently
A homemade truck bed cover tarp isn’t just a shortcut—it’s a smarter investment. It combines affordability, customization, and reliability into one versatile solution. Whether you’re hauling tools, sports equipment, or family luggage, a well-designed tarp keeps your cargo safe and dry.
By following this guide, you’ve learned how to select quality materials, construct a custom-fit cover, and secure it effectively. Remember: the goal isn’t perfection—it’s functionality. As long as your tarp stays put and protects what matters, you’ve succeeded.
So next time you see a flimsy tarp fluttering behind a neighbor’s truck, smile knowing you’ve got something better built just for you. Roll up your sleeves, grab some scissors, and start building your own today.
Frequently Asked Questions
Is a homemade tarp as waterproof as store-bought ones?
With proper sealing and material choice, a homemade tarp can be equally waterproof. Use vinyl-coated polyester or treat canvas with waterproof spray for best results.
Can I reuse old sheets or blankets?
Only if they’re thick and sturdy. Thin cotton sheets won’t hold up outdoors. Look for heavy canvas, wool blends, or flame-retardant blankets designed for outdoor use.
What’s the easiest way to attach the tarp?
Bungee cords are simplest for quick setup, but ratchet straps provide tighter security. Combine both methods for optimal hold without damaging your truck bed.
How often should I replace my tarp?
Every 3–5 years under normal use, depending on material quality and exposure. Signs it’s time to replace include frequent leaks, brittle texture, or broken grommets.
Can I paint my tarp to match my truck?
Yes, but only with fabric-safe paints. Test first on a small area. Note that paint may reduce breathability and affect waterproofing over time.
Does the tarp need ventilation holes?
Not usually. Closed tarps work fine unless you’re carrying live plants or perishables. Open designs help reduce wind lift but aren’t essential for most cargo.