How to Remove Truck Bed Cover
Thinking about removing your truck bed cover? Whether you’re upgrading, cleaning underneath, or preparing for a custom paint job, doing it the right way saves time and prevents damage. This guide walks you through every step, from tools needed to safety tips. We’ll help you avoid common mistakes and keep your truck in top shape throughout the process.
Key Takeaways
- Know Your Cover Type: Different covers (soft roll-up, tri-fold, retractable, etc.) require different removal methods. Identifying your type early saves time and frustration.
- Gather the Right Tools: Most removals need only basic tools like screwdrivers, wrenches, and a helper. Having everything ready prevents delays.
- Work Safely: Always wear gloves and eye protection. Secure loose items in the cab before lifting heavy components.
- Follow Manufacturer Instructions: Your cover likely came with a manual. Skipping it can void warranties or damage hardware.
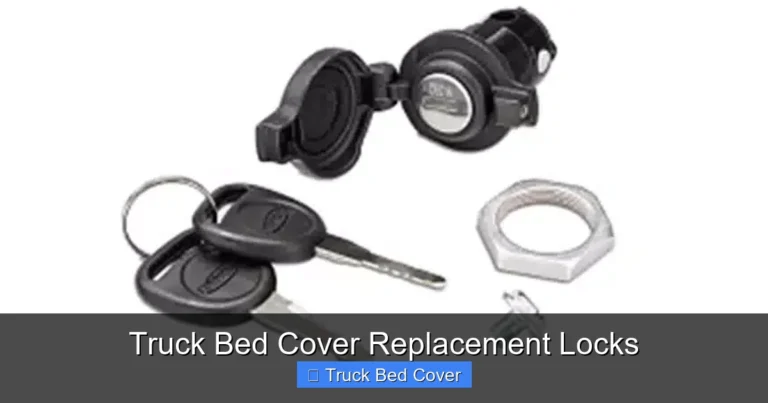
- Store Parts Properly: Keep screws, latches, and rails organized. Losing small parts is easier than you think!
- Consider Professional Help: If your cover has integrated electronics or complex mechanisms, a pro may save you headaches.
Quick Answers to Common Questions
Can I remove my truck bed cover without tools?
Most soft roll-up covers can be removed by hand, but hard covers almost always require at least a screwdriver or wrench. Even then, some clamps or latches may need assistance.
Will removing the cover damage my truck?
No, if done correctly. However, rushing or using excessive force can scratch paint or strip bolts. Follow the steps carefully and work patiently.
Do I need to drain the fuel tank before removing certain covers?
Rarely. Only if your cover sits very close to fuel lines or the tank itself—uncommon on modern trucks. Check your owner’s manual first.
Can I drive with the cover partially removed?
It’s not recommended. Exposure to sun, rain, and debris can damage your bed liner and cargo. Plus, it defeats the purpose of having a cover.
What if my cover has a built-in lock or alarm?
Disconnect the battery first to disable alarms. Then follow standard removal steps. Reconnect power after reinstallation.
📑 Table of Contents
How to Remove Truck Bed Cover: A Step-by-Step Guide
So you’ve decided it’s time to remove your truck bed cover. Maybe you’re getting a new one, prepping for a custom paint job, or just curious about what’s under there. Whatever your reason, removing a truck bed cover might seem daunting at first—but don’t worry. With the right approach, it’s totally doable, even if you’re not a mechanic.
A truck bed cover is more than just a tarp over your cargo area. It protects your stuff from rain, sun, theft, and general wear and tear. But sometimes, life happens. You might want to access the bed rails for accessories, install a camper shell, or simply clean out debris that’s been gathering under there. The good news? Removing your cover doesn’t have to be a stressful event. In this guide, we’ll walk you through everything you need to know—from identifying your cover type to safely storing the parts afterward.
We’ll also share pro tips, warn you about common mistakes, and explain when it might be smarter to call in a professional. By the end, you’ll feel confident tackling this project on your own. Let’s get started!
Understanding Your Truck Bed Cover
Before you grab a wrench or start unscrewing anything, take a moment to understand what kind of cover you’re dealing with. There are several popular types, and each has its own removal process.
Visual guide about How to Remove Truck Bed Cover
Image source: koala.sh
Common Types of Truck Bed Covers
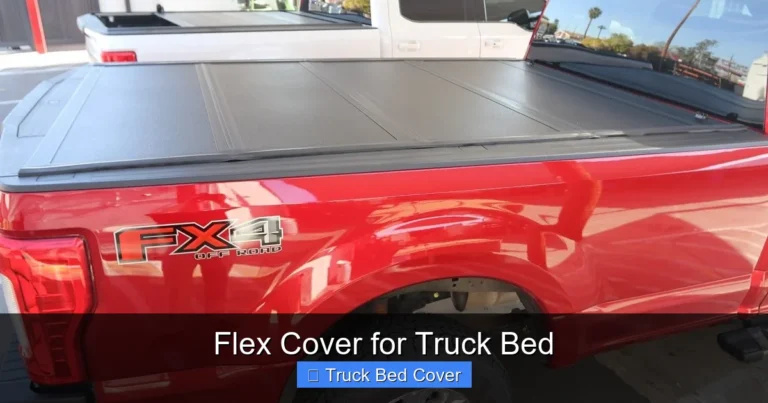
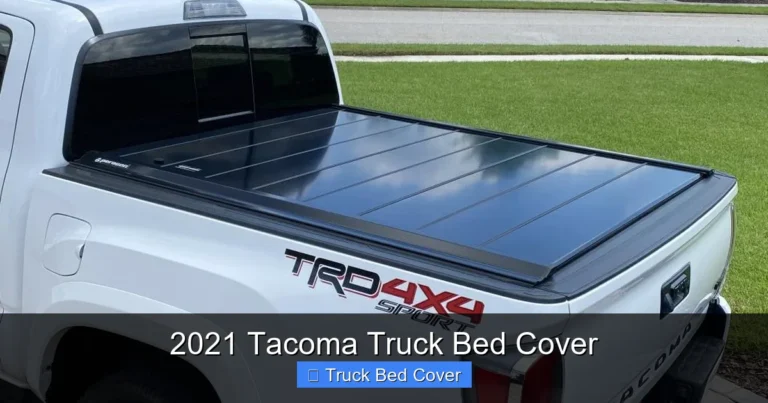
- Soft Roll-Up Covers: These are lightweight, fabric-based covers that roll up into a canister at the front of the bed. They’re easy to operate but often require careful handling during removal.
- Tri-Fold Covers: Made of hard or soft material, these fold into three sections and rest flat on the bed. They usually attach with clamps or bolts along the sides.
- Retractable Hard Covers: These slide open like a garage door and retract into a box behind the cab. Removal can be tricky due to internal tracks and motors.
- Fiberglass or Aluminum Tonneau Covers: Rigid panels that bolt directly onto the bed rails. These are sturdy but heavier to move.
- Drop-in Covers: Snap directly into the bed without needing rails. These are simple to remove but offer less customization.
Knowing your cover type helps you prepare the right tools and anticipate challenges. For example, a retractable cover will need special attention to wiring and alignment, while a tri-fold might just need a few bolts loosened.
Why Would You Want to Remove It?
There are plenty of valid reasons to remove a truck bed cover. Here are some common ones:
- Installing Accessories: Need to mount a ladder rack, bike carrier, or bed mat? Removing the cover gives you full access to the bed rails.
- Preparing for Paint or Body Work: If you’re planning a custom paint job or fixing rust, the cover must come off completely.
- Cleaning Underneath: Over time, dirt, moisture, and debris collect beneath the cover. Removing it allows thorough cleaning.
- Switching to a Different Cover: Maybe you want to trade a soft cover for a hard one, or vice versa. Removal is the first step.
- Troubleshooting Issues: If your cover isn’t sealing properly or makes noise, checking underneath can help diagnose problems.
Whatever your reason, approaching the task methodically will make the process smoother and reduce the risk of damaging your truck or yourself.
Tools and Supplies You’ll Need
You don’t need a full garage setup to remove most truck bed covers. In fact, many people finish the job with just a few household tools. Still, being prepared makes all the difference.
Essential Tools
- Screwdrivers: Phillips and flathead drivers for tightening or loosening screws.
- Socket Wrench Set: For bolts that require more torque, especially on hard covers.
- Pliers or Adjustable Wrench: Handy for gripping nuts and bolts in tight spots.
- Ladder or Sturdy Step: To reach high areas, especially on extended cabs.
- Helper: Seriously—some covers weigh 50+ pounds. Two people make lifting safer and easier.
Optional but Helpful Items
- Shop Towels or Drop Cloths: Protect your truck bed from scratches.
- Ziplock Bags: Label and store small screws and clips so nothing goes missing.
- Flashlight: Good lighting reveals hidden bolts or obstructions.
- Silicone Lubricant: If stuck parts won’t budge, a little spray can help.
- Forcing Parts: If a bolt won’t turn, don’t hammer it. Use penetrating oil and give it time.
- Skipping Photos: You’ll thank yourself later when reassembling.
- Working Alone on Heavy Covers: Seriously—get a buddy.
- Ignoring Weather Conditions: Rain or extreme heat can warp materials or make metal expand/contract unexpectedly.
- Storing Hardware Improperly: Lost screws = delayed projects.
- Align the cover perfectly before tightening bolts.
- Tighten gradually and evenly to avoid warping.
- Check seals and weatherstripping for gaps.
- Test operation multiple times before relying on it daily.
Having these on hand means you won’t be scrambling for something mid-project. And remember: safety first! Wear gloves to protect your hands and eye protection if you’re working with metal parts.
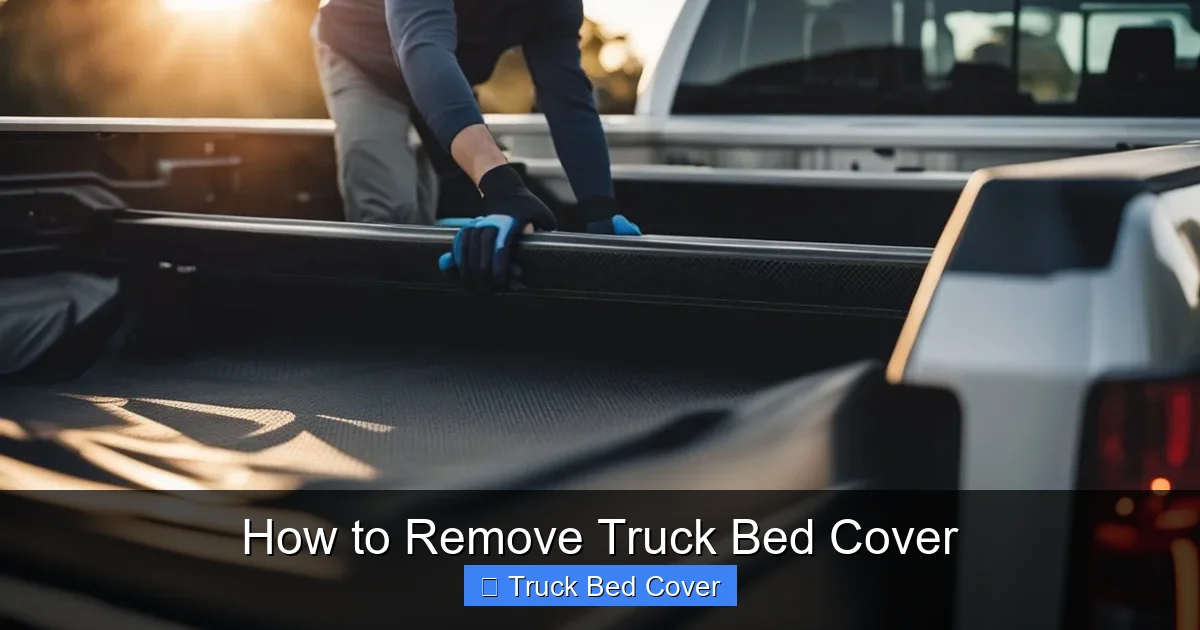
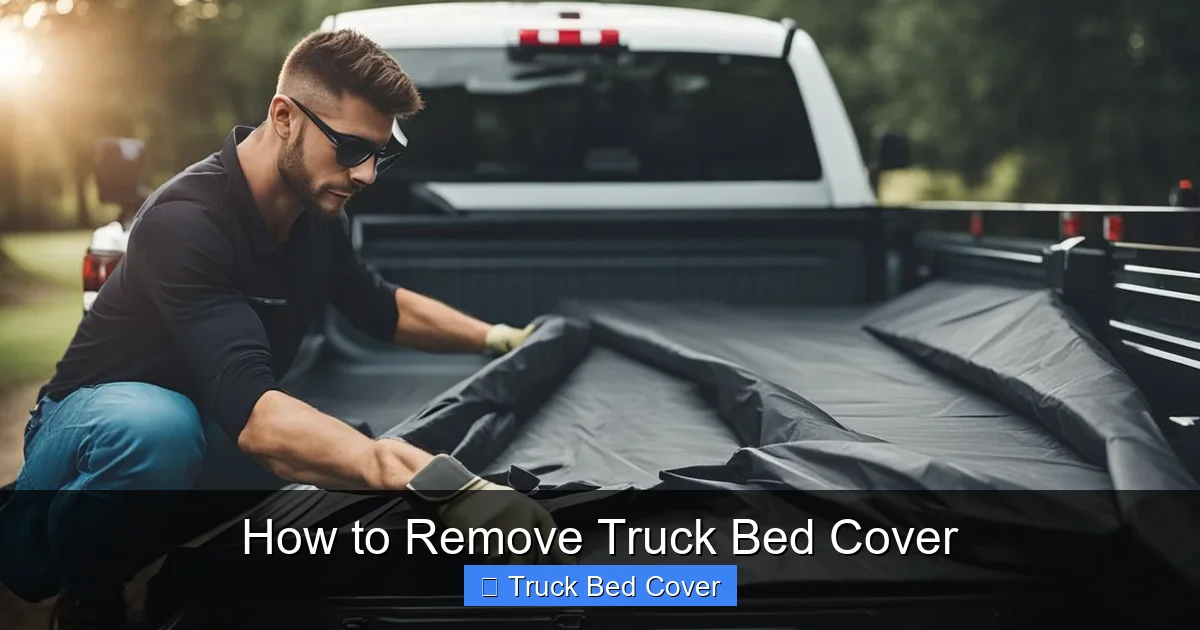
Step-by-Step Removal Process
Now for the main event. While exact steps vary by vehicle and cover type, here’s a general roadmap that works for most setups.
Step 1: Park and Prepare Your Truck
Find a flat, level surface away from traffic. Engage the parking brake and turn off the engine. Clear the bed of any cargo, tools, or debris. If your truck has a bed liner, consider removing it temporarily for easier access—though not always necessary.
Step 2: Open the Cover Completely
Whether it’s rolled up, folded, or retracted, ensure the cover is fully opened. This exposes all attachment points and prevents accidental tearing during removal.
Step 3: Locate and Document Attachment Points
Take photos of how the cover connects to the bed. Note the number and placement of bolts, clamps, or brackets. This helps during reinstallation and avoids confusion later.
Step 4: Begin Unbolting or Unclamping
Start at one side and work your way across. Loosen bolts in a crisscross pattern to maintain even pressure—don’t remove them all at once, especially on rigid covers. For tri-folds, release latches before lifting sections.
Step 5: Lift Carefully
Use both hands and lift straight up. Don’t twist or yank. If it feels stuck, double-check for overlooked fasteners. Ask your helper to support the weight evenly.
Step 6: Store the Cover Safely
Place the cover on a soft surface like a blanket or cardboard to prevent scratches. Keep it in a dry place to avoid mold or mildew, especially if it’s fabric-based.
Step 7: Clean and Inspect the Bed
Now’s the perfect time to vacuum, wipe down rails, and check for rust or damage. Address any issues before putting a new cover on.
Remember: patience pays off. Rushing increases the chance of dropping hardware or scratching your truck’s finish.
Special Considerations for Different Cover Types
Not all covers are created equal. Here’s how to handle the trickier ones.
Retractable Hard Covers
These are the most complex. First, disconnect the battery to avoid accidental activation. Then, carefully unbolt the track system from the bed rails. Label wires if applicable. Lift slowly—the motor assembly can be heavy.
Integrated Cab Protection Covers
Some covers extend over the tailgate or even the rear window. Remove those components first before tackling the main panel. Use trim removal tools to avoid cracking plastic clips.
Custom or Aftermarket Covers
If yours wasn’t factory-installed, consult the manufacturer’s manual. Third-party covers sometimes use non-standard hardware. YouTube tutorials specific to your model can also help.
When in doubt, pause and research. A quick search for “remove [your cover brand] on [your truck model]” often yields detailed videos or forums with real-world advice.
Common Mistakes to Avoid
Even experienced DIYers slip up. Here’s what to watch out for.
Also, never use power tools unless specified by the manual. Stripped threads are a nightmare to fix.
Reinstallation Tips
Whether you’re keeping the same cover or switching to a new one, proper reinstallation ensures longevity.
A well-sealed cover lasts longer and performs better. Think of it as an investment in your truck’s protection.
Conclusion
Removing a truck bed cover doesn’t have to be intimidating. With the right mindset, tools, and attention to detail, you can do it yourself—and save money in the process. Whether you’re upgrading, repairing, or just curious, taking the time to do it correctly pays off in the long run.
Remember: slow and steady wins the race. Document your progress, work safely, and don’t hesitate to ask for help when needed. And once the cover’s off? Enjoy the freedom of full access to your truck bed. Who knows—you might discover something unexpected underneath!
Frequently Asked Questions
How long does it take to remove a truck bed cover?
Most people finish in 30 minutes to 2 hours, depending on cover type and experience. Retractable covers may take longer due to complexity.
Can I reuse the old cover after removal?
Yes, if it’s still in good condition. Just store it properly—away from moisture and direct sunlight—to preserve fabric or finish.
Should I lubricate bolts before removing the cover?
Only if they’re stuck. A light spray of silicone-based lubricant can help, but avoid petroleum products on rubber gaskets.
Is it better to remove the cover myself or hire a pro?
DIY saves money and teaches you about your truck. But if your cover has electronics or you’re uncomfortable lifting heavy parts, a pro ensures safety and speed.
What should I do with the cover after removal?
Clean it if dirty, then store it indoors or in a dry garage. Fabric covers benefit from being kept in a breathable bag.
Can I leave the cover off permanently?
Technically yes, but it leaves your cargo vulnerable. Consider a temporary solution like bed mats if you need occasional access.