How to Remove Bed Cover from Truck
Removing a truck bed cover might seem tricky, but with the right tools and approach, it’s totally doable. Whether you’re switching to a different style, cleaning underneath, or preparing for repairs, knowing how to remove your bed cover properly ensures no damage occurs to your truck. This guide walks you through every step—from assessing your cover type to reattaching it securely.
Key Takeaways
- Know Your Cover Type: Roll-up, retractable, tri-fold, and hard folding covers all have different removal processes.
- Gather the Right Tools: You’ll typically need a socket wrench, screwdriver, and possibly a helper for larger models.
- Check Manufacturer Guidelines: Always consult your owner’s manual or manufacturer instructions before starting.
- Work in Good Weather: Cold temperatures can stiffen seals and make plastic components brittle.
- Document Before Removal: Take photos or label screws to make reinstallation easier.
- Inspect While Off: Use this time to clean the bed or check for rust, leaks, or wear on mounting hardware.
- Reinstall Correctly: Proper alignment and torque are key to preventing future issues.
Quick Answers to Common Questions
Can I remove my truck bed cover myself?
Yes! Most bed covers—including roll-up, tri-fold, and hard folding—are designed to be removed by the owner. Just follow the right steps for your cover type and use proper tools.
Do I need special tools to remove a bed cover?
Basic tools like a socket wrench, screwdrivers, and pliers are usually sufficient. Heavy hard covers may benefit from a helper or dolly for safe handling.
Will removing the cover void my warranty?
It depends on the manufacturer. Always check your warranty terms or contact customer service before disassembling. In many cases, DIY removal is allowed if done correctly.
How long does it take to remove a bed cover?
Simple roll-up covers can be removed in 15–20 minutes. More complex retractables may take an hour or more due to electrical disconnections and detailed disassembly.
What should I do after removing the cover?
Take this opportunity to clean your truck bed, inspect for damage, lubricate rails, and consider upgrades like bed liners or lighting. Then reinstall the cover carefully or store it safely.
📑 Table of Contents
- How to Remove Bed Cover from Truck: A Complete Step-by-Step Guide
- Understanding Your Truck Bed Cover
- Preparation: What You’ll Need
- Step-by-Step Removal Process by Cover Type
- Common Challenges and How to Avoid Them
- Post-Removal Tips
- Reinstalling Your Bed Cover: Best Practices
- When to Call a Professional
- Conclusion: Mastery Through Knowledge
How to Remove Bed Cover from Truck: A Complete Step-by-Step Guide
If you own a truck with a bed cover, you’ve probably wondered how to take it off without causing damage—or worse, getting stuck trying to put it back on. Whether you’re upgrading to a new model, cleaning underneath the cover, or simply curious about what lies beneath, removing your truck bed cover is a common maintenance task. But not all covers are created equal. Some come off easily; others require careful disassembly. The good news? With the right knowledge and a few basic tools, almost any bed cover can be removed safely and efficiently.
In this comprehensive guide, we’ll walk you through everything you need to know about removing a truck bed cover. From identifying your specific cover type to troubleshooting common problems, we’ll cover it all. So grab your wrench, clear some space in your driveway, and let’s get started!
Understanding Your Truck Bed Cover
Before diving into removal techniques, it helps to understand the different types of bed covers available. Each has unique features, mounting systems, and removal procedures. Below are the most common styles you’re likely to encounter:
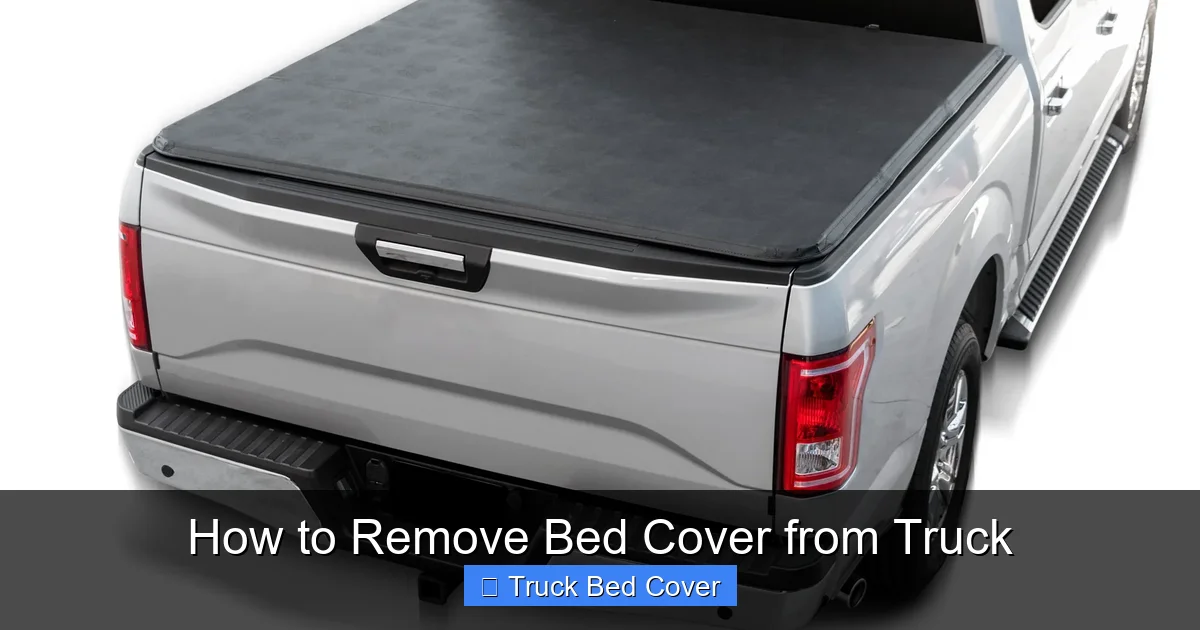
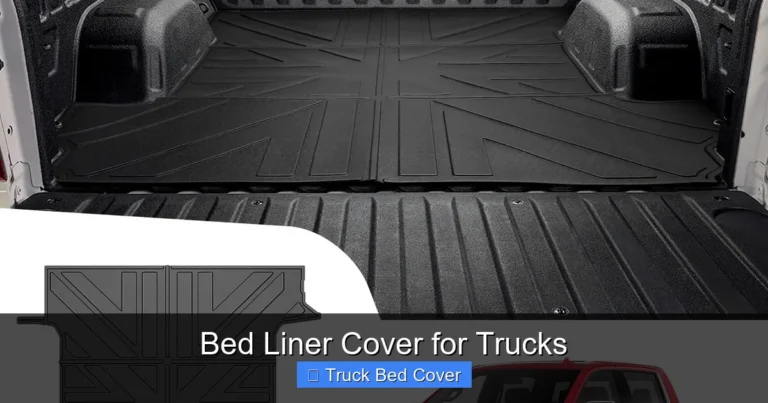
Visual guide about How to Remove Bed Cover from Truck
Image source: armordillousa.com
Roll-Up Covers
Popular for their ease of use, roll-up covers—like TonnoPros or UnderCover—slide open like a window shade and store in a canister at the front of the bed. They’re lightweight and great for quick access, but they often require partial removal if you need full access to the entire truck bed.
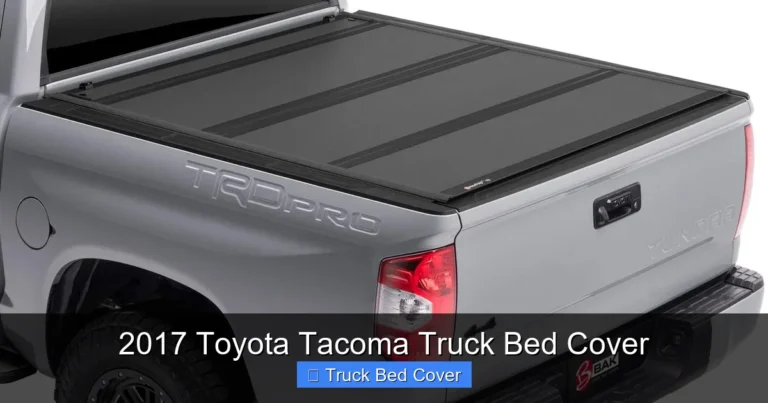
Retractable Covers
Found on higher-end trucks like Ford, Toyota, or RAM, retractables unfold fully across the bed and lock into place. These usually have built-in motors and rails, making them more complex to remove. Disassembly may involve disconnecting electrical connections and unbolting multiple panels.
Tri-Fold Covers
Made of three hinged sections, these fold forward and rest over the cab. Tri-folds are sturdy and popular among contractors. Removal usually means unscrewing bolts at each rail and lifting the panels away carefully.
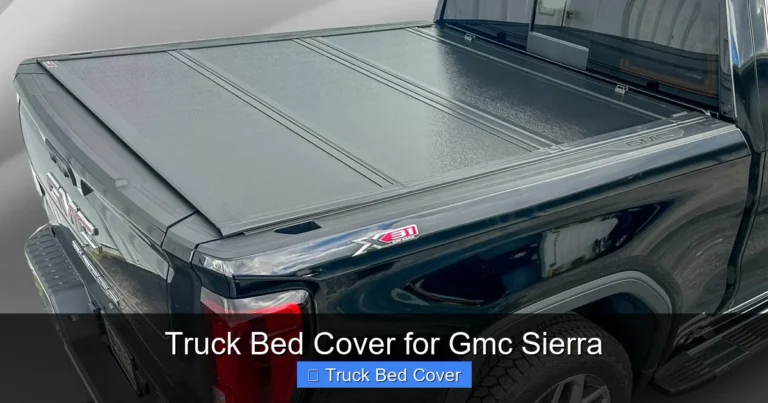
Hard Folding (Dual-Lock) Covers
These offer maximum security and durability. Made of solid panels, they’re heavier and often bolted directly to the bed rails. Full removal requires detaching all latches and supports.
Knowing which type you have will determine your approach. Don’t worry—we’ll go over removal steps for each later. For now, focus on preparing your workspace and tools.
Preparation: What You’ll Need
Getting ready ahead of time saves frustration and prevents accidents. Here’s what you should gather before starting:
- Socket Wrench Set: Most covers use either 1/4″, 3/8″, or 1/2″ drive sockets.
- Screwdrivers: Phillips and flathead, especially if there are clips or brackets.
- Torque Wrench: Optional but helpful for reinstallation.
- Shop Rags: To wipe down surfaces and keep debris out of moving parts.
- Helper: Especially useful for heavy hard covers or retractables.
- Flashlight: To see tight spaces under the bed or inside rails.
- Marker or Label Tape: To track where screws came from.
- Owner’s Manual or Online Instructions: Crucial for model-specific guidance.
Also, choose a dry day with mild temperatures. Cold weather can make rubber seals brittle and plastic clips snap unexpectedly. Work in a well-lit area—preferably outside your garage so you have room to lay things down.
Step-by-Step Removal Process by Cover Type
Rolling Up Your Roll-Up Cover
Start by fully retracting the cover into its canister. This gives you full access to the mounting brackets at the front of the bed.
- Locate the Front Brackets: Look for bolts or clamps holding the canister to the truck bed. These are usually near the tailgate.
- Remove the Bolts: Use your socket wrench to loosen and remove the bolts securing the canister. Save them in a labeled container.
- Lift the Canister Carefully: Once loose, lift the canister slightly and slide it backward to disengage from the rails. Be gentle—the cable system inside can tangle easily.
: Some models have side rails that attach via clips. Unclip these carefully. : Gently pull the rolled fabric toward the tailgate until the entire assembly comes free.
Pro Tip: If your cover has a tension spring, support the weight as you detach it to avoid sudden snapping.
Disassembling a Retractable Cover
Retractables are more involved due to their motorized mechanism and integrated rails. Follow these steps:
- Fully Extend the Cover: Make sure it’s completely unfolded and locked in place.
- Disconnect the Battery: Safety first! Turn off the ignition and disconnect the negative terminal to prevent accidental activation.
- Remove Interior Panels: Many retractables have removable panels inside the cab or along the bed wall. Unscrew them to expose internal wiring and motors.
- Label All Connections: Take pictures or mark wires with tape. Note which connector goes where—this is critical during reinstallation.
- Unbolt the Motor Assembly: Locate the motor housing at the front of the bed and remove the mounting bolts.
- Detach the Rails: Slide out the side rails by releasing locking pins or unbolting them from the bed frame.
- Lift the Cover Off: With help, lift the entire panel assembly upward and backward to free it from the bed.
Warning: Never force anything. If a component feels stuck, double-check for hidden screws or misaligned parts.
Taking Apart a Tri-Fold Cover
Tri-folds are among the easiest to remove if you follow this methodical process:
- Open the Cover Fully: Fold all three sections forward so they rest against the cab.
- Remove the Tailgate Struts: If present, detach the gas struts that hold the tailgate up. Store them safely.
: At the front edge of the bed, locate the bolts clamping the cover to the bed rails. Remove them. : On both sides, unfasten any latch mechanisms that secure the cover to the bed walls. : Start with the center panel, then move outward. Have someone assist to avoid dropping heavy panels. : Lay them on a soft surface (like a blanket) to prevent scratches.
Note: Some tri-folds have crossbars connecting the panels—don’t forget to unscrew those too!
Removing a Hard Folding (Dual-Lock) Cover
Hard covers demand extra caution due to their weight and rigid structure:
- Unlock All Latches: Open every Dual-Lock fastener along the edges.
- Remove Crossbars and Supports: These are typically bolted to the bed rails. Label each piece as you go.
: Start at one end and lift straight up. The cover should pivot on hinges. : Work systematically from front to back or vice versa. : Place it on a dolly or have two people carry it to avoid strain.
Tip: If your hard cover has a waterproof seal, note how it was installed—this will help during reassembly.
Common Challenges and How to Avoid Them
Even experienced truck owners run into snags. Here’s how to handle frequent issues:
Stuck Bolts or Corroded Hardware
Rust is a common culprit. Apply penetrating oil (like WD-40) and let it sit overnight. Use a breaker bar if needed—but don’t hammer! Excessive force can strip threads.
Misaligned Rails After Removal
If the bed rails shift during removal, mark their positions with chalk before taking anything apart. Reinstallation will be smoother with clear reference points.
Damaged Seals or Strips
Inspect rubber gaskets around edges. If cracked or compressed, replace them before reinstalling. Damaged seals lead to water leaks and reduced cover lifespan.
Forgetting Where Things Go
This is why labeling matters. Use colored tape or write on masking tape with a permanent marker. Better yet, snap photos of the setup from multiple angles.
Cables Getting Tangled
For roll-ups and retractables, always support the canister while loosening. Gently guide cables as you lift to prevent kinks or breaks.
Post-Removal Tips
Once your bed cover is off, this is the perfect time to give your truck bed some TLC:
- Clean Thoroughly: Wash off dirt, salt, and debris. Check for rust spots and treat them immediately.
- Lubricate Moving Parts: Apply silicone spray to rails and hinges to keep them sliding smoothly.
- Test the Tailgate: Ensure it opens and closes freely without interference from old mounting hardware.
- Consider Upgrades: Now’s the time to install bed liners, tie-downs, or additional lighting.
Store your cover in a cool, dry place away from direct sunlight if you’re not reinstalling it right away. UV rays can degrade vinyl and fabric over time.
Reinstalling Your Bed Cover: Best Practices
Putting the cover back isn’t just about reversing the steps—it’s about doing it correctly the second time around:
- Double-Check Alignment: Match panels or rails exactly as they were. Misalignment causes stress and premature wear.
: Over-tightening can warp metal; under-tightening leads to rattles. Refer to your manual for torque values. : Push until you hear a solid “click.” Test each latch by pulling lightly afterward. : Plug in connectors firmly. Test the retractable or light function before driving. : Walk around the truck to ensure nothing is loose or dragging.
Remember: patience pays off. Rushing reinstallation often results in rework later.
When to Call a Professional
While most bed covers are DIY-friendly, some situations call for expert help:
- Your cover is still under warranty—improper removal could void it.
- The bed rails are damaged or bent.
- You lack confidence handling heavy panels or complex electronics.
- You’re unsure about electrical connections in retractable systems.
A certified installer can save you time and prevent costly mistakes. Plus, they’ll often offer service guarantees.
Conclusion: Mastery Through Knowledge
Removing a truck bed cover doesn’t have to be intimidating. By understanding your cover type, preparing properly, and following methodical steps, you can tackle this project confidently—even if you’re new to truck maintenance. Whether you’re cleaning underneath, upgrading your setup, or simply satisfying curiosity, this guide equips you with the know-how to do it right.
And remember: every time you remove and reinstall your cover, you’re not just maintaining your truck—you’re building practical skills that serve you well beyond bed covers. So next time you see a sleek pickup rolling down the highway with its cover snugly fitted, you’ll know exactly how it gets there… and how it comes off.
Frequently Asked Questions
Is it hard to remove a truck bed cover?
Not really—most covers are made for easy removal. The difficulty varies by type, but with basic tools and patience, anyone can do it. Roll-ups are simplest; retractables require more care.
Can I drive without a bed cover?
Yes, but you lose protection from weather, theft, and road debris. Driving uncovered also voids some insurance policies if cargo is stolen or damaged.
Should I remove the cover every time I wash my truck?
No—regular washing is fine. Only remove it when necessary, like deep cleaning or major repairs. Frequent disassembly wears out seals and fasteners faster.
What happens if I forget how to put the cover back on?
Take photos during removal or label components. Manufacturer manuals also include reinstallation diagrams. If all else fails, search online for your exact model.
Can I sell my truck with the bed cover removed?
Yes, but buyers often prefer covered beds for added value and protection. Consider reinstalling it before listing unless you’re planning modifications.
How often should I remove my bed cover?
Only when needed—such as cleaning, repairs, or upgrades. Constant removal shortens the cover’s lifespan due to repeated handling and exposure.