How to Remove a Truck Bed Cover
Removing a truck bed cover is easier than you think—with the right tools and a little patience, you can do it yourself in under an hour. This guide walks you through every step, from assessing your cover type to cleaning up afterward, so you’ll never struggle with installation again.
Key Takeaways
- Know your cover type: Soft, hard, retractable, and tonneau covers each require slightly different removal techniques.
- Gather the right tools: You’ll typically need a socket wrench, screwdrivers, and possibly a trim tool or putty knife.
- Work slowly and carefully: Rushing can strip screws or damage paint on your truck bed.
- Label parts as you go: Taking photos or labeling components helps during reassembly later.
- Inspect for wear: While removing the cover, check seals and hardware for damage that might need repair.
- Store parts safely: Keep bolts, clamps, and clips organized in labeled bags to avoid losing anything.
- Clean before reinstalling: A clean truck bed ensures a better fit and longer life for your new or old cover.
Quick Answers to Common Questions
Can I remove my truck bed cover alone?
Yes, but only for lighter covers like soft roll-ups or snap-on types. Hard covers—especially tonneau caps—can weigh over 100 pounds and are safer to remove with a helper.
Will removing the cover void my warranty?
It depends on your vehicle and cover manufacturer. Always check your warranty terms. However, most basic removals don’t void warranties unless you modify structural components.
How long does it take to remove a cover?
Most people finish in 15–45 minutes, depending on cover type and experience level. Soft covers are fastest; retractables take longest due to track systems.
Do I need special tools for every cover?
Nope. Standard socket wrenches, screwdrivers, and a trim tool cover nearly all common types. Rare specialty covers might need OEM-specific tools, but those are uncommon.
What if my cover sticks or won’t budge?
Try applying a small amount of silicone lubricant to moving parts or hinges. Avoid petroleum-based products—they can damage rubber seals. Also, ensure no snow, ice, or dirt is blocking movement.
📑 Table of Contents
- How to Remove a Truck Bed Cover: Your Complete Step-by-Step Guide
- Why Would You Want to Remove a Truck Bed Cover?
- Common Types of Truck Bed Covers
- Tools and Supplies You’ll Need
- Step-by-Step: How to Remove a Truck Bed Cover
- Tips for a Smooth Removal Process
- What to Do After Removal
- When NOT to Remove Your Cover
- Conclusion: Mastering the Art of Cover Removal
How to Remove a Truck Bed Cover: Your Complete Step-by-Step Guide
If you’ve ever looked at your truck bed and thought, “I wish I could take this cover off without setting fire to my driveway,” you’re not alone. Whether you’re upgrading to a new style, cleaning behind it, or just curious about what’s underneath, knowing how to remove a truck bed cover is a valuable skill for any truck owner. The good news? You don’t need professional help—just some time, basic tools, and this friendly guide.
In this article, we’ll walk you through everything you need to know about removing a truck bed cover—whether yours is a soft roll-up, a hard tri-fold, a retractable system, or even a cap-style cover. We’ll explain why people choose to remove them (spoiler: access, airflow, and customization), what tools you’ll need, safety tips, and how to avoid common mistakes. By the end, you’ll feel confident taking that cover off and putting it back on like a pro.
Why Would You Want to Remove a Truck Bed Cover?
Before diving into the “how,” let’s talk about the “why.” There are plenty of reasons truck owners decide to remove their bed covers—some practical, others purely aesthetic.

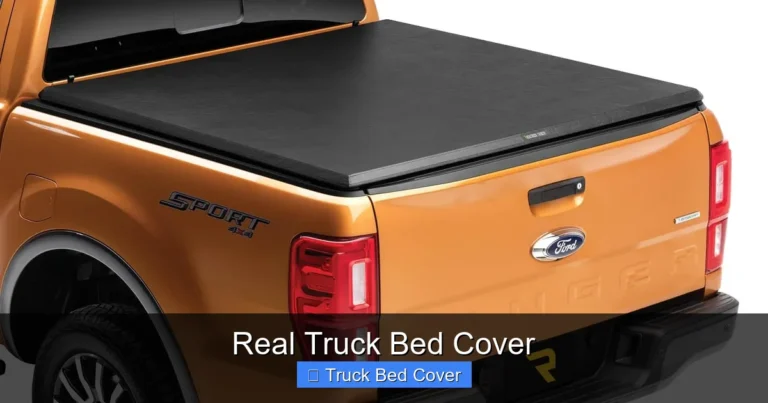
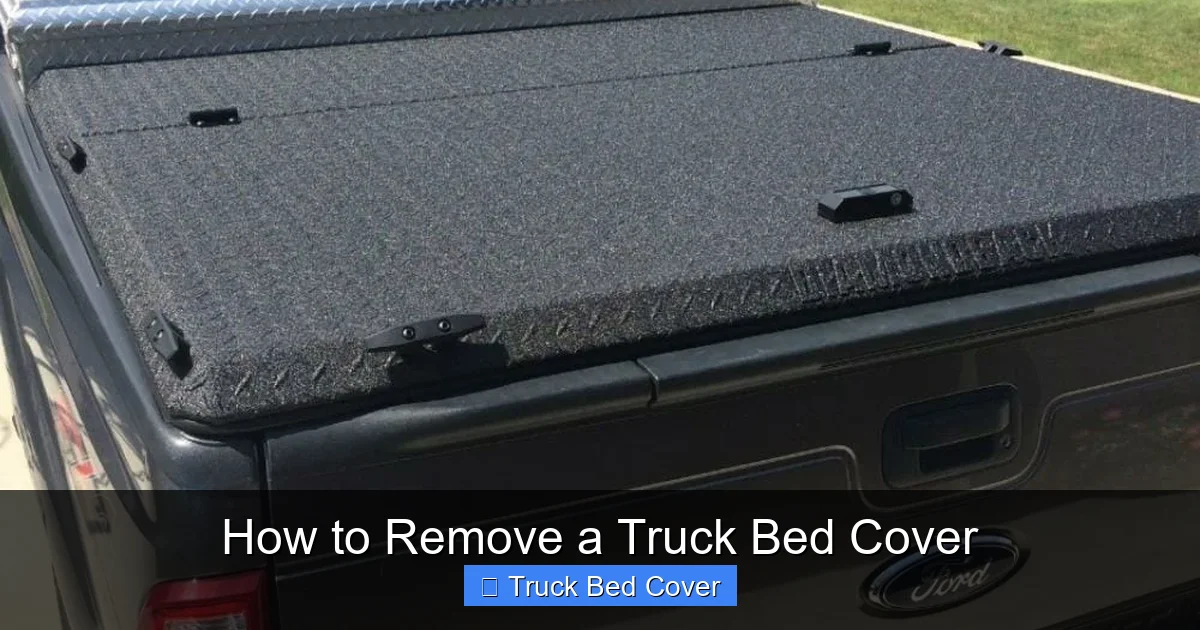
Visual guide about How to Remove a Truck Bed Cover
Image source: jeepzine.com
Practical Reasons
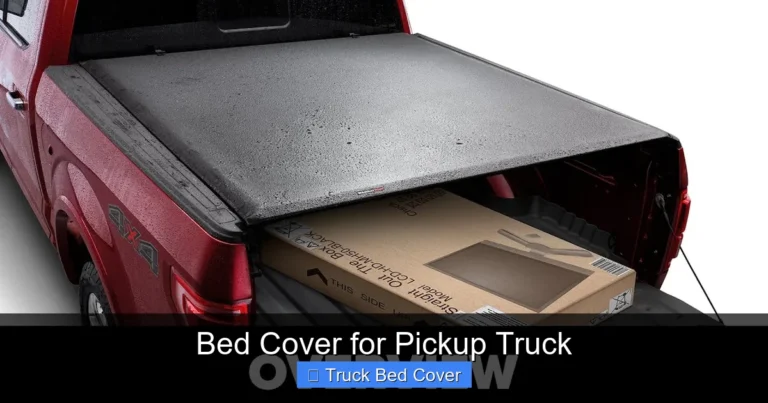
- Full Access to Cargo: If you regularly haul bulky items like lumber, furniture, or equipment, a cover can be more trouble than it’s worth. Removing it gives you full open-bed access without lifting heavy panels.
- Improved Fuel Efficiency: Believe it or not, certain hard covers increase drag and reduce gas mileage. Removing one might give your truck a slight boost in fuel economy—especially at highway speeds.
- Better Towing Performance: Some covers interfere with trailer hitches or limit visibility when backing up. Taking it off can improve maneuverability.
- Winter Storage Prep: In cold climates, moisture trapped under a cover can freeze and warp materials. Removing it allows the bed to dry out completely.
Aesthetic and Customization Reasons
- Show Off Your Truck: Many truck owners love the rugged look of an open bed. Removing the cover reveals the true character of your ride.
- Install Aftermarket Accessories: Things like bed liners, toolboxes, or ladder racks often require removing the cover first.
- Repair or Replace Seals: Over time, weather stripping degrades. Removing the cover lets you inspect and replace worn gaskets easily.
Common Types of Truck Bed Covers
Not all truck bed covers are created equal. Understanding your specific cover type will determine exactly how to remove a truck bed cover safely and effectively.
Soft Roll-Up Covers
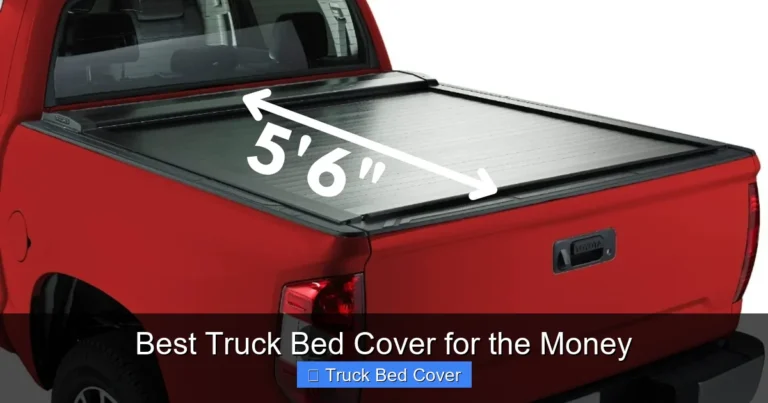
These are the most common and affordable type. Made of vinyl or canvas, they roll up toward the cab and latch at the front. Removal usually involves unlatching, rolling it forward, and detaching side rails.
Hard Tri-Fold Covers
Popular among DIYers, these rigid panels fold into three sections and lie flat over the bed. They’re secured with clamps at the sides and tailgate. Removal requires loosening those clamps and carefully folding back the panels.
Retractable Hard Covers
Smooth and sleek, these slide open via a track system along the inside of the bed rails. They’re great for partial access but require more mechanical awareness to remove properly.
Tonneau Caps
These are full-length, fixed covers that bolt directly to the bed frame. Think of them as a roof extension. They’re heavier and demand extra care during removal due to weight and alignment.
Snap-On Covers
Lightweight and easy to install, these attach with rubber seals and snaps along the bed edges. Removal is quick but requires attention to seal placement to avoid leaks later.
Tools and Supplies You’ll Need
You don’t need a full garage setup to remove a truck bed cover—just a few essentials. Here’s what to gather before you start:
- Socket Wrench Set: Most covers use standard bolts (usually 10mm or 1/2 inch). A ratchet with extensions makes life easier.
- Screwdrivers: Both Phillips and flathead come in handy for clamps, latches, or trim pieces.
- Trim Tool or Plastic Pry Bar: Helps gently pop off clips without scratching paint.
- Labeling Materials: Masking tape and a marker to label bolts and brackets as you remove them.
- Shop Towels or Drop Cloths: Protect your truck bed from dirt and scratches.
- Ladder or Step Stool: For reaching high clamps or latches near the cab.
- Two-Person Team (Optional):strong>: Harder covers get heavy fast—having a friend helps prevent injury.
Pro Tip: Lay down a tarp or blanket under the cover while working. It catches dropped screws and keeps things tidy.
Step-by-Step: How to Remove a Truck Bed Cover
Now comes the fun part! Follow these steps based on your cover type. Remember: work methodically, keep parts organized, and stop if something feels off.
For Soft Roll-Up Covers
- Unlock the Front Latch: Open the tailgate and locate the locking mechanism at the front of the cover. Unlatch it—most have a simple pull-tab or button.
- Roll It Forward: Gently roll the cover toward the cab until it’s fully extended. Secure it with the built-in strap or hook.
- Remove Side Rails: Use your socket wrench to loosen the bolts securing the side rails to the bed. Set them aside in a labeled bag.
- Lift and Carry: Carefully lift the rolled cover out of the bed. It should weigh around 30–50 pounds depending on material.
For Hard Tri-Fold Covers
- Open the Tailgate: This gives you full access to the rear panel.
- Loosen Clamp Bolts: At each side of the bed, unscrew the clamps holding the cover to the bed rails. Don’t remove them yet—just loosen enough to allow movement.
- Fold Back Panels: Lift the rear panel and fold it forward. Then fold the center and front panels backward toward the cab.
- Detach Clamps Fully: Once folded, fully remove the side clamp bolts and store them safely.
- Slide Out: Carefully slide the entire assembly out of the bed rails. Two people make this much easier.
For Retractable Hard Covers
- Fully Extend the Cover: Make sure it’s completely slid open to expose the full length of the tracks.
- Locate Track Fasteners: These are usually hidden beneath rubber seals or caps at the front and rear.
- Remove Track Mounts: Use your socket set to unbolt the tracks from the bed rails. Label each side (left/right) to avoid confusion.
- Lift Out Tracks: The cover itself rides on these tracks—once they’re free, lift the whole unit out.
For Tonneau Caps
- Remove Weather Stripping: Peel back the rubber seals along the edges. They may stick—use a heat gun or hairdryer to soften adhesive if needed.
- Unbolt from Frame: Locate the bolts along the underside of the cap (often accessed through the bed). Remove them in a pattern (e.g., crosswise) to prevent warping.
- Carefully Lift Off: With two people, lift straight up. The cap can weigh over 100 pounds—don’t try this solo!
For Snap-On Covers
- Start at One End: Use a trim tool to gently pry up one corner of the cover where it meets the bed rail.
- Release Snaps Sequentially: Work your way along the edge, releasing each snap by hand or with pliers if stubborn.
- Lift Straight Up: Once all snaps are free, lift the cover vertically and set it aside.
Tips for a Smooth Removal Process
Even with the right steps, things can go sideways. Here’s how to stay ahead of common issues:
- Check for Obstructions First: Before touching the cover, clear out any items stored underneath. Loose gear can shift and cause imbalance.
- Wear Gloves: Vinyl or rubber edges can pinch skin. Leather work gloves protect your hands.
- Avoid Sudden Movements: Jerking a bolt loose can strip threads. Apply steady pressure.
- Don’t Force It: If a clamp won’t budge, double-check if you missed a hidden screw or if corrosion has seized it. WD-40 can help.
- Take Photos: Snap pictures of bolt positions, wiring (if applicable), and alignment marks before disassembly.
What to Do After Removal
Once your cover is off, there’s still work to do—and that’s a good thing!
Inspect the Bed
Look for rust, dents, or debris. Now’s the perfect time to clean the entire bed surface. Use soap, water, and a stiff brush. Dry thoroughly to prevent future corrosion.
Clean the Cover
Vinyl and canvas covers benefit from mild detergent and a soft sponge. Avoid harsh chemicals that degrade materials. Let it air-dry completely before storage.
Check Hardware
Examine bolts, clamps, and seals for wear. Replace anything cracked, stripped, or brittle. Stock spares now so you’re ready next time.
Consider Temporary Protection
If you plan to drive without a cover for a while, consider using bed liner paint or plastic sheeting to protect the surface from rocks and weather.
When NOT to Remove Your Cover
While removal sounds fun, it’s not always necessary. Ask yourself:
- Am I keeping sensitive cargo secure?
- Do I live in a rainy or snowy climate where protection matters?
- Will I need frequent partial access (retractables handle this well)?
If the answer is yes to any of these, maybe just leave it on—or switch to a removable model instead.
Conclusion: Mastering the Art of Cover Removal
Removing a truck bed cover doesn’t have to be intimidating. With the right mindset, tools, and approach, it’s a straightforward job anyone can tackle. Whether you’re doing it for function, fashion, or maintenance, understanding how to remove a truck bed cover empowers you to customize your truck exactly how you want it.
Remember: slow, steady, and organized wins every time. Take your time, respect your truck’s finish, and treat every bolt with care. And hey—now that you know how, you can put the cover back on just as easily when the time comes.
So go ahead. Open that bed. Feel that freedom. And remember—this skill isn’t just useful; it’s kind of awesome.
Frequently Asked Questions
Is it hard to remove a truck bed cover?
No, it’s quite manageable with basic tools and patience. Most covers are designed for easy removal, though harder types may require two people for safety.
Should I clean the bed after removing the cover?
Absolutely. Dirt, grease, and moisture build up under covers. Cleaning now prevents rust and makes future installations smoother.
Can I reuse the same hardware?
Generally yes—but inspect bolts and clamps for damage first. Replace any that are stripped, rusted, or deformed to ensure a secure reinstallation.
Will removing the cover affect my truck’s aerodynamics?
Yes, but only significantly at highway speeds. On city driving, the difference is minimal, so it’s more about personal preference than performance loss.
How do I store a removed cover?
Keep it in a cool, dry place away from direct sunlight. Fold or roll it loosely, and never store it compressed for long periods to avoid creasing or cracking.
What if I lose a small clip or bolt during removal?
Take photos before starting, and label parts as you go. If you do lose one, visit an auto parts store—they stock common sizes for truck bed accessories.