How to Install Tonneau Truck Bed Cover
Installing a tonneau truck bed cover is one of the easiest ways to protect your cargo, improve aerodynamics, and boost your truck’s resale value—without breaking the bank. With the right tools and a little patience, you can complete the job in under an hour. Whether you’re going for a sleek look or added security, this guide walks you through every step.
Key Takeaways
- Tools Required: Most installations require only basic tools like a socket wrench, screwdriver, and tape measure—no professional help needed.
- Cover Types Matter: Soft roll-up, hard tri-fold, and retractable covers each have unique installation steps and benefits.
- Pre-Installation Prep: Clean the bed, check for damage, and ensure the tailgate is secure before mounting.
- Alignment Is Key: Proper alignment prevents leaks, rattles, and premature wear on both the cover and truck bed.
- Weatherproofing Tips: Use weatherstripping and sealants during installation to maximize durability and water resistance.
- Post-Install Care: Regular cleaning and lubrication keep your tonneau cover functioning smoothly year-round.
- Safety First: Always wear gloves and safety glasses when handling sharp edges or heavy components.
If you’ve been thinking about upgrading your pickup truck, one of the smartest investments you can make is installing a tonneau truck bed cover. Not only does it give your vehicle a more polished, aggressive look, but it also protects your gear from rain, theft, and sun damage. Whether you’re hauling tools for work or weekend camping gear, a quality tonneau cover keeps everything dry and secure.
But here’s the thing: many people shy away from installing their own cover because they assume it’s complicated or requires expensive tools. The truth? Most tonneau covers are designed for DIY installation and come with detailed instructions. In fact, with just a few simple tools and about 30 minutes of your time, you can have a fully installed cover that looks factory-made. This guide will walk you through the entire process—from choosing the right cover to final adjustments—so you can get back on the road with confidence.
Before we dive into the nitty-gritty, let’s briefly talk about why this upgrade matters. A well-fitted tonneau cover improves your truck’s aerodynamics, which can lead to better gas mileage. It also reduces wind noise and prevents items from shifting during transit. Plus, a covered bed makes your truck look more intentional and put-together. So whether you’re a daily commuter, a construction worker, or an outdoor enthusiast, this mod pays off in both function and form.
Key Takeaways
- Understanding how to install tonneau truck bed cover: Provides essential knowledge
Quick Answers to Common Questions
Can I install a tonneau cover myself?
Yes! Most tonneau covers are designed for DIY installation and require only basic tools like a socket wrench and screwdriver. Detailed instructions are included, and many owners report completing the job in under an hour.
Do I need special tools to install a tonneau cover?
No special tools are required. A standard socket wrench set, screwdrivers, tape measure, and safety glasses are sufficient. Some kits may include hex keys or Allen wrenches, which are usually provided.
How long does it take to install a tonneau cover?
Installation typically takes 30–60 minutes, depending on the cover type and your experience level. Soft roll-up covers are the quickest, while retractables may take longer due to rail setup.
Will a tonneau cover fit my truck?
It depends on your truck’s make, model, and year. Always check the manufacturer’s compatibility chart or consult customer support before purchasing. Custom-fit covers offer the best results.
Can I wash my truck with the tonneau cover installed?
Yes, but avoid high-pressure washers near the edges. After washing, wipe down the cover and inspect seals. Regular cleaning extends the life of both the cover and the truck bed.
📑 Table of Contents
- Choosing the Right Tonneau Cover for Your Truck
- Gathering the Right Tools and Materials
- Preparing Your Truck Bed for Installation
- Installing the Mounting Rails
- Mounting the Tonneau Cover Itself
- Securing and Sealing the Installation
- Maintaining Your Tonneau Cover
- Conclusion: Why Every Truck Owner Should Install a Tonneau Cover
Choosing the Right Tonneau Cover for Your Truck
Not all tonneau covers are created equal—and picking the wrong one could mean poor fit, frequent maintenance, or even damage to your truck bed. The first step to a successful installation is selecting a cover that matches your needs and vehicle model.
Understanding Cover Types
There are three main types of tonneau covers: soft roll-ups, hard tri-folds, and retractables. Each has its pros and cons:
– Soft Roll-Up Covers: These are the most affordable and lightweight option. Made from vinyl over a polymer frame, they unroll from the front of the bed and latch at the cab end. Great for occasional use and easy to remove.
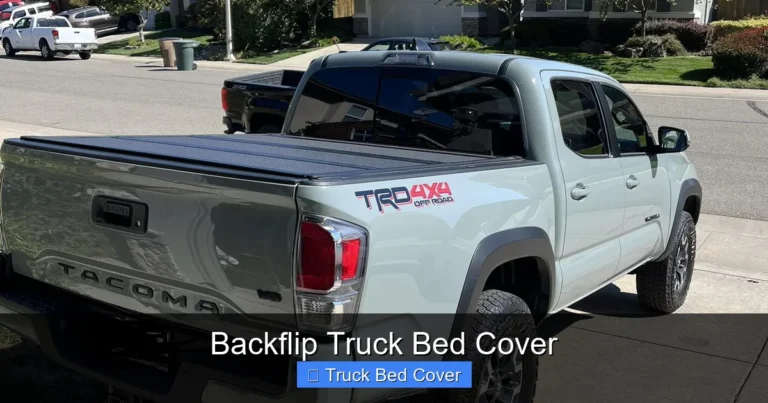
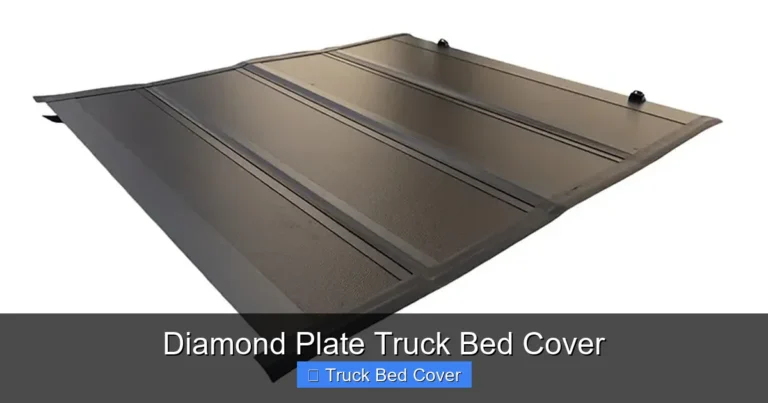
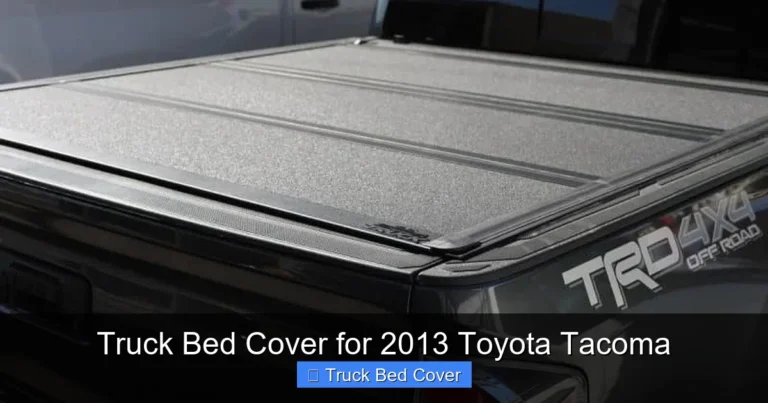
– Hard Tri-Fold Covers: Assembled from durable aluminum or fiberglass panels, these fold into thirds for access to the rear of the bed. They offer excellent security and a sleek appearance.
– Retractable Covers: These slide open like a garage door along internal rails. They provide full bed access and are ideal for those who frequently need to load large items.
For most DIYers, a tri-fold or roll-up cover strikes the best balance between cost, ease of use, and protection.
Matching Your Truck Model
Always double-check your truck’s make, model, and year before ordering. Some manufacturers produce universal-fit covers, but custom-fit options offer superior sealing and aesthetics. Brands like BakBox, UnderCover, and Tonno Pro often list exact compatibility charts on their websites.
Pro Tip: If you’re unsure, call the manufacturer or visit a local truck accessory shop. They can verify fitment using your VIN or bed dimensions.
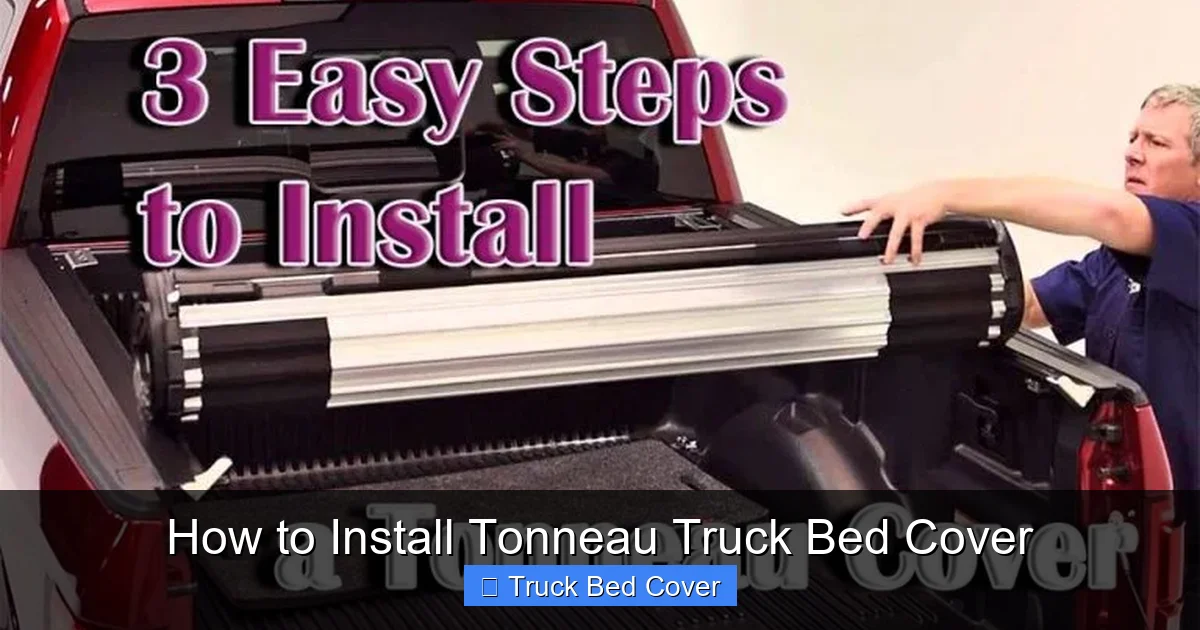
Gathering the Right Tools and Materials
Visual guide about How to Install Tonneau Truck Bed Cover
Image source: i.ytimg.com
You don’t need a full workshop to install a tonneau cover. Most kits include hardware, but having the right tools on hand makes the job smoother and faster.
Essential Tools
– Socket wrench set (usually includes 1/4″, 3/8″, and 1/2″ drive)
– Phillips and flathead screwdrivers
– Tape measure
– Rubber mallet (optional, for gentle tapping)
– Level (to ensure even installation)
– Gloves and safety glasses
Optional but Helpful
– Clamps or C-clamps (for holding parts in place)
– Silicone sealant (for extra waterproofing)
– Microfiber cloth (for cleaning the bed surface)
What Comes in the Kit?
Most tonneau covers ship with:
– Mounting rails or brackets
– Bolts, screws, and washers
– Weather stripping or rubber seals
– Installation manual (with diagrams)
– Allen wrenches or hex keys
Read through the instructions before starting. Even if you’re confident, skimming the guide helps spot potential issues early.
Preparing Your Truck Bed for Installation
A clean, dry bed is the foundation of a successful install. Any dirt, rust, or debris can interfere with seal quality and rail alignment.
Step 1: Clean the Entire Bed
Use soap, water, and a stiff brush to scrub the floor and walls. Rinse thoroughly and let it air-dry completely. Avoid pressure washing—moisture trapped in seams can cause rust.
Step 2: Inspect for Damage
Check for dents, scratches, or stripped bolt holes in the bed rails. Minor dents can be smoothed with sandpaper, but stripped holes may require epoxy repair or replacement parts.
Step 3: Remove Obstructions
Tuck in any loose straps, tie-down hooks, or accessories inside the bed. You’ll also want to temporarily disconnect the tailgate handle if it interferes with rail placement.
Step 4: Test Fit the Rails (If Applicable)
Some covers come with pre-drilled rails. Slide them into position without tightening yet. Make sure they sit flush and align with the bed edges. Adjust as needed before securing permanently.
Installing the Mounting Rails
Mounting rails hold the cover in place and create a sealed channel for movement (in rolling models). They must be level and parallel to avoid binding or leakage.
Positioning the Rails
Place the left and right rails snugly against the inside walls of the truck bed. Use a level to confirm they’re perfectly horizontal. Mark screw locations if not pre-drilled.
Temporary Fastening
Secure each rail with bolts just finger-tight—don’t overtighten yet. This allows fine-tuning during alignment.
Final Alignment Check
Slide the cover onto the rails (if included) or verify clearance around edges. Adjust rail positions until everything lines up evenly. Once satisfied, fully tighten all bolts using a torque wrench (if specified) or a socket wrench.
Sealing the Rails
Apply a thin bead of silicone sealant along the bottom edge where the rail meets the bed. Wipe away excess with a damp cloth. Let cure per manufacturer instructions (usually 24 hours).
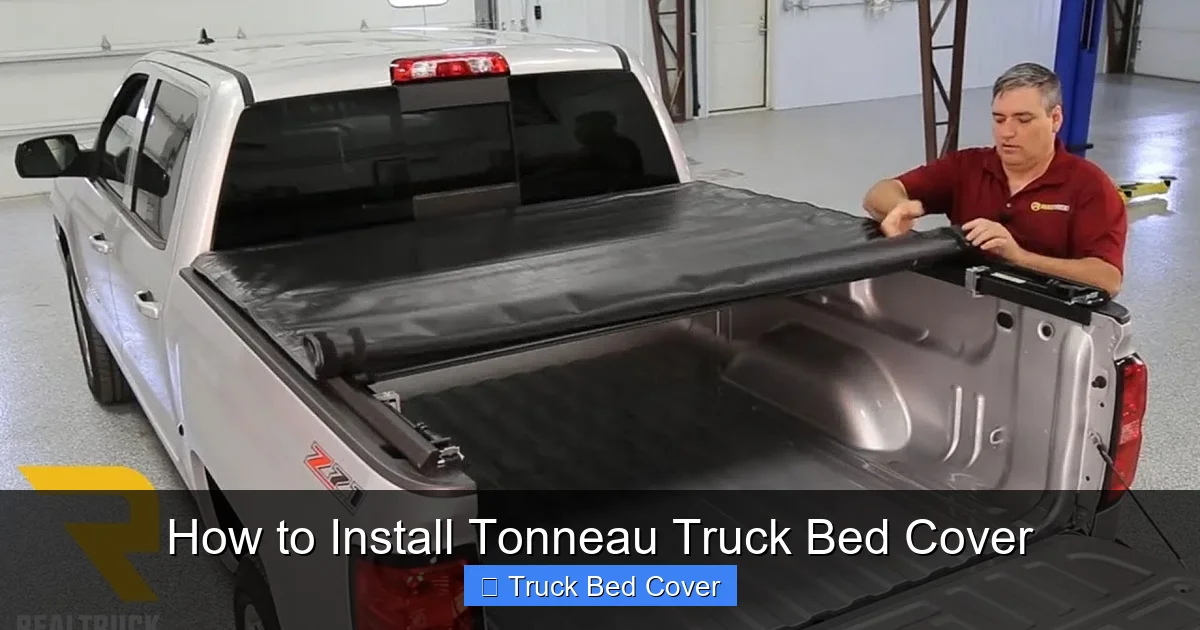
Mounting the Tonneau Cover Itself
Now comes the main event: attaching the cover to the rails or directly to the bed.
Rolling Cover Installation
1. Lift the rolled cover and align it with the front rail.
2. Insert the front axle into the rail channel.
3. Extend the cover toward the tailgate until taut.
4. Secure the rear latch bracket to the tailgate using provided hardware.
5. Adjust tension by loosening/re-tightening side straps or ratchets.
Tri-Fold Cover Installation
1. Position the folded cover over the bed.
2. Attach the first panel to the front rail with bolts.
3. Connect subsequent panels using hinge clamps or rivets.
4. Ensure all latches engage properly when closed.
5. Install the tailgate gasket (often peel-and-stick foam tape).
Retractable Cover Installation
1. Unbox the rail system and lay it flat.
2. Bolt the front rail to the bed near the cab.
3. Slide the cover assembly onto the rail and secure.
4. Attach the rear rail to the tailgate.
5. Reconnect electrical connectors if equipped (e.g., LED lights).
Common Pitfalls to Avoid
– Over-tightening bolts: Can warp rails or crack plastic clips.
– Skipping sealant: Leads to water intrusion over time.
– Ignoring weight limits: Never stand directly on a soft cover.
Securing and Sealing the Installation
Even the best-fitting cover can fail if not properly sealed. Water leaks and wind noise usually stem from gaps rather than the cover itself.
Installing Weather Stripping
Most kits include adhesive-backed rubber seals. Peel the backing and press firmly along all contact points—especially at the tailgate and side seams. Use a roller tool (or your palm) to ensure full adhesion.
Testing for Gaps
Close the cover and run your hand along the edges. Feel for any light passing through or air movement. Adjust latches or reposition rails if needed.
Adding Extra Protection (Optional)
For harsh climates, consider applying automotive-grade weatherstrip adhesive or marine sealant around critical joints. Just remember to test fit before committing.
Final Inspection Checklist
✅ Cover opens/closes smoothly
✅ No visible gaps at edges
✅ Latches engage securely
✅ No rattling when driving
✅ Water beads roll off instead of pooling
Maintaining Your Tonneau Cover
An installed cover is only half the battle. Regular maintenance ensures longevity and peak performance.
Cleaning Tips
– Use mild soap and water monthly
– Avoid abrasive cleaners on soft covers
– Dry thoroughly after washing
– Lubricate moving parts (rails, hinges) with silicone spray annually
Winter Care
In snowy regions, remove the cover during heavy accumulation to prevent ice buildup. Store indoors if possible. Never scrape frozen covers—use a plastic shovel instead.
When to Replace
Signs it’s time: fraying fabric, cracked aluminum panels, broken latches, or persistent leaks. Most covers last 5–10 years with proper care.
Warranty Considerations
Always register your cover online. Keep receipts and photos of installation. Warranties typically cover defects but not wear from misuse.
Conclusion: Why Every Truck Owner Should Install a Tonneau Cover
Installing a tonneau truck bed cover isn’t just about aesthetics—it’s a practical upgrade that enhances security, fuel economy, and overall driving experience. With clear instructions, minimal tools, and a little elbow grease, almost anyone can do it themselves. Whether you choose a soft roll-up for affordability or a hard tri-fold for rugged reliability, the investment pays dividends in peace of mind and vehicle value.
Remember: take your time, follow the manufacturer’s guidelines, and don’t skip the sealing step. A small mistake now can lead to big problems later. But with this guide as your roadmap, you’re already ahead of the curve.
Now go ahead—unbox that new cover, grab your wrench, and transform your truck bed into a secure, stylish, and weatherproof cargo space. Your future self (and your belongings) will thank you.
Frequently Asked Questions
Do I need to drill holes to install a tonneau cover?
Most modern tonneau covers use clamp-on or bolt-in systems that don’t require permanent drilling. However, some hard covers may need minor drilling for rail attachment—always check the instructions first.
How much does it cost to install a tonneau cover?
If you install it yourself, there’s no labor cost beyond the price of the cover (typically $150–$800). Professional installation ranges from $100–$300 but isn’t necessary for most models.
Can I remove the tonneau cover easily?
Yes, most soft roll-up and tri-fold covers can be removed in minutes by releasing latches and sliding off the rails. Retractables stay mounted but unfold fully for access.
Will a tonneau cover affect my truck’s warranty?
Installing a tonneau cover usually doesn’t void your truck’s warranty, especially if it’s bolted on without welding or cutting. However, always inform your dealer if you plan major modifications.
Is a hard or soft tonneau cover better?
Hard covers offer greater security and weather resistance, while soft covers are lighter and more affordable. Choose based on your priorities: security vs. convenience.
How do I fix a leaking tonneau cover?
Leaks are often caused by poor sealing. Reapply weatherstripping, ensure latches are tight, and check for misaligned rails. If the cover is old, worn-out seals may need replacement.