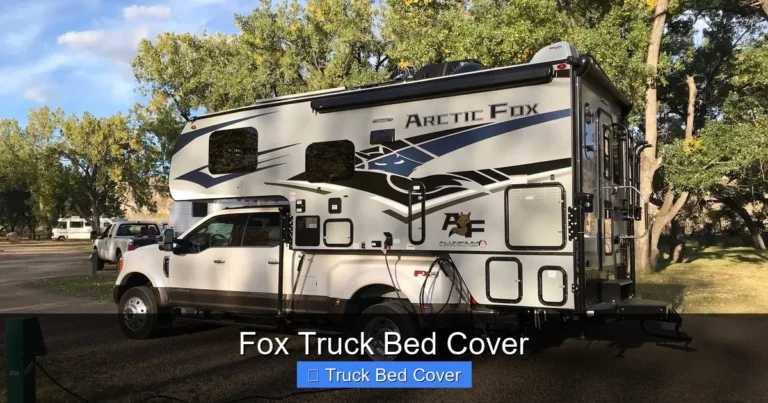
Truck Bed Cover Installation
Installing a truck bed cover is easier than you think—and it pays off in added security, weather protection, and improved fuel efficiency. Whether you’re a weekend warrior or a daily driver, this guide walks you through the process so you can tackle the job yourself. With the right tools and a little patience, your pickup will look great and stay protected.
Key Takeaways
- Tools You’ll Need: Gather basic hand tools like screwdrivers, a socket set, tape measure, and a drill. Optional but helpful: a torque wrench and level.
- Preparation Is Key: Clean your truck bed thoroughly and inspect for rust or damage before starting.
- Measure Twice, Cut Once: Ensure the cover matches your truck’s bed size exactly—most covers are pre-cut, but some customization may be needed.
- Follow Manufacturer Instructions: Each cover type has unique steps. Skipping the manual can lead to improper fit or damage.
- Weather Matters: Install on a dry, mild day (60–80°F) for best results and easier handling.
- Secure Fastening: Use all provided hardware and tighten bolts evenly to prevent leaks or warping over time.
- Maintenance Tips: Regular cleaning and periodic checks of clamps and seals keep your cover performing well.
Installing a truck bed cover is one of the smartest upgrades you can make to your pickup. Not only does it enhance your vehicle’s appearance, but it also protects your gear from rain, snow, sun, and theft. Whether you’re hauling tools, camping equipment, or just want a sleek look, a properly installed bed cover adds value and peace of mind. The good news? You don’t need a professional to get it done. With the right approach, most DIYers can install a bed cover in under two hours.
This guide walks you through everything you need to know about truck bed cover installation—from choosing the right cover to finishing touches that ensure long-lasting performance. We’ll cover different types of covers, step-by-step instructions, common mistakes to avoid, and pro tips that make the process smooth and stress-free. Let’s get started.
Key Takeaways
- Understanding truck bed cover installation: Provides essential knowledge
Quick Answers to Common Questions
How long does it take to install a truck bed cover?
Most truck bed cover installations take 1 to 2 hours for DIYers with basic tools. Simple soft covers may take less time, while retractable or hard covers can take longer due to precision fitting.
Do I need special tools to install a bed cover?
No special tools are required beyond basic hand tools like screwdrivers, wrenches, and a drill. Most kits come with the necessary hardware and instructions tailored to standard truck models.
Can I install a bed cover on a wet truck bed?
It’s best to avoid installing on a wet or dirty bed. Moisture and grime can prevent proper sealing and cause rust or misalignment. Wait for a dry, clean surface.
Will a bed cover affect my truck’s gas mileage?
A properly installed cover can improve aerodynamics, potentially increasing fuel efficiency by 2–5%. Hardtop and retractable covers tend to offer the best gains.
What’s the difference between a tri-fold and a roll-up cover?
A tri-fold cover folds into three sections and is secured at each fold. A roll-up (retractable) cover unrolls from a canister at the cab. Roll-ups offer full bed access but are more complex to install.
📑 Table of Contents
Why Install a Truck Bed Cover?
A truck bed cover isn’t just about looks—it’s a functional upgrade that improves your driving experience in several ways. First, it keeps your cargo dry during storms or unexpected rain showers. No more soaked backpacks or ruined equipment. Second, it deters theft by hiding valuable items from view. Thieves are less likely to target a truck with nothing visible in the bed.
Third, a cover reduces wind resistance, which can improve your truck’s fuel economy. That’s especially true for hardtop or retractable models. Finally, it protects your truck bed from scratches, dings, and UV damage. Over time, paint fading and rust spots can appear without a cover, especially in sunny climates.
Types of Truck Bed Covers
Before diving into installation, it’s important to understand the different cover options available. Each type has its own pros and cons, and installation methods vary slightly.
- Soft Folding Covers: Made of vinyl or canvas, these unfold like an accordion. They’re affordable, lightweight, and easy to remove. Installation usually involves securing tracks along the bed rails.
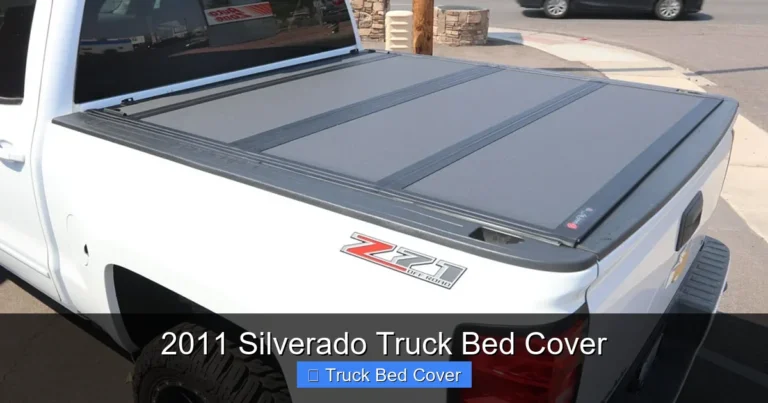
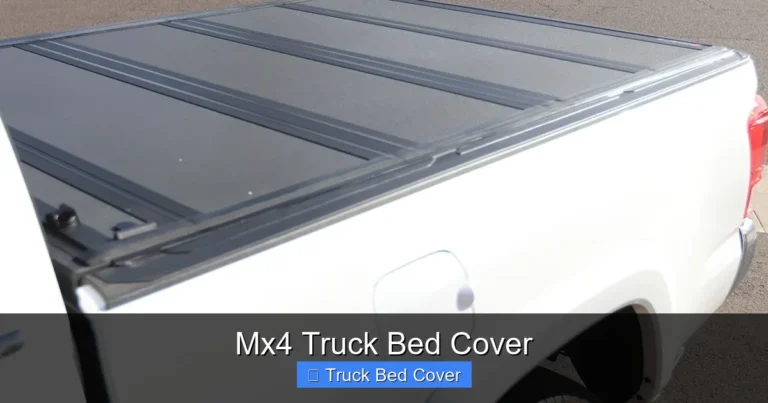
- Hard Tri-Fold Covers: These fold into three sections and offer more rigidity and security. They require drilling into the bed rails for mounting brackets.
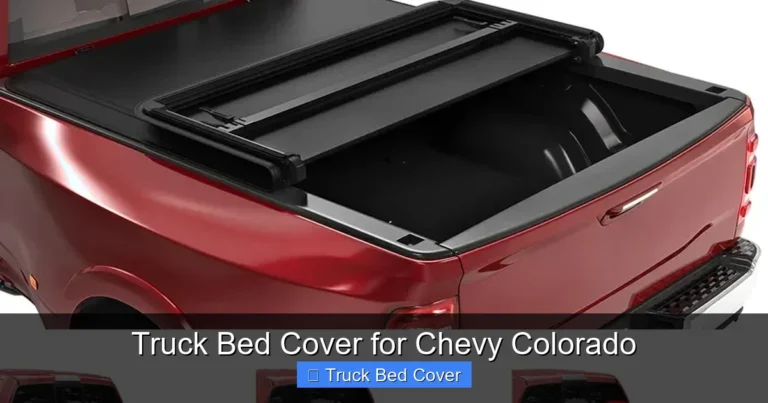
- Retractable Covers: A roll-up design that stores in a canister at the cab end. Ideal for full access without removing the entire cover. Installation is more complex and often requires professional help.
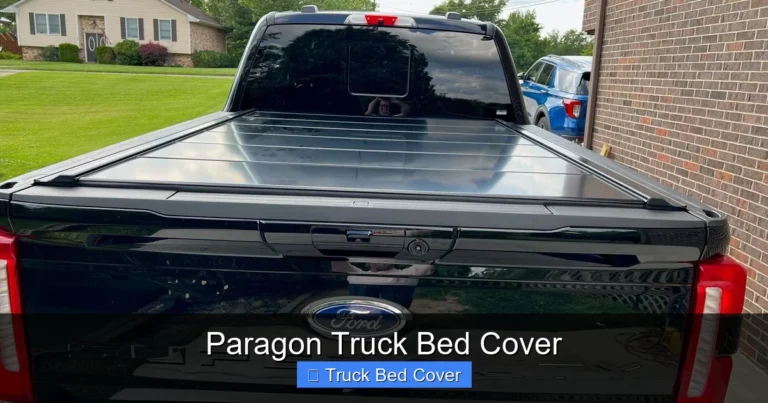
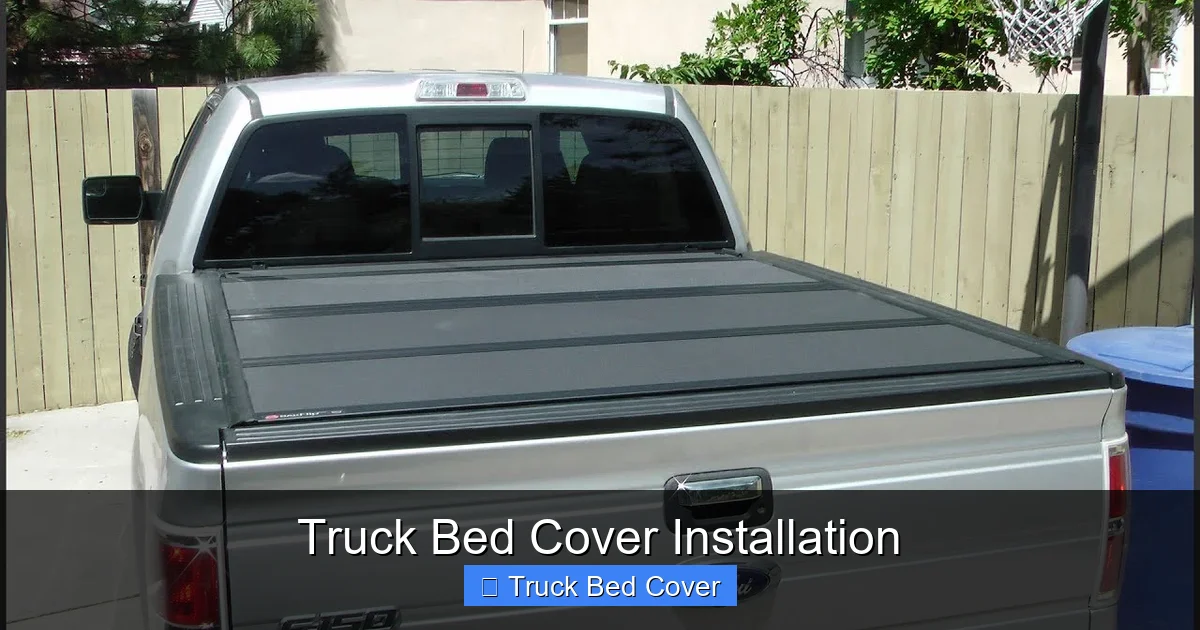
- One-Piece Hard Covers: Bolted directly onto the bed, offering maximum security and weather resistance. Best for trucks used in harsh environments.
- Tonneau Covers: A general term for soft or hard covers. Often includes roll-up or snap-on styles.
Choosing the right cover depends on your budget, climate, and how you use your truck. For beginners, a soft folding or tri-fold cover is often the easiest to install.
Preparing for Installation
Visual guide about Truck Bed Cover Installation
Image source: cdn.shopify.com
Proper preparation makes installation faster and ensures a secure fit. Rushing this step can lead to misalignment, leaks, or even damage to your truck bed.
Start by gathering your tools. Most installations require:
- Screwdriver (Phillips and flathead)
- Socket wrench or ratchet set
- Tape measure
- Drill (if pre-drilling holes)
- Ladder or step stool (for high beds)
- Cleaning supplies (soap, water, microfiber cloth)
- Level (optional, for alignment)
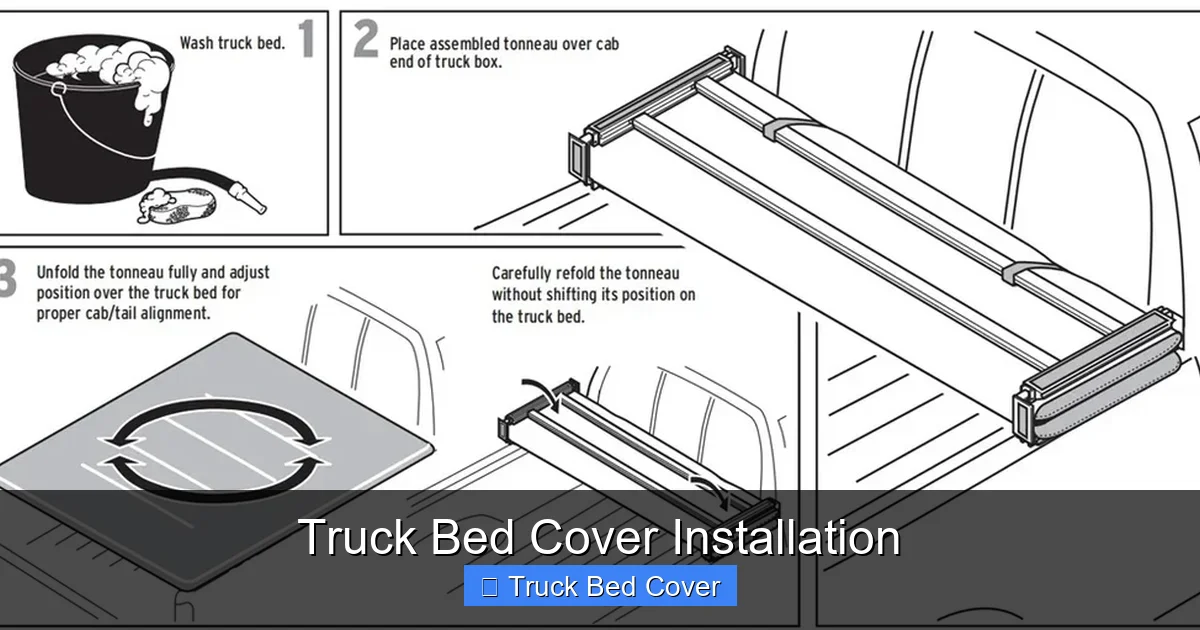
Next, clean your truck bed thoroughly. Remove dirt, debris, and old rust. If you’re installing over existing hardware, check for corrosion. A clean surface ensures better adhesion and prevents moisture buildup.
Inspect the bed rails—these are the metal channels running along the sides of the bed where most covers attach. Make sure they’re straight and not bent. If they’re damaged, consider replacing them before installation.
Finally, choose a good time to work. Install on a calm, dry day with temperatures between 60°F and 80°F. Cold weather can make vinyl stiff and harder to handle, while heat can cause adhesives to dry too fast.
Measuring and Planning
Even though most covers are made to fit specific truck models, double-checking measurements is crucial. Measure the length, width, and depth of your bed. Compare these to the product specifications.
If you’re using a universal or aftermarket cover, you might need to trim or adjust the material. Always cut or trim on the underside—never on the exposed side.
Plan your workspace. Lay out the cover and all hardware components. Organize screws, clips, and brackets by type. This saves time and prevents confusion later.
Step-by-Step Installation Guide
Now comes the fun part—putting it all together. Follow these general steps, but always refer to your cover’s instruction manual for model-specific details.
Step 1: Unbox and Inspect
Carefully open the box and lay out all parts. Check for missing pieces or damage. Most kits include:
- Cover panels or fabric
- Side rails or tracks
- Mounting brackets
- Screws, bolts, and washers
- Clamps or straps
Step 2: Install Side Rails (if applicable)
For soft and tri-fold covers, side rails are essential. Position them along the inside edges of the bed rails. Use a tape measure to ensure equal spacing on both sides.
Pre-drill holes if recommended. Then attach the rails using the provided brackets and screws. Tighten gradually, checking alignment as you go. Use a level to confirm the rails are straight.
Step 3: Attach the Cover Panels
Lay the cover flat on a clean surface. For hard covers, align the panels with the rails and secure them using bolts. For soft covers, slide the fabric into the side rails or attach via Velcro and buckles.
Start at the cab end and work toward the tailgate. Overlap seams slightly to prevent water entry. Secure with all provided fasteners—don’t skip any.
Step 4: Adjust and Test
Once installed, open and close the cover a few times to test smoothness. Make sure it doesn’t drag or bind. Adjust tension if needed—especially for soft covers that can stretch over time.
Check for gaps at the tailgate. Some covers require rubber seals or weather stripping to be added here. Trim excess material if necessary.
Step 5: Final Touches
Wipe down the cover with a damp cloth to remove fingerprints or dust. Apply a vinyl protectant if recommended by the manufacturer. This helps prevent cracking and fading.
Double-check all screws and bolts. A loose fastener can lead to rattling or detachment over time.
Common Mistakes to Avoid
Even experienced DIYers make errors during installation. Here are the most common pitfalls and how to fix them.
Not Reading the Manual
Each cover brand has unique requirements. Skipping the instructions might lead to incorrect assembly or voided warranty. Always read the full manual before starting.
Skipping the Cleaning Step
A dirty bed bedrail can prevent proper sealing. Dirt and grease interfere with clamps and bolts, causing leaks or misalignment.
Over-Tightening Hardware
Tightening screws too much can strip threads or warp plastic components. Use a torque wrench if possible, or tighten until snug—then stop.
Ignoring Weather Conditions
Installing a soft cover in cold weather can make it brittle and prone to tearing. Wait for a mild day.
Using the Wrong Tools
Using a power drill on delicate brackets can crack them. Hand-tighten when possible, and switch to a drill only when necessary.
Not Testing the Cover
After installation, open and close the cover multiple times. Listen for unusual noises or resistance. Address any issues immediately.
Maintaining Your Truck Bed Cover
A well-maintained cover lasts longer and performs better. Here’s how to keep it in top shape.
Regular Cleaning
Wash your cover every few months with mild soap and water. Avoid harsh chemicals that can degrade vinyl or fabric. Rinse thoroughly and let it air dry.
Inspect for Damage
Check for tears, fraying, or loose seams. Replace damaged sections promptly. Small rips can grow larger over time.
Lubricate Moving Parts
For retractable or rolling covers, apply silicone spray to rollers and tracks once a year. This prevents sticking and extends lifespan.
Store Properly When Not in Use
If you remove the cover seasonally, store it in a cool, dry place. Avoid direct sunlight and damp areas. Fold loosely to prevent creasing.
Check Clamps and Seals
Every six months, inspect all clamps, latches, and rubber seals. Replace worn parts to maintain watertight integrity.
When to Call a Professional
While most installs are DIY-friendly, some situations call for expert help.
Consider hiring a pro if:
- You have a lifted truck with raised bed rails
- The cover requires welding or structural modifications
- You’re installing a retractable or custom-fit cover
- You lack confidence with power tools
Professionals have specialized tools and experience. They can also offer warranties and guarantee a perfect fit.
Final Thoughts
Installing a truck bed cover is a rewarding project that boosts your truck’s functionality and appearance. With the right prep, tools, and attention to detail, you can do it yourself in just a couple of hours. Remember: take your time, follow the manual, and don’t skip the cleaning step.
Whether you’re protecting a work van or upgrading a daily driver, a properly installed bed cover makes a big difference. It keeps your gear safe, your bed looking sharp, and your fuel bill lower. And the best part? You did it yourself—saving money and gaining confidence in your DIY skills.
Now grab your tools, roll up your sleeves, and enjoy the satisfaction of a job well done.
Frequently Asked Questions
Can I install a bed cover myself?
Yes, most truck bed covers are designed for DIY installation. With basic tools and clear instructions, you can install a soft or tri-fold cover in under two hours.
Do I need to drill holes to install a bed cover?
Some covers, especially hard and tri-fold models, require drilling into bed rails for mounting brackets. Soft covers often use clamp systems that don’t need drilling. Always check your manual.
How do I choose the right bed cover for my truck?
Match the cover to your truck’s make, model, and bed size. Consider your climate, usage, and whether you prioritize security, convenience, or aesthetics. Soft covers are easier to install; hard covers offer more protection.
Can a bed cover be removed and reinstalled?
Yes, most covers are removable. Soft and tri-fold covers can be taken off entirely. Retractable and hard covers are designed for permanent installation but can sometimes be uninstalled by professionals.
Will a bed cover fit all truck bed sizes?
No. Bed covers are made for specific truck models and bed lengths (short, standard, long). Always verify compatibility before purchasing.
How do I clean and maintain my truck bed cover?
Wash with mild soap and water every few months. Inspect for wear annually. Use silicone spray on moving parts and store properly if removing seasonally.