How to Install Gator Truck Bed Cover
Installing a Gator truck bed cover is easier than you think—and it’s worth the effort. With the right tools and clear instructions, you can protect your cargo, improve aerodynamics, and boost your truck’s style in under an hour. Whether you’re using a soft roll-up, tri-fold, or retractable model, this guide walks you through every step so you feel confident from start to finish.
Installing a Gator truck bed cover isn’t rocket science, but it does require attention to detail. These covers—whether soft roll-up, tri-fold, or retractable—are designed to protect your gear from rain, sun, theft, and general wear and tear. They also help reduce wind resistance, which can improve fuel efficiency. But before you get excited about all that protection, let’s talk about what makes Gator covers stand out: quality materials, easy installation, and a reputation built on durability.
Gator, a trusted name in truck accessories, uses heavy-duty vinyl or aluminum construction depending on the model. Their soft covers are made from reinforced fabric that resists tears and UV damage, while their hard covers offer more security and weatherproofing. No matter which style you choose, the goal is the same: a snug, secure fit that looks great and performs reliably over time.
The good news? Most Gator truck bed covers are designed for DIY installation. You won’t need a professional mechanic or specialized equipment—just a few common tools and maybe a little patience. In this guide, we’ll walk you through everything from choosing the right cover to fine-tuning the final fit. By the end, you’ll know exactly how to install your Gator truck bed cover like a pro.
Key Takeaways
- Choose the Right Model: Gator offers soft covers like the Gator Cover and hard options like the Gator Tri-Fold and Gator Roll-Up—pick one that fits your truck bed and needs.
- Prep Is Key: Clean your truck bed thoroughly and check for dents or debris before installing the cover.
- Tools Are Simple: You only need basic tools—a tape measure, socket wrench, screwdriver, and possibly a drill.
- Follow the Manual: Each Gator cover comes with specific instructions; don’t skip them.
- Secure the Rails First: Install the side rails before mounting the cover panels for stability and alignment.
- Double-Check Tension: After installation, ensure the cover lies flat and the tailgate latch engages smoothly.
- Maintenance Matters: Regular cleaning and occasional lubrication of tracks (on retractable models) keep your cover working like new.
Quick Answers to Common Questions
How long does it take to install a Gator truck bed cover?
Most installations take 1–2 hours for beginners and less than 30 minutes for experienced hands. Retractable models may take longer due to electrical connections.
Can I install a Gator cover on a lifted truck?
Yes, but you may need extended rails or additional brackets. Check the product specifications for compatibility with lifted suspensions.
Do I need to drill holes for installation?
It depends on your truck model. Many Gator covers bolt directly into existing bed rails without drilling. Others may require minor pre-drilling—always follow the manual.
Will the cover fit my truck if I have a bed liner?
In most cases, yes—but you might need to trim the liner or use spacer blocks. Some users remove the liner temporarily during installation.
Can I remove and reinstall the cover easily?
Absolutely. All Gator covers are designed for quick removal and reattachment. Just reverse the installation steps.
📑 Table of Contents
Understanding Your Gator Truck Bed Cover Options
Before diving into installation, it helps to understand the different types of Gator covers available. Each has unique features, pros, and ideal use cases. Knowing what you’re working with will make the installation process smoother and ensure you get the most out of your investment.
Soft Roll-Up Covers
These are the most popular type of Gator covers. Made from durable, tear-resistant fabric, they roll up toward the cab when not in use. The Gator Roll-Up series is known for its easy operation—just pull the cover back and secure it with Velcro straps. Installation typically involves mounting side rails along the top edges of the bed, then attaching the cover itself. Soft covers are lighter, quieter, and less expensive than hard alternatives.
Tri-Fold Hard Covers
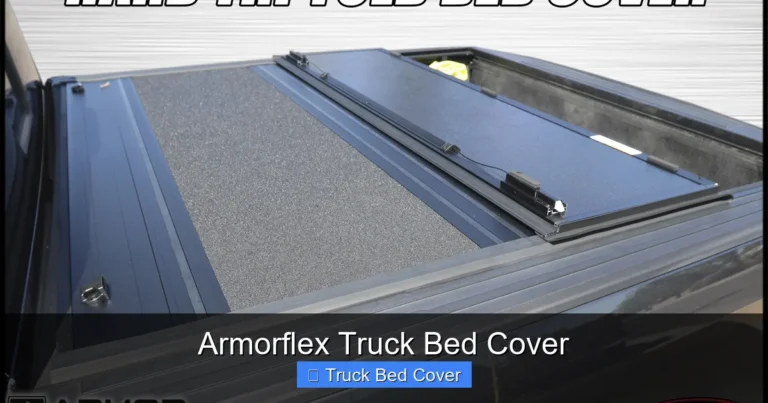
If you want something sturdier, the Gator Tri-Fold is a solid choice. This cover folds into three sections and sits flush on top of the bed. It’s made from lightweight aluminum panels covered in tough ABS plastic. Because it’s rigid, it provides better security and weather protection than soft covers. However, it’s heavier and may require two people during installation.
Retractable Hard Covers
For the ultimate in convenience and style, consider the Gator Retractable Cover. This motorized system lets you slide the cover open or closed with the push of a button (or manual crank on some models). It’s perfect if you frequently access items in your bed without fully removing the cover. Retractables are the priciest option but offer unmatched ease of use and sleek aesthetics.
Custom vs. Universal Fit
Gator offers both custom-fit and universal-fit covers. Custom-fit models are engineered for your exact truck year, make, and model—resulting in a tighter seal and cleaner look. Universal covers come in adjustable sizes and may require minor modifications during installation. If possible, go with a custom fit for the best performance and longevity.
Tools and Supplies You’ll Need
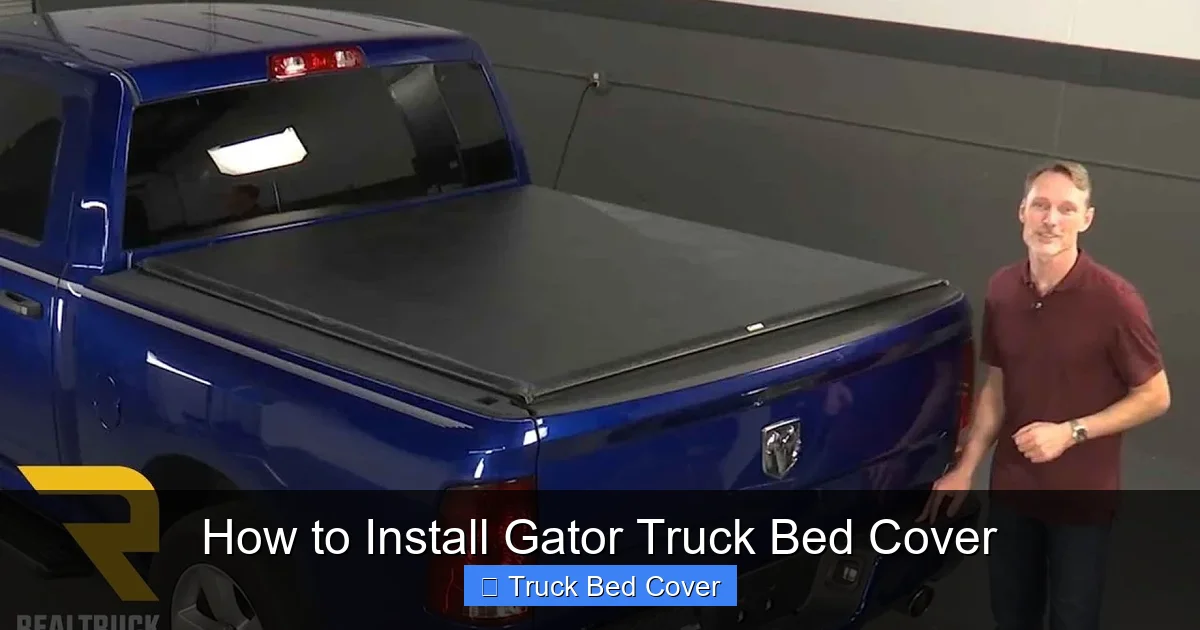
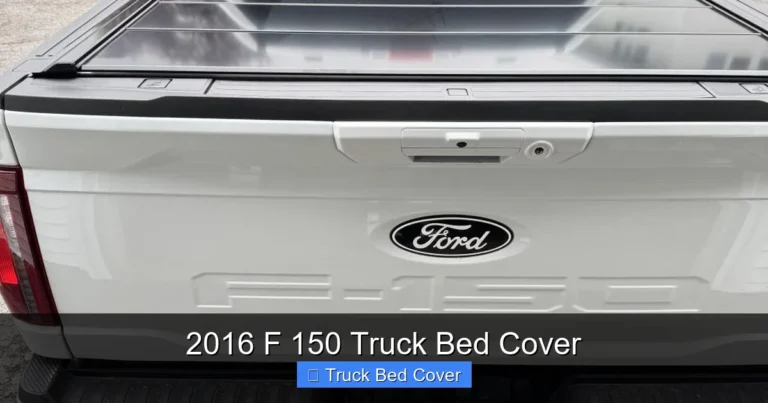
Visual guide about How to Install Gator Truck Bed Cover
Image source: i.ytimg.com
You don’t need a full garage setup to install your Gator truck bed cover. Most installations require just a handful of everyday tools. Having everything ready before you start saves time and frustration.
Start with these essentials:
- Tape measure – to verify rail alignment
- Screwdriver set – Phillips and flathead
- Socket wrench or ratchet – often needed for tightening bolts
- Drill with drill bits – optional, but helpful if pre-drilling is required
- Ladder or step stool – to reach high points safely
- Clean cloths and mild soap – for cleaning the bed surface
- Zip ties or clamps – useful for temporary hold-downs during setup
Optional but recommended:
- Tire pressure gauge – ensures tires are properly inflated before loading the bed
- Level – helps confirm rails are straight
- Lubricant spray – for retractable models with moving parts
Pro tip: Lay out all your tools and hardware before beginning. Check the instruction manual for a complete parts list—missing one small clip can delay everything!
Step-by-Step Installation Process
Now for the main event: installing your Gator truck bed cover. We’ll break this down into logical phases so you don’t get overwhelmed. Follow along carefully, and take your time—rushing leads to mistakes.
Phase 1: Prepare the Truck Bed
Begin by removing any loose items from your truck bed. Then clean the entire surface thoroughly with soap and water. Let it dry completely. Any dirt, oil, or moisture can interfere with adhesion or cause misalignment later.
Next, inspect the bed rails (the metal strips along the top edge of the bed). Look for rust, dents, or debris. If necessary, sand rough spots and wipe away dust. For best results, install the cover on a dry day.
Phase 2: Install Side Rails
Side rails are the foundation of your cover system. They guide the cover and distribute tension evenly across the bed.
For most Gator models:
- Position the left-side rail along the driver’s side of the bed. Align it with the pre-drilled holes (if applicable).
- Insert bolts through the rail and into the bed rail mounts. Hand-tighten first—don’t fully tighten yet.
- Repeat on the passenger side. Use a tape measure to ensure both rails are parallel and equally spaced.
- Use a level to confirm the rails are perfectly horizontal. Adjust as needed.
- Once aligned, fully tighten all bolts with a socket wrench. Check again after a few hours—rails may shift slightly due to torque.
Tip: Some models include rubber seals between the rail and bed rail to prevent water intrusion. Make sure these are seated properly.
Phase 3: Mount the Header Rail (Hard Covers Only)
Hard covers like the Tri-Fold and Retractable require a header rail at the front of the bed (closest to the cab). This bar connects the two side rails and supports the cover mechanism.
Installation steps:
- Slide the header rail into the brackets on both side rails.
- Tighten the provided bolts securely.
- Check that the header rail is flush with the top of the bed and doesn’t wobble.
Note: Soft roll-up covers usually don’t use a header rail—they attach directly to the side rails or tailgate.
Phase 4: Attach the Cover Panels or Fabric
This is where your cover comes together.
For **soft roll-up covers**:
- Unroll the cover and position it over the bed, ensuring it hangs evenly over both sides.
- Attach the rear edge to the tailgate using the included clamps or Velcro straps.
- Feed the front edge through the header bracket (if present) or secure it with provided fasteners.
- Roll the cover toward the cab and fasten it with the included straps or buckles.
For **tri-fold hard covers**:
- Place the first panel onto the bed, aligning it with the side rails.
- Attach it using the included clips or screws.
- Repeat for the second and third panels, overlapping slightly at the seams.
- Ensure all latches click securely into place.
For **retractable covers**:
- Mount the track system along the inside of the side rails.
- Install the roller assembly and test sliding motion by hand before finalizing.
- Connect the motor (if electric) to a power source near the battery (consult wiring diagram).
- Calibrate the stop positions using the control panel.
Phase 5: Final Adjustments and Testing
After everything is mounted, do a thorough check:
- Open and close the cover several times to test smoothness.
- Make sure there are no gaps where water could enter.
- Verify that the tailgate closes normally and locks securely.
- Tighten any loose bolts or straps.
If your cover has tension adjusters (common in tri-fold models), tweak them until the cover lies flat without sagging.
Common Mistakes to Avoid
Even experienced DIYers can run into issues during installation. Being aware of these pitfalls helps you stay on track.
Mistake 1: Skipping Surface Prep
Installing over dirt or moisture causes poor sealing and premature wear. Always clean and dry the bed thoroughly.
Mistake 2: Installing Rails Too Loose or Too Tight
Rails must be snug but not overtightened. Over-tightening can warp the bed rails or strip threads.
Mistake 3: Not Leveling the Rails
Uneven rails lead to uneven cover tension, causing wrinkles or poor sealing. Use a level—it’s worth the effort.
Mistake 4: Rushing the Process
Take breaks if needed. A hurried job often results in misaligned parts or forgotten steps.
Mistake 5: Ignoring Weather Conditions
Install in dry, mild weather. Cold or wet conditions can affect adhesive components or make plastic parts brittle.
Maintaining Your Gator Truck Bed Cover
A well-maintained cover lasts longer and performs better. Here’s how to keep yours in top shape:
Regular Cleaning
Wipe down your cover monthly with a damp cloth and mild detergent. Avoid harsh chemicals that can degrade vinyl or fabric. For hard covers, rinse off dirt and debris after muddy trips.
Lubricate Moving Parts
On retractable models, apply silicone-based lubricant to the tracks every 3–6 months. Never use oil-based products—they attract dirt and cause buildup.
Inspect for Damage
Check for tears, loose bolts, or worn seals quarterly. Replace damaged components promptly to prevent further issues.
Store Properly When Not in Use
If you have a soft cover, always roll it completely and secure it. Leaving it partially rolled can trap moisture and mildew.
Avoid Sharp Objects
Even though Gator covers are durable, sharp tools or heavy rocks can puncture fabric or scratch hard panels. Use a tarp or carpet when transporting fragile items.
When to Call a Professional
While most Gator installs are DIY-friendly, certain situations call for expert help:
– If your truck bed has been modified (e.g., lowered suspension, non-stock rails)
– If you’re uncomfortable working at heights or handling heavy panels
– If the cover includes complex electronics like retractable motors
– If you notice persistent leaks or misalignment after DIY attempts
Most local auto accessory shops offer installation services for around $50–$100. It’s a small price for peace of mind.
Frequently Asked Questions
What’s the difference between a Gator soft cover and a hard cover?
Gator soft covers are made of flexible, tear-resistant fabric and are easier to operate, while hard covers use rigid panels for superior security and weather resistance. Choose based on your needs and budget.
Are Gator truck bed covers waterproof?
All Gator covers are highly water-resistant, but no cover is 100% waterproof due to tailgate gaps and seams. Proper installation and maintenance significantly reduce leakage risks.
Can I install a Gator cover myself?
Yes! Gator designs its covers for DIY installation. With basic tools and careful attention, most truck owners can complete the job in under two hours.
How do I clean my Gator truck bed cover?
Use a mild soap solution and a soft cloth to wipe down the surface. Rinse with clean water and air dry. Avoid abrasive cleaners or high-pressure washes.
What if my cover doesn’t lie flat after installation?
Check rail alignment, tighten loose bolts, and adjust tension settings (if available). Uneven rails or improper tension are common causes of sagging.
Is a retractable Gator cover worth the extra cost?
If you frequently access your bed and value convenience, yes. Retractables offer smooth operation and a premium look, though they require more maintenance than soft covers.