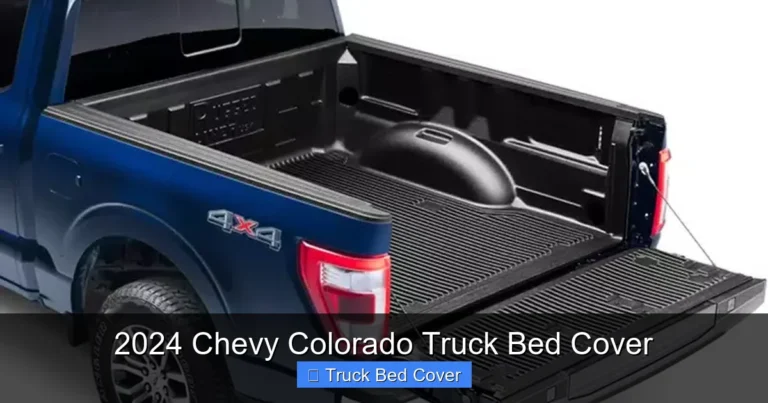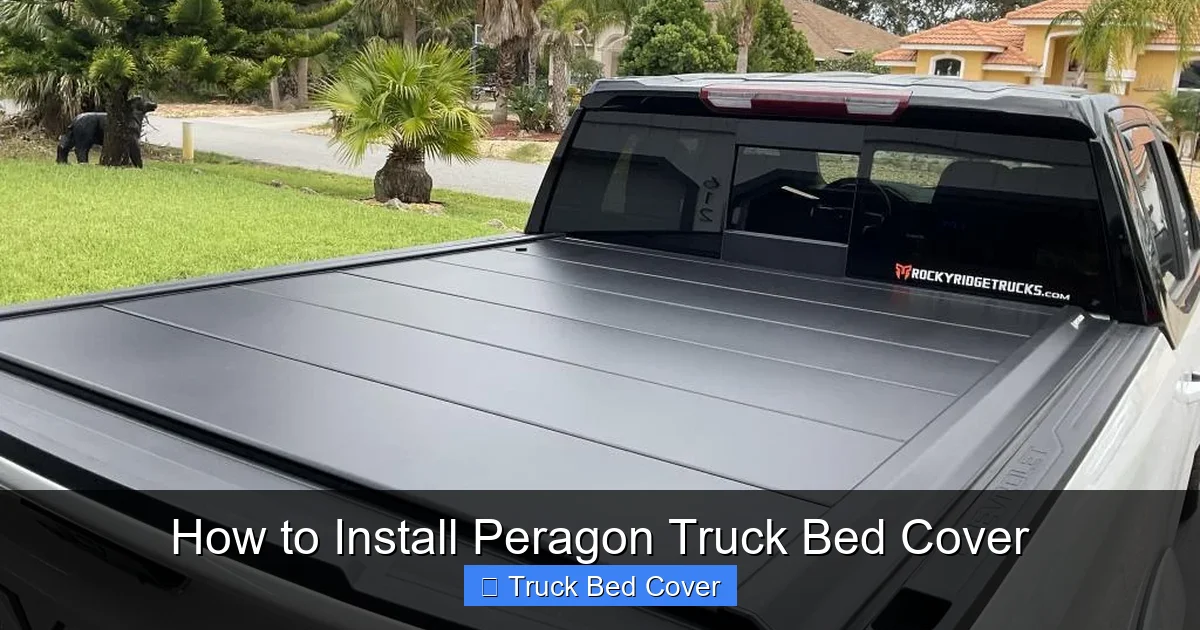
How to Install Peragon Truck Bed Cover
Installing a Peragon truck bed cover is easier than you think—no special tools or professional help required. This guide walks you through everything from unpacking to final adjustments, so your truck stays protected and looks sleek. Whether you’re new to truck accessories or a seasoned DIYer, we’ve got you covered.
If you’ve been thinking about upgrading your truck with a sleek, secure, and stylish bed cover, the Peragon truck bed cover is one of the most popular choices out there. Known for its durable construction, easy installation, and universal fit on many truck models, Peragon makes it simple to protect your cargo from rain, snow, theft, and sun damage. But even though these covers are designed to be user-friendly, jumping into installation without guidance can lead to frustration, misalignment, or worse—a cover that doesn’t seal properly.
That’s where this guide comes in. Whether you’re a weekend warrior or someone who just wants a clean, no-fuss way to secure their gear, we’re going to walk you through every step of installing your Peragon truck bed cover—from unboxing to final testing. No jargon, no fluff, just clear, practical advice that gets you done quickly and right the first time.
Key Takeaways
- Understanding how to install peragon truck bed cover: Provides essential knowledge
Quick Answers to Common Questions
How long does it take to install a Peragon truck bed cover?
Most people complete the installation in under two hours, depending on experience and truck type. First-timers might take a bit longer, but it’s a straightforward process with clear steps.
Do I need special tools to install the cover?
No—just basic hand tools like a wrench and screwdriver. All necessary hardware is included, and no drilling or welding is required for standard installations.
Can I install the cover on a truck without bed rails?
Yes! Peragon offers clamp-on systems that work on trucks without factory rails. Just follow the included instructions for mounting directly to the bed walls.
Will the cover fit my truck model?
Peragon designs covers for most popular pickup trucks. Check the product page or packaging with your exact year, make, and model to confirm compatibility.
Is the cover waterproof?
Absolutely. The rubber seals and tight-fit design provide excellent resistance to rain and snow. For maximum protection, ensure seals are properly seated during installation.
📑 Table of Contents
Gathering Your Tools and Supplies
Before you roll up your sleeves, let’s make sure you have everything you need. The beauty of Peragon covers is that they’re built for DIY installation, so you won’t need a full toolbox—just a few common items and the confidence to get started.
Start by laying out all the parts from the box. Most Peragon kits include the main cover panel, side rails, end caps, clamps, bolts, washers, and rubber seals. Double-check against the included parts list to ensure nothing’s missing. If anything’s broken or missing, contact Peragon customer support immediately—they’re usually quick to respond.
Now, gather your tools:
- A socket wrench or adjustable wrench (usually 10mm or 13mm)
- A flathead or Phillips screwdriver
- A tape measure (to confirm rail placement)
- A clean cloth or microfiber towel
- A level (optional but helpful for perfect alignment)
Also, pick a workspace. A flat driveway or garage floor works best. Avoid windy or rainy days—dust and moisture can sneak into crevices and compromise the seal later.
Prepping Your Truck Bed
Visual guide about How to Install Peragon Truck Bed Cover
Image source: imaginecamper.com
A clean, dry bed is essential for a tight, long-lasting fit. Begin by removing any debris, old tie-downs, or accessories that might interfere with the rails or cover. Use a vacuum or shop rag to wipe down the entire bed surface, especially around the rail mounting points.
Next, inspect the bed rails. Most trucks come with factory-installed side rails, but if yours doesn’t have them or they’re damaged, you’ll need to install Peragon’s optional rail kit. These rails sit inside the bed and provide a secure base for the cover.
If you’re installing rails, position them along the inside edges of the bed—about 1/4 inch below the top edge. Use the tape measure to keep them evenly spaced front to back. Once aligned, temporarily secure them with clamps or zip ties while you test the fit.
Pro tip: If your bed has a spray-in liner, make sure it’s smooth and free of ridges that could interfere with the cover’s flush fit. Minor imperfections are usually fine, but large bumps may require sanding or filing.
Installing the Side Rails
With the bed prepped, it’s time to mount the side rails. These rails run the length of the truck bed and form the foundation for the cover. They’re designed to slide onto existing bed rails (if present) or attach directly to the truck bed using clamps and bolts.
Start at the front of the bed. Slide the first rail into place, making sure it sits snugly against the inside wall. If your truck has factory rails, insert the Peragon rail into those grooves—this ensures proper alignment and prevents movement.
Secure the rail using the provided U-bolts and clamps. Tighten them just enough to hold the rail firmly—don’t overtighten yet. You’ll want to adjust alignment later. Repeat this process for the rear rail, ensuring both rails are parallel and evenly spaced.
Once both rails are in place, use a level to check for any bowing or twisting. Adjust as needed. Then, tighten all bolts securely with your wrench. A loose rail can cause rattling or allow water to seep underneath the cover.
Mounting the Main Cover Panel
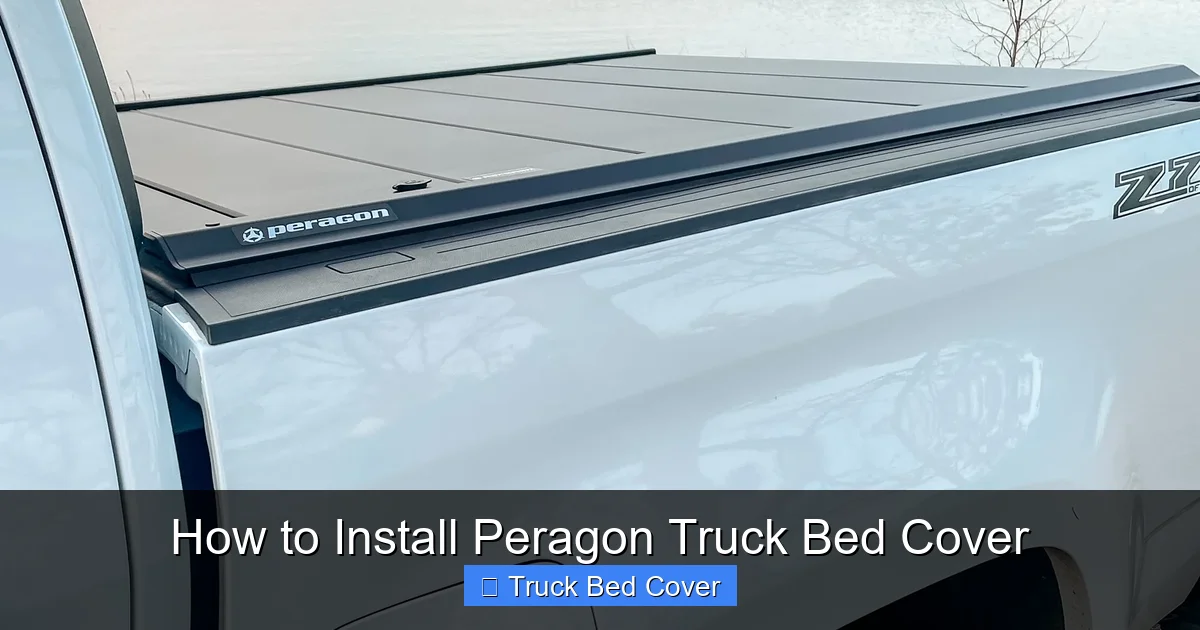
Now comes the moment of truth: attaching the actual cover. The Peragon cover is lightweight yet sturdy, typically made of ABS plastic or aluminum composite. It slides over the side rails and locks into place at the cab side.
Lift the cover gently—it should be light enough to manage with one person, but always ask for help if needed. Align the front edge of the cover with the front rail. There’s usually a small gap between the cab and the cover; this is normal and helps with expansion due to temperature changes.
Slide the cover backward until it rests fully on the rails. You should hear or feel it click into place. Some models have latches or clips on the cab side that automatically secure the cover when closed.
Check that the cover is centered and flush across the bed. If it’s crooked, gently lift and reposition. Misalignment now will only get worse over time.
Securing and Sealing the Installation
The final step is tightening and sealing. Start by going over all the bolts on the side rails again—give them a firm turn with your wrench. This ensures a snug fit and eliminates any wobble.
Next, inspect the rubber seals around the edges. These are critical for keeping water out. Make sure they’re seated properly and not pinched or compressed unevenly. If you see gaps, adjust the cover slightly or reseat the seal.
Some Peragon models include a rear tailgate seal or bulkhead gasket. Install these according to the diagram—they create an extra barrier against moisture and drafts.
Finally, open and close the cover several times to test operation. Listen for unusual noises and check that it moves smoothly without binding. If it sticks or feels loose, double-check rail alignment and bolt tightness.
Maintenance Tips for Long-Lastng Performance
An installed Peragon cover isn’t set-it-and-forget-it—it needs occasional care to stay in top shape. Here’s how to keep it looking great and functioning perfectly:
- Clean regularly: Wipe the surface with mild soap and water every few months. Avoid abrasive cleaners that can scratch the finish.
- Lubricate hinges (if applicable): Apply silicone spray to moving parts once a year to prevent stiffness.
- Inspect seals annually: Replace worn rubber gaskets to maintain waterproofing.
- Avoid dragging heavy objects: Use a soft mat or towel when loading tools or equipment to prevent scratches.
- Check for warping in extreme heat: Prolonged exposure to direct sunlight can soften some plastics. Park in shade when possible.
Also, if you frequently carry ladders, kayaks, or other tall items, consider upgrading to a Peragon tonneau-style cover with extended rails. These offer more clearance and better security.
Troubleshooting Common Issues
Even with careful installation, you might run into hiccups. Here’s how to handle the most frequent problems:
Rattling or vibrating: This usually means the cover isn’t sitting flush on the rails. Loosen the rail bolts slightly, adjust the cover, and retighten.
Water leakage: Check the rubber seals around the edges and tailgate. Re-seat or replace them if they’re cracked or misaligned.
Cover won’t close fully: The issue could be a misaligned rail or debris in the track. Clean the rails and adjust as needed.
Screws stripping: Use the correct size wrench and avoid over-tightening. If a hole is stripped, stop using that screw and find an alternative anchor point.
Warped cover in hot climates: This is rare but possible. If you notice bending, remove the cover and let it cool in a shaded area before reinstalling.
Remember, Peragon covers are tested rigorously, but real-world conditions vary. If something seems off, consult the manual or reach out to their support team—they’re friendly and responsive.
Frequently Asked Questions
What’s the difference between a Peragon roll-up and hard tri-fold cover?
Roll-up covers unfold like a canopy and store in front, while tri-folds fold into three sections and lie flat over the bed. Tri-folds offer more rigidity, while roll-ups are easier to access frequently.
Can I remove the cover without damaging it?
Yes. Most Peragon models are designed for easy removal. Simply release the latches and lift it off. Store it in a dry place to prevent warping or UV damage.
Are Peragon covers compatible with bed liners?
They work well with most spray-in and drop-in bed liners. However, ensure the liner is smooth and free of protrusions that could interfere with the cover’s fit.
How do I clean my Peragon cover?
Wipe with a damp cloth and mild soap. Avoid harsh chemicals or high-pressure washes near seals. Dry thoroughly to prevent mold or residue buildup.
Will installing the cover void my truck’s warranty?
Generally no—as long as you don’t drill holes or modify the bed structure significantly. Always check your warranty terms, but Peragon covers are non-invasive.
Can I add accessories like a rack or bike carrier later?
Yes, but plan ahead. Some aftermarket racks may require additional mounting points or modifications. Consult a professional if unsure.