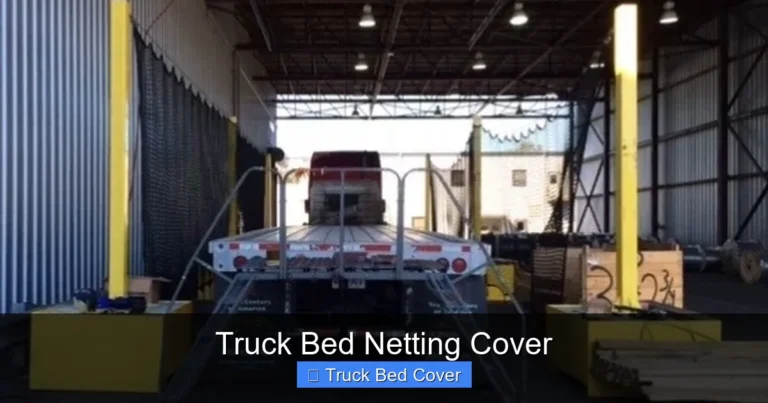
How to Install Bed Cover on Truck
Installing a bed cover on truck is a simple DIY project that enhances security, protects cargo, and improves fuel efficiency. Whether you choose a hard top, soft roll-up, or retractable model, our guide walks you through every step—from prep work to final adjustments—so your truck bed stays covered, secure, and looking sharp.
Key Takeaways
- Proper preparation is key: Clean the truck bed thoroughly and check for debris before installation to ensure a secure fit.
- Choose the right cover type: Hard covers offer maximum security and durability, while soft covers are lighter and more affordable.
- Follow manufacturer instructions: Each bed cover brand has unique mounting requirements—always start with the provided manual.
- Use the correct tools: Basic tools like wrenches, screwdrivers, and a tape measure are usually sufficient; avoid over-tightening bolts.
- Test for alignment and movement: After installation, open and close the cover multiple times to catch any misalignment or binding issues early.
- Regular maintenance extends lifespan: Clean the cover regularly and inspect hardware to prevent rust and ensure smooth operation.
Quick Answers to Common Questions
Can I install a bed cover myself?
Yes, most truck owners can install a bed cover on truck themselves with basic tools and the manufacturer’s instructions. Soft covers are the easiest, while hard and retractable models may require more precision.
Do I need to drill holes for a bed cover?
It depends on the type. Some soft covers use clamp-on rails without drilling, but hard and tri-fold covers often require drilling into the truck bed rails for secure attachment.
How long does installation take?
Installation typically takes 1 to 3 hours. Soft roll-up covers are fastest (under 1 hour), while retractable and fiberglass covers may take longer due to precision requirements.
Will a bed cover improve my gas mileage?
Yes! A properly installed bed cover reduces wind resistance, which can improve fuel efficiency by 2–10%, depending on driving conditions and cover design.
Can I remove the cover later?
Most removable covers—like soft roll-ups or tri-folds—can be taken off easily. Retractable covers are designed to stay installed, though some models allow partial removal.
📑 Table of Contents
How to Install Bed Cover on Truck: A Complete Step-by-Step Guide
If you’re tired of your truck bed being exposed to rain, dust, or prying eyes, installing a bed cover on your truck is one of the best upgrades you can make. Not only does it protect your cargo, but it also boosts your truck’s aerodynamics and gives it a sleek, finished look. But how do you actually install a bed cover on a truck? The process varies depending on the type of cover—soft roll-up, hard tri-fold, retractable, or tonneau—but the core principles remain the same. In this comprehensive guide, we’ll walk you through everything you need to know, from choosing the right cover to securing it properly. By the end, you’ll be ready to tackle your bed cover on truck installation like a pro.
Before diving into the steps, it’s important to understand why a bed cover matters. Whether you use your truck for work, recreation, or daily driving, a quality bed cover keeps your gear dry, prevents theft, and improves gas mileage by reducing drag. Plus, it enhances your truck’s appearance—giving it a custom, professional look. With the right tools, patience, and attention to detail, most truck owners can complete the installation in under two hours. So grab your wrench, roll up your sleeves, and let’s get started.
Choosing the Right Type of Bed Cover
The first step in learning how to install bed cover on truck is selecting the right model for your needs. There are several types available, each with its own advantages. Understanding the differences will help you make an informed decision before purchasing.
Soft Roll-Up Covers
Soft roll-up covers are lightweight, affordable, and easy to install. Made from durable vinyl or fabric, they roll up toward the cab and latch securely. These are ideal for light-duty use and occasional cargo protection. Installation typically involves attaching side rails and a tailgate seal, then rolling out the cover and securing it with clamps or straps.
Hard Tri-Fold Covers
Hard tri-fold covers consist of three rigid panels that fold forward. They provide excellent security and weather resistance. Installation requires drilling into the truck bed rails (usually), so it’s a more involved process. However, the result is a sturdy, low-profile cover that blends seamlessly with your truck’s design.
Retractable (Rolling) Covers
Retractable covers slide back into a compact canister at the front of the bed. They’re perfect for frequent access and offer full-bed coverage when closed. These require precise alignment during installation and often come with electronic controls. While pricier, they’re one of the most convenient options.
Fiberglass Hard Covers
Made from molded fiberglass, these covers are extremely durable and resistant to impact. They attach directly to the bed rails and offer the highest level of security. Installation is straightforward but may require professional help due to weight and handling.
No matter which type you choose, always verify compatibility with your truck’s make, model, and bed length. Most manufacturers include a vehicle-specific installation kit, so double-check the packaging before buying.
Tools and Materials You’ll Need
Once you’ve selected your bed cover, gather the necessary tools and materials. While the exact list varies by brand, here’s a general checklist to help you prepare.
- Screwdriver set – Phillips and flathead drivers are essential for tightening bolts.
- Wrench or socket set – Used for securing side rails and mounting brackets.
- Tape measure – To ensure even spacing during installation.
- Ladder or step stool – For reaching high points on the truck bed.
- Rubber mallet – Helps seat components without damaging them.
- Cleaning supplies – Soap, water, and microfiber cloths for prepping the truck bed.
- Manufacturer-provided hardware – Always use the included screws, clamps, and brackets—do not substitute.
- Lubricant (optional) – Silicone spray helps soft covers move smoothly.
Pro tip: Lay out all parts and hardware before starting. This reduces confusion and ensures nothing goes missing during assembly. Keep small items in a labeled container to avoid losing bolts or clips.
Preparing Your Truck Bed
A clean, dry surface is crucial for a successful installation. Any dirt, grease, or moisture can prevent proper adhesion and cause long-term damage. Follow these steps to prepare your truck bed:
- Park on level ground – Ensure your truck is stable and the bed is accessible.
- Remove loose items – Clear out tools, spare tires, or anything blocking access to the bed rails.
- Wash and dry the bed – Use soap and water to remove dirt, oil, and grime. Let it air dry completely.
- Inspect the bed rails – Check for rust, dents, or warping. Sand and repair if necessary.
- Measure twice – Confirm your bed dimensions match the cover specifications.
This preparation phase might seem tedious, but skipping it can lead to misaligned covers, premature wear, or even water leaks. Taking the time now saves headaches later.
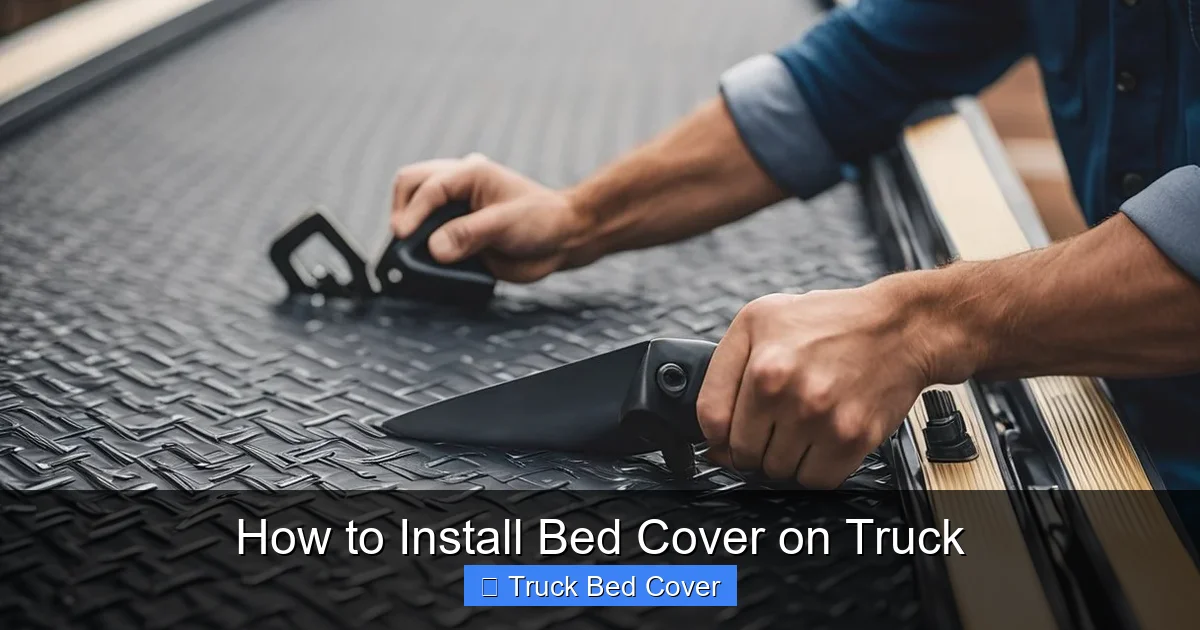
Step-by-Step Installation Process
Now comes the main event—installing your bed cover on truck. We’ll break this down into clear, manageable steps using a typical soft roll-up cover as an example. Adjustments may be needed for hard or retractable models.
1. Attach the Side Rails
Side rails run along the inside edges of the truck bed and hold the cover in place. Position them carefully to avoid gaps.
- Align the rails with the pre-drilled holes on your truck bed.
- Insert the provided bolts and hand-tighten the nuts.
- Use a wrench to fully tighten, but avoid over-torquing—this can strip threads or warp metal.
- Double-check alignment with a tape measure to ensure both sides are equal.
For hard covers, you’ll often need to drill new holes. Mark the spots carefully and use a pilot bit to prevent cracking. If you’re unsure, consult a professional or the manufacturer’s video tutorial.
2. Install the Tailgate Seal
The tailgate seal prevents water from entering the bed at the rear. It usually attaches to the tailgate itself.
- Open the tailgate and clean the mounting area.
- Attach the seal using the included clips or adhesive backing (if applicable).
- Ensure it lies flat and seals tightly when the gate is closed.
3. Unroll and Position the Cover
With the rails and seal in place, it’s time to install the actual cover.
- Unroll the cover from the canister or unbox it gently.
- Slide it into position over the bed rails.
- Start from the tailgate end and pull forward until the cover overlaps the cab window slightly.
- Secure the front with the provided clamp or latch mechanism.
For retractable covers, follow the manufacturer’s instructions to mount the canister at the front of the bed. This step requires extra precision to ensure smooth retraction.
4. Secure Clamps and Fasteners
Once the cover is in place, fasten it securely to the rails.
- Install the side clamps over the cover and tighten evenly.
- Check that the cover lies flat without wrinkles or sags.
- Adjust tension if needed—too loose, and it flaps in the wind; too tight, and it strains the material.
5. Test the Operation
After installation, test the cover multiple times.
- Roll it up and down at least 3–5 times.
- Listen for unusual noises or resistance.
- Make minor adjustments to clamps or alignment as needed.
This testing phase is critical. Catching issues early prevents future problems like tearing or misalignment.
Common Mistakes to Avoid
Even experienced DIYers can run into trouble during installation. Here are some common pitfalls and how to avoid them.
- Skipping the prep phase: Installing on a dirty or wet bed leads to poor adhesion and potential mold growth.
- Using wrong tools: Stripping screws or bending brackets ruins the whole system.
- Over-tightening bolts: This damages paint and hardware. Tighten just enough to hold securely.
- Ignoring weather conditions: Installing in extreme heat or cold can warp materials or affect adhesive performance.
- Not following the manual: Every brand has unique steps. Skipping details causes errors.
If you’re stuck, don’t force it. Consult the manufacturer’s support team or watch their official installation video online. Many companies post detailed guides on YouTube or their website.
Maintenance Tips for Longevity
An installed bed cover on truck isn’t a “set it and forget it” upgrade. Regular maintenance keeps it functioning well and looking great.
- Clean weekly: Wipe down with mild soap and water. Avoid harsh chemicals that degrade vinyl.
- Inspect monthly: Check for loose clamps, torn seams, or rust on hardware.
- Lubricate moving parts: Apply silicone spray to rollers or hinges once a season.
- Store properly: If you have a soft cover, roll it tightly and store in a cool, dry place.
- Address issues immediately: A small tear can grow into a major problem if ignored.
With care, your bed cover can last 8–10 years or more. Think of it as investing in both protection and curb appeal.
Conclusion
Installing a bed cover on truck transforms your vehicle from ordinary to outstanding. Whether you prioritize security, style, or weather protection, the right cover makes a big difference. By choosing the correct type, preparing your bed properly, and following the installation steps carefully, you’ll enjoy a seamless, professional-looking result. Remember to test your cover after setup and maintain it regularly to extend its life.
You don’t need special skills or expensive tools—just focus, patience, and a willingness to take your time. Soon, your truck will be ready to handle whatever the road throws at it, all while keeping your cargo safe and dry. Now go ahead and give your truck the upgrade it deserves.
Frequently Asked Questions
What’s the best bed cover for heavy-duty use?
A fiberglass hard cover or a high-end retractable model offers the best protection for heavy-duty use. These resist impacts, lock securely, and withstand harsh weather.
Can I wash my truck with a bed cover installed?
Yes, but avoid high-pressure washes directly on the cover. Use a gentle spray and dry with a microfiber towel to prevent water spots and streaks.
How do I fix a loose bed cover?
Check the clamps, rails, and tailgate seal. Tighten any loose bolts or adjust the cover tension. Misalignment is often caused by uneven rail installation.
Are bed covers compatible with all truck models?
No. Always confirm compatibility using your truck’s year, make, model, and bed size. Most kits are vehicle-specific, so cross-check the packaging or manufacturer’s website.
Do bed covers void my truck warranty?
Generally no, if installed correctly. However, improper drilling or modifications could potentially affect warranties—check your dealer’s policy before making changes.
How do I winterize my bed cover?
Clean it before winter, lubricate moving parts, and ensure the cover is fully closed to prevent snow and ice buildup. Remove and store soft covers in a dry garage if possible.