Diy Retractable Truck Bed Cover
Want a custom truck bed cover without spending hundreds? A DIY retractable truck bed cover lets you build something tailored to your needs using simple tools and materials. Whether you’re hauling gear or protecting cargo from the rain, this project combines functionality with creativity—all while saving money and boosting your truck’s versatility.
Key Takeaways
- Cost-effective solution: Building your own retractable truck bed cover can save you 40–60% compared to buying a pre-made model.
- Custom fit: DIY allows precise measurements and adjustments for your specific truck model and bed size.
- Easy access: Retractable designs let you open the entire bed quickly—perfect for loading large items or tailgating.
- Durable materials: Use marine-grade vinyl, aluminum frames, and stainless steel hardware for long-lasting performance.
- Weather resistance: Proper sealing and UV protection prevent water damage and fading over time.
- Skill level flexibility: Beginners can start with basic kits, while advanced builders can add features like locking mechanisms or integrated lighting.
- Maintenance-friendly: Simple cleaning and occasional lubrication keep your DIY cover operating smoothly year-round.
Quick Answers to Common Questions
Can I build a DIY retractable truck bed cover on a budget?
Absolutely. Using salvaged materials like old blinds or boat tarps can significantly reduce costs. Focus on essential components—frame, roller, and tarp—and skip luxury extras like lighting or electric motors.
How much does a DIY retractable cover cost?
Expect to spend $50–$150 for basic materials if you reuse parts or buy discounted supplies. Premium builds with marine-grade fabric and polished aluminum may go up to $300.
Will my DIY cover fit all truck bed sizes?
No, but you can adapt the design. Measure carefully and adjust frame dimensions accordingly. Most standard pickup trucks (Ford F-150, Chevy Silverado, Toyota Tacoma) have compatible bed lengths.
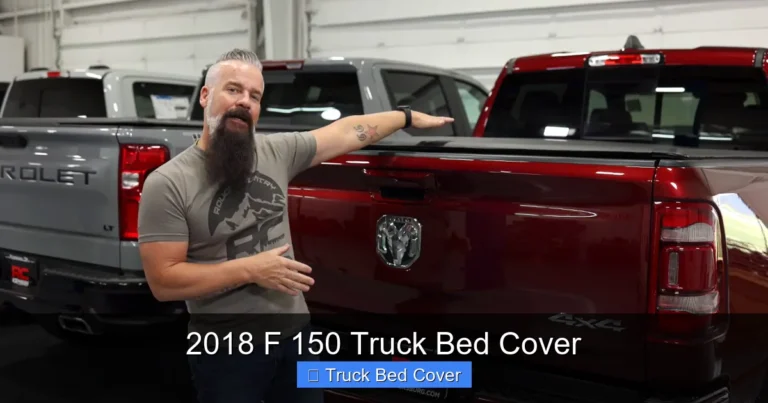
Is it hard to install a retractable cover myself?
For beginners, it’s doable with patience and clear instructions. The most challenging part is aligning the roller and ensuring smooth movement. Watch tutorial videos for visual guidance.
How long does it take to complete the project?
On average, 8–15 hours spread over a weekend or two. Complex builds with custom frames or electric components may take longer.
📑 Table of Contents
- Introduction: Why Build Your Own Retractable Truck Bed Cover?
- Understanding Retractable Truck Bed Covers
- Planning Your DIY Retractable Truck Bed Cover
- Step-by-Step Assembly Guide
- Customizing Your DIY Retractable Cover
- Maintenance Tips for Long-Term Performance
- Final Thoughts: Is a DIY Retractable Cover Right for You?
Introduction: Why Build Your Own Retractable Truck Bed Cover?
If you’re tired of flimsy, store-bought truck bed covers that don’t quite fit or break after one season, it might be time to take matters into your own hands. A DIY retractable truck bed cover isn’t just about saving money—it’s about creating a solution that fits your lifestyle, your truck, and your exact needs. Whether you use your truck for work, weekend adventures, or daily errands, having full access to your bed when needed and secure coverage when parked makes life easier.
Building your own cover also means you control the quality of materials, the design, and even optional upgrades like built-in tie-downs or LED lighting. Plus, there’s a satisfying sense of accomplishment in crafting something functional from scratch. In this guide, we’ll walk through everything you need—from planning and materials to assembly and maintenance—so you can confidently build a retractable bed cover that lasts years.
Understanding Retractable Truck Bed Covers
What Makes a Retractable Cover Different?
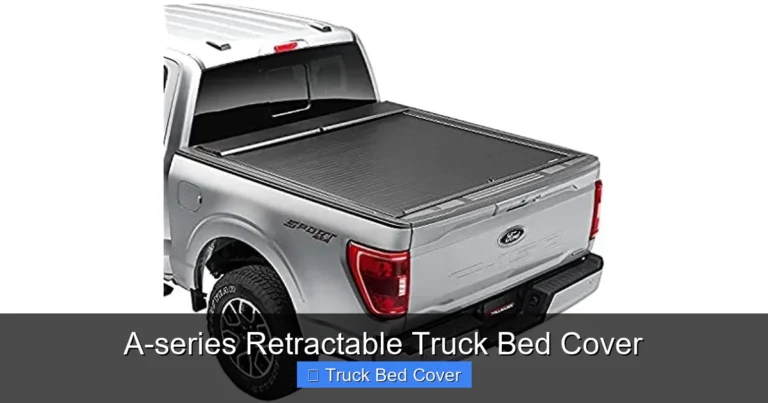
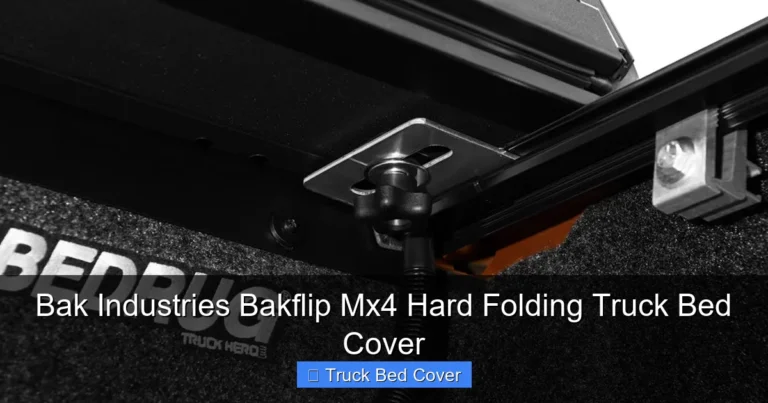
A retractable truck bed cover is designed so you can roll or fold back the tarp to access the entire bed without removing the entire cover. Unlike fixed covers or tonneau covers that require partial removal or sliding panels, a true retractable system rolls up neatly behind the cab or along the bed rails. This gives you unobstructed space for tall items, quick loading, and full bed visibility—ideal for contractors, campers, and anyone who values convenience.
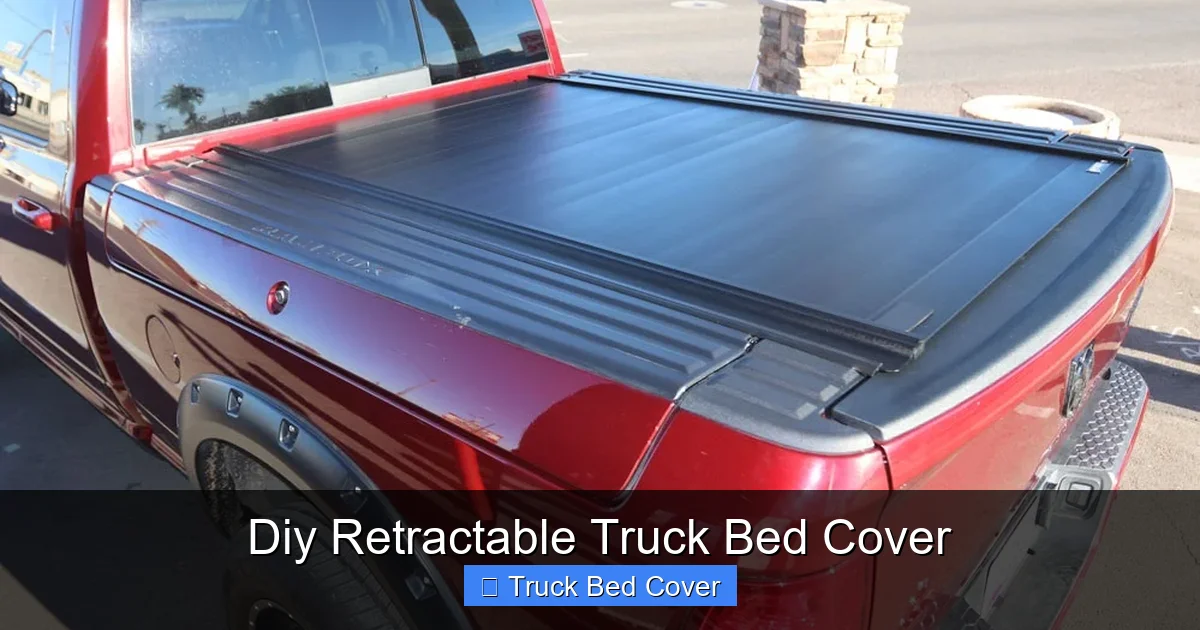
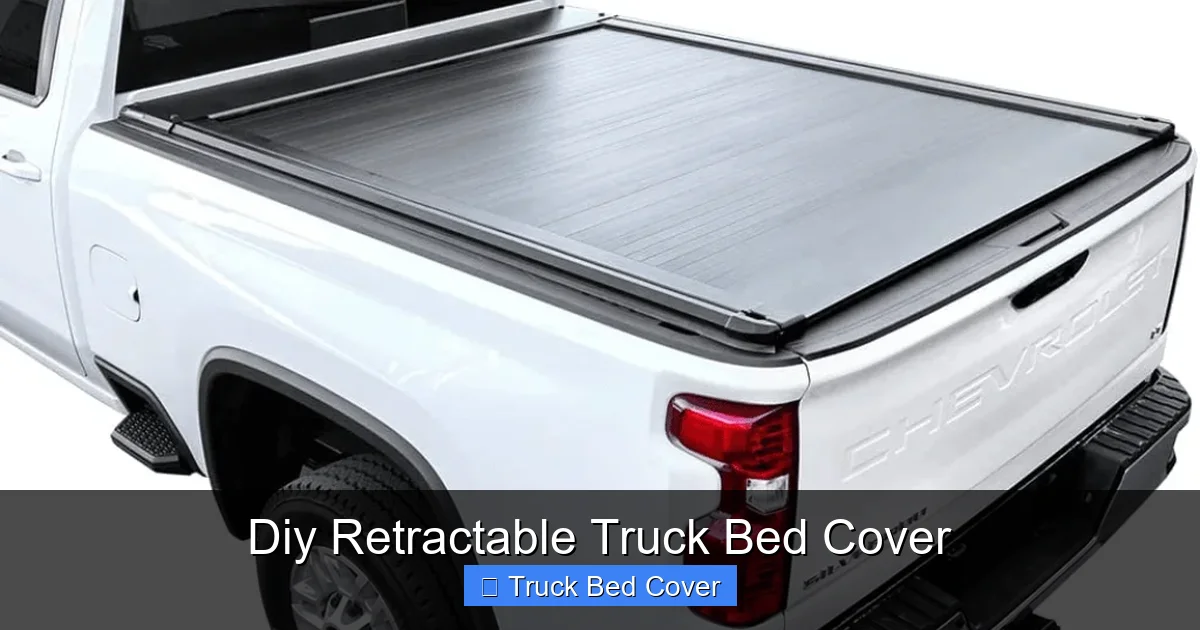
Visual guide about Diy Retractable Truck Bed Cover
Image source: truckaccessplus.com
Common Types of Retractable Systems
There are two main types of retractable mechanisms:
- Manual Roll-Up: Uses a hand crank or rope system to pull the tarp across the bed. Affordable and reliable but requires some effort to operate.
- Electric/Power-Assisted: Motorized systems that retract at the push of a button. More expensive but ideal for frequent use or larger beds.
For DIY projects, most people start with manual systems due to lower complexity and cost. Electric versions require wiring, motors, and safety switches, which are better suited for experienced builders or professionals.
Planning Your DIY Retractable Truck Bed Cover
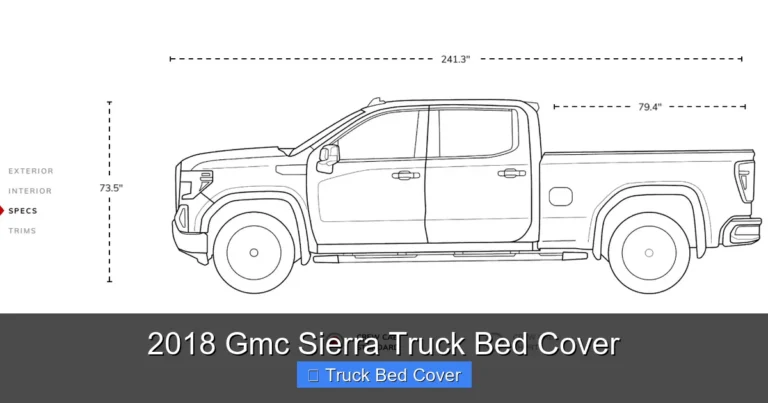
Measure Your Truck Bed Accurately
Before buying anything, get precise measurements of your truck bed. Measure:
- Length (inside the bed walls)
- Width (across the top rails)
- Height (from floor to rail)
Note any obstructions like spare tire wells, bed lights, or tailgate locks. These will affect where components can be mounted.
Choose the Right Materials
Quality materials ensure durability and weather resistance. Here’s what to consider:
- Fabric: Marine-grade vinyl or canvas is waterproof and UV-resistant. Vinyl is easier to clean; canvas breathes better in hot climates.
- Frame: Aluminum extrusions are lightweight, rust-proof, and strong enough to support the tarp. Avoid cheap plastic unless you’re on a tight budget.
- Rope/Track System: Stainless steel cables or heavy-duty nylon rope work well. Ensure smooth pulleys for easy rolling.
- Hardware: Use corrosion-resistant bolts, screws, and clamps rated for outdoor use.
Design Considerations
Think about how you’ll use the cover daily. Do you need:
- Quick access to the whole bed?
- Secure locking when fully extended?
- Mounting points for bike racks or toolboxes?
Sketch a rough layout including where the roller bar goes, how the tarp attaches, and how tension is maintained. Digital tools like SketchUp or even graph paper can help visualize the build.
Step-by-Step Assembly Guide
Gather Tools and Components
You’ll need:
- Tape measure, level, drill, screwdrivers
- Jigsaw or circular saw (for cutting wood/aluminum if needed)
- L-brackets, corner braces, zip ties
- Marine adhesive or rivets (for fabric attachment)
- Roller mechanism (can be salvaged from old blinds or purchased online)
If you’re not confident in your carpentry skills, consider using pre-cut aluminum channels and off-the-shelf rollers to simplify assembly.
Build the Frame Structure
Start by constructing a frame that sits just inside the bed rails. Use aluminum angles or wood treated for outdoor use. Attach side rails along the length of the bed and install crossbars every 18–24 inches for support. Make sure the frame is square—use a level during installation.
Install the Roller Mechanism
The roller is the heart of your retractable system. Mount it securely at the front of the bed (near the cab). If using a salvaged blind roller, reinforce it with metal brackets. Ensure it spins freely and aligns perfectly with the track guides.
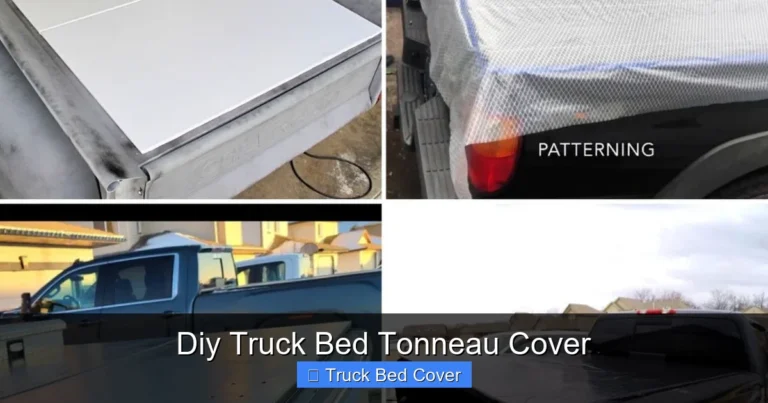
Attach the Tarp Fabric
Cut your vinyl or canvas to size, leaving extra material for hems. Sew or glue reinforced edges. Attach one end of the tarp permanently to the roller. Run the other end through a slider or loop that glides along the side rails. Secure the bottom edge with Velcro straps, magnetic strips, or ratchet tie-downs so it stays flat and watertight.
Add Tension and Safety Features
Use turnbuckles or elastic cords to keep the tarp taut when rolled. Install a brake or latch at the rear so the cover doesn’t unwind accidentally. For added security, add a lockable hasp or cable lock through the tarp and frame.
Customizing Your DIY Retractable Cover
Upgrade with Accessories
Make your cover more useful with these additions:
- Bungee Cords & Straps: Attach loops along the sides for securing loose items.
- LED Strip Lights: Embed low-voltage LEDs into the frame for nighttime visibility.
- Side Entry Panels: Add small roll-up windows for ventilation without opening the whole cover.
- Tool Organizers: Mount small bins or hooks on the underside of the frame.
Paint and Finish Touches
Protect aluminum frames with powder coating or automotive paint. Match your truck’s color for a seamless look. Seal all joints with silicone caulk to prevent water seepage. Label controls clearly if adding electric options.
Maintenance Tips for Long-Term Performance
Clean Regularly
Wipe down the tarp weekly with mild soap and water. Avoid harsh chemicals that can degrade vinyl or fabric. Dry completely before rolling to prevent mold.
Lubricate Moving Parts
Apply silicone spray or light machine oil to pulleys and axles monthly. Never use WD-40—it attracts dirt and wears out seals.
Inspect for Wear
Check ropes, sliders, and fasteners every few months. Replace frayed cords or loose fittings immediately to avoid failure.
Store Properly
During winter or off-seasons, fully retract and store in a dry place. Cover with a breathable cloth to protect from dust.
Final Thoughts: Is a DIY Retractable Cover Right for You?
Building your own retractable truck bed cover is a rewarding project that blends practicality with personalization. While it takes time and effort upfront, the result is a custom solution that outperforms many commercial models—especially in terms of fit, function, and value. Whether you’re a weekend warrior, a tradesperson, or just someone who loves tinkering, this project empowers you to create something truly unique.
Remember: safety comes first. Double-check all connections, avoid over-tightening fabric, and never exceed the weight limit of your roller mechanism. With proper care, your DIY cover will protect your cargo, enhance your truck’s appearance, and give you peace of mind—no matter where the road takes you.
Frequently Asked Questions
Do I need special tools to build a DIY retractable truck bed cover?
Basic tools like a drill, saw, tape measure, and wrench are sufficient. Advanced builds may require welding gear or specialized cutters, but most projects avoid them entirely.
What type of fabric works best for a truck bed cover?
Marine-grade vinyl is highly recommended due to its waterproof and UV-resistant qualities. Canvas is another option but may sag over time without reinforcement.
Can I make my cover waterproof?
Yes, if you use high-quality fabric and seal all seams with marine adhesive or seam tape. Also, ensure the tarp overlaps properly and attaches tightly to the bed walls.
How do I prevent my cover from blowing off in the wind?
Use weighted straps, magnetic strips, or ratchet tie-downs at the corners. Keep the tarp taut and avoid loose folds that catch wind.
Can I add an electric motor to my DIY retractable cover?
Technically yes, but it requires electrical knowledge, battery management, and safety considerations. It’s safer and cheaper to start manual and upgrade later if needed.
Where can I find affordable materials for my project?
Online marketplaces like Amazon, eBay, or specialty truck accessory sites offer discounted aluminum channels, rollers, and fabrics. Local hardware stores or scrap yards may also have useful salvage.