Diy Plywood Truck Bed Cover
Looking to protect your truck bed without spending hundreds? A diy plywood truck bed cover is an affordable, customizable solution that adds security and weather resistance. With basic woodworking skills and the right materials, you can build a sturdy cover in just a weekend. This project boosts utility, improves fuel efficiency slightly, and gives your truck a rugged, personal look.
Key Takeaways
- Cost-effective solution: Building a diy plywood truck bed cover costs significantly less than pre-made covers, often under $100.
- Customizable design: You control size, shape, hinges, latches, and finishes—tailored exactly to your truck model.
- Improved cargo protection: Keeps items dry, dust-free, and secure during transport.
- Lightweight and durable: Plywood offers strength while remaining lighter than metal alternatives.
- Easy installation: Most designs use simple hardware like hinges and clamps for quick mounting.
- Enhanced resale value: A well-built cover can make your truck more appealing to buyers.
- Safety first: Always secure the cover properly to avoid shifting while driving.
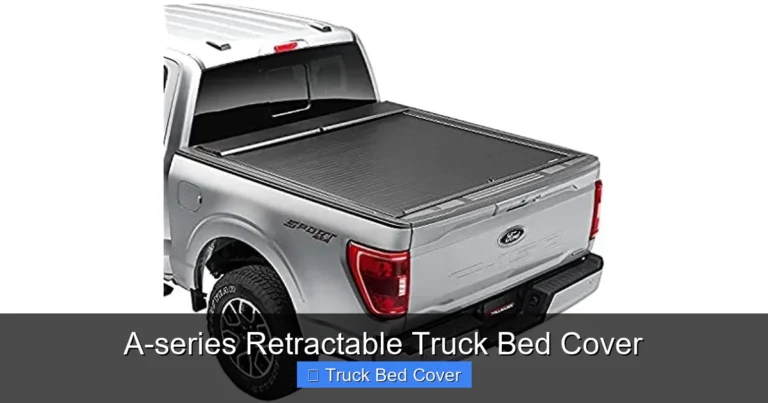
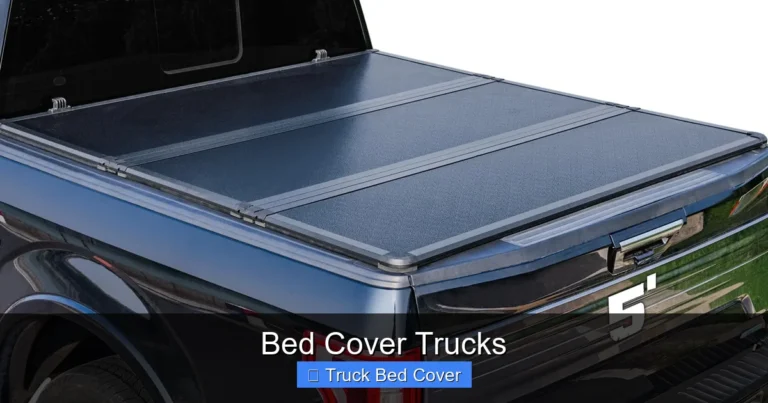
[FEATURED_IMAGE_PLACEHOLDER]
When it comes to protecting your truck bed, there are plenty of options on the market—roll-up tonneau covers, fiberglass caps, aluminum racks. But what if you want something simple, strong, and built by your own two hands? Enter the diy plywood truck bed cover. It’s not flashy, but it gets the job done: keeping rain out, wind from blowing your gear around, and potential thieves from peeking inside.
Building your own cover might sound intimidating at first, especially if you’ve never picked up a saw or hammer. But trust me—this project is totally doable for beginners. All you need is some basic woodworking knowledge, patience, and the right materials. Plus, there’s a real satisfaction in driving down the road with something you made yourself.
In this guide, we’ll walk through everything you need to know to build a reliable, long-lasting diy plywood truck bed cover. From measuring your truck bed to choosing the best type of plywood, from cutting and assembling to finishing and installing—we’ve got you covered. By the end, you’ll have a solid understanding of how to tackle this project confidently and safely.
Key Takeaways
- Understanding diy plywood truck bed cover: Provides essential knowledge
Quick Answers to Common Questions
Is plywood strong enough for a truck bed cover?
Yes, especially 3/4-inch exterior or marine plywood. When properly framed and sealed, it can support heavy loads like coolers, tools, or equipment without bending or rotting.
How do I keep water from getting under the cover?
Install weatherstripping around all edges, seal screw holes with silicone, and ensure a slight gap at the front/rear for drainage. Regular maintenance keeps leaks at bay.
Can I paint my plywood cover to match my truck?
Absolutely! Use exterior primer and polyurethane. Sand between coats and avoid touching raw wood directly to the bed to prevent staining.
Will this cover fit any truck?
Almost—but measure your bed precisely. Most designs are adjustable, but full customization ensures a perfect fit for your specific make and model.
How heavy is a typical diy plywood cover?
Usually between 30 and 60 pounds, depending on size and thickness. That’s heavier than fabric covers but much simpler to maintain.
📑 Table of Contents
Why Choose a Diy Plywood Truck Bed Cover?
Before jumping into tools and lumber, let’s talk about why someone would choose this route over buying a commercial product. First off—cost savings. Pre-made covers can range from $300 to over $1,500 depending on material and features. A diy version? Usually under $100 if you already have access to tools.
Second—customization. Every truck is different. Some have toolboxes, others have rails or spray-in liners. A custom-cut plywood cover fits your exact bed dimensions and integrates seamlessly with existing features.
Third—simplicity and durability. While modern covers use advanced fabrics and mechanisms, a well-built plywood cover doesn’t require complex moving parts. That means fewer things can break. And with proper sealing and support, it can last 10 years or more.
Of course, it’s not perfect. Plywood isn’t waterproof by nature, so you’ll need to treat it. Also, it’s heavier than fabric covers—maybe adding 30–50 pounds to your truck. But for many people, those trade-offs are worth the benefits.
Choosing the Right Materials
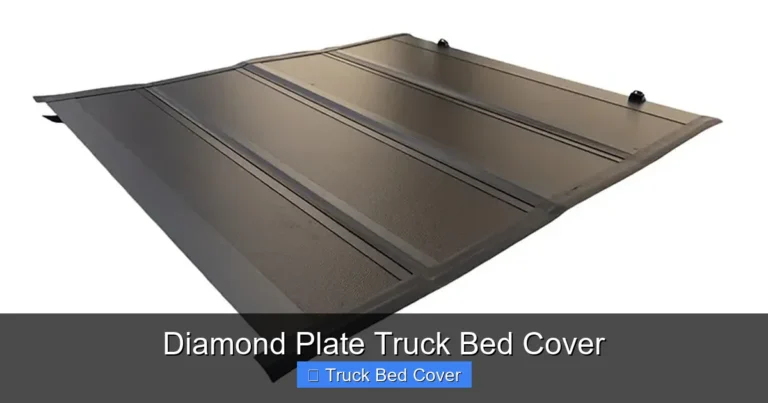
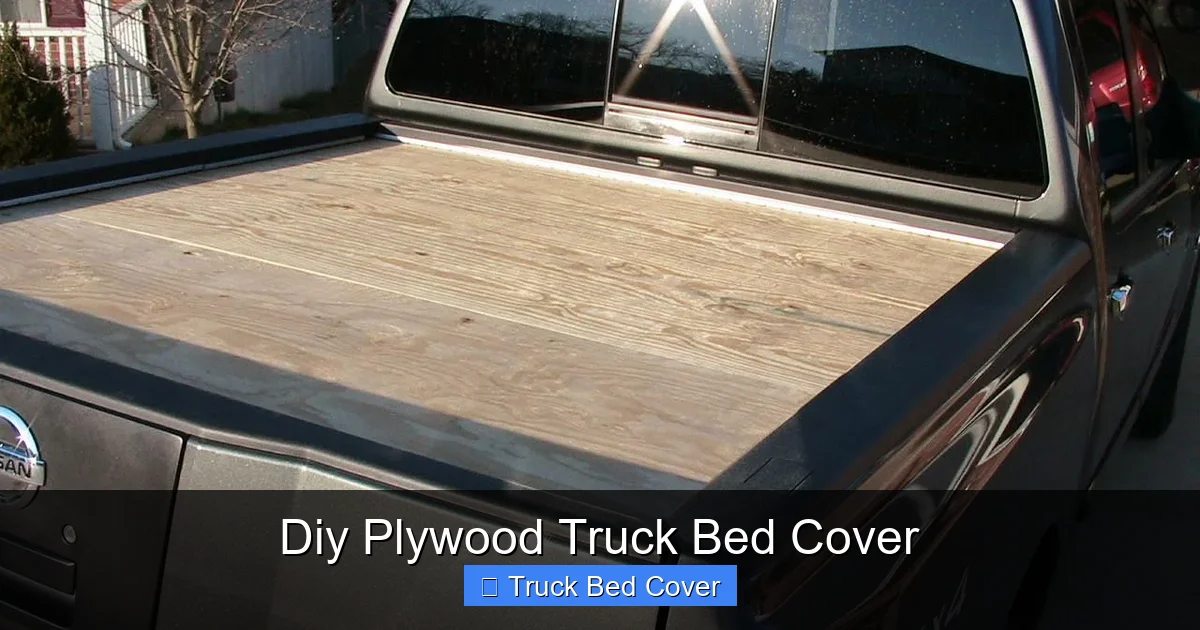
Visual guide about Diy Plywood Truck Bed Cover
Image source: i.ytimg.com
The success of your diy plywood truck bed cover depends heavily on the materials you pick. Let’s go over each one carefully.
Plywood Type
Not all plywood is created equal. For outdoor use and heavy-duty applications like this, you’ll want marine-grade or exterior-grade plywood. It has water-resistant glue and durable veneers. Avoid interior-grade—it swells when wet.
Common thicknesses:
– 1/2 inch (12mm): Good for light use or smaller beds.
– 3/4 inch (19mm): Ideal balance of strength and weight; recommended for most trucks.
– 1 inch (25mm): Overkill unless you carry extremely heavy loads regularly.
Marine plywood is more expensive but lasts longer. Standard exterior plywood works fine if sealed well.
Fasteners and Hardware
You’ll need several types of hardware:
– Hinges: Piano hinges are popular because they’re long, strong, and blend into the underside of the cover.
– Latches or locks: Slide bolts, cam locks, or magnetic catches keep the cover closed securely.
– Sealants: Weatherstripping foam tape or rubber gaskets prevent water from seeping underneath.
– Brackets and supports: Angle brackets help reinforce corners and attach the cover to the bed rails.
Always buy stainless steel or coated hardware to resist rust.
Finishing Supplies
Raw plywood absorbs moisture quickly. To protect it:
– Apply two coats of exterior primer.
– Finish with two coats of polyurethane (satin or semi-gloss).
– Consider adding a UV-resistant topcoat if your truck sits in direct sunlight often.
Avoid painting with regular latex paint—it won’t hold up outdoors.
Measuring and Planning Your Design
Measure twice, cut once—that old carpenter’s saying applies here. Start by measuring your truck bed:
– Length (from front rail to tailgate)
– Width (inside the bed walls)
– Height (distance from bed floor to top of rails)
Note any obstructions: spare tire wells, tie-down loops, or existing toolboxes. Sketch your layout before buying wood. Decide whether you want a fixed lid or one that opens from the center/back.
Most diy covers sit flush with the bed edges, leaving a small gap for drainage. That gap should be no more than 1/4 inch wide—enough for water to escape but not big enough for dirt or snow to pile up.
Also consider how you’ll lift the cover. If it’s heavy, add handholds or a gas strut later. Or design it in two sections for easier lifting.
Cutting and Assembling the Frame
Now comes the fun part—building the structure. Most designs use a frame to support the plywood skin and prevent sagging.
Building the Base Frame
Cut four pieces of 2×4 lumber to match your bed length and width. These will form the outer edges. Then cut cross braces every 16–24 inches along the length for extra rigidity.
Use wood screws (not nails) to join the frame together. Pre-drill holes to avoid splitting.
Adding Support Rafters
Inside the frame, install horizontal rafters spaced evenly across the width. Use the same thickness as your plywood base—usually 3/4 inch. Attach them perpendicular to the long sides using glue and screws.
These rafters distribute weight evenly and stop the center from bowing downward under load.
Attaching the Plywood Skin
Once the frame is complete, attach the bottom plywood sheet using construction adhesive and screws. Countersink the heads so they’re flush with the surface.
Then cut another piece of plywood to fit inside the frame—this becomes your top panel. Leave a 1/8-inch gap around the edges for expansion.
Installing Hinges and Latches
This is where your cover starts to function. Mount piano hinges along one side of the bed—typically the passenger-side rail. Space them 6–8 inches apart for smooth operation.
Secure the hinges to both the bed rail and the cover frame using stainless steel screws. Make sure the cover opens fully without hitting the cab or wheels.
For closing, install a latch near the tailgate. Options include:
– Magnetic slide lock
– Cam latch with keyed option
– Simple hook-and-eye mechanism
Test the movement several times before finalizing everything.
Sealing and Finishing Touches
Water intrusion is the #1 enemy of any truck bed cover. Here’s how to seal yours properly:
1. Weatherstrip the edges: Run EPDM foam tape or rubber gasket along all four sides of the cover where it meets the bed.
2. Seal screw holes: Use silicone caulk around every screw head on the top surface.
3. Add drip rails: Small strips of trim along the front and rear edges deflect rain away from the bed.
4. Paint or stain: Match your truck’s color or go bold with black or gray. Use marine-grade finishes only.
Don’t forget to check clearance when opening—especially if you have a camper shell or aftermarket lights.
Maintenance Tips for Longevity
Even the best diy cover needs care:
– Wipe down after muddy trips
– Reapply sealant every 2–3 years
– Inspect hinges and latches monthly
– Keep the bed liner clean to prevent rust
If you notice warping or swelling, sand lightly and re-seal immediately.
Pros and Cons of Diy Plywood Covers
| Feature | Pros | Cons |
|——–|——|——|
| Cost | Under $100 | Higher initial effort |
| Durability | Long lifespan with care | Heavier than fabric |
| Customization | Perfect fit | Requires precise measuring |
| Security | Harder to break into | No built-in lighting |
| Installation | DIY-friendly | May void warranties |
Ultimately, this project shines for truck owners who prioritize function over form—or those who enjoy hands-on work.
Safety Considerations
Safety isn’t optional. When building or using your cover:
– Wear safety glasses and gloves when cutting
– Secure loose tools before driving
– Test the cover fully open and closed before loading cargo
– Ensure it doesn’t interfere with tailgate operation
– Never overload—plywood supports ~100 lbs per square foot max
And always double-check local regulations. Some areas restrict cover height or visibility.
Frequently Asked Questions
Do I need special tools to build a diy plywood truck bed cover?
Basic tools like a circular saw, drill, tape measure, and clamps are sufficient. If you lack these, many hardware stores rent them or offer free workshops.
How long does it take to build a diy plywood truck bed cover?
Typically 8–12 hours over two days—measuring, cutting, assembling, and finishing. Beginners may take longer, but the process is straightforward.
Can I add a gas strut to make lifting easier?
Yes! Gas struts reduce effort needed to open the cover. Install them from the frame to the bed rail near the hinge side for smooth operation.
What happens if the plywood gets wet?
Unsealed plywood swells and warps. Always use exterior-grade wood and apply multiple coats of waterproof finish. Dry thoroughly after exposure.
Is a diy cover legal on public roads?
In most states, yes—as long as it doesn’t obstruct driver visibility or exceed height limits. Check your local DMV guidelines just to be safe.
Should I remove the cover when not in use?
No—a good cover protects against sun damage, rust, and minor impacts even when empty. Just ensure it’s locked securely.