Install Truck Bed Cover
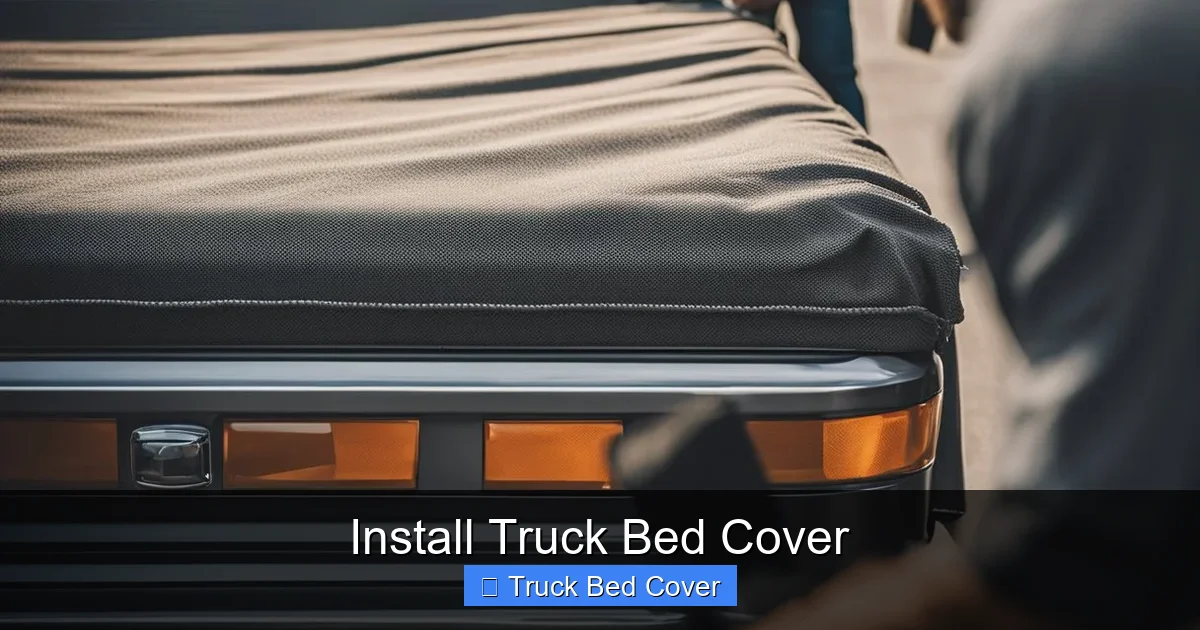
Installing a truck bed cover is easier than you think—and it pays off big in protection, style, and functionality. Whether you’re going for a sleek look or need extra security for gear, this guide walks you through every step. With the right tools and a little patience, you’ll have your new cover on tight in no time.
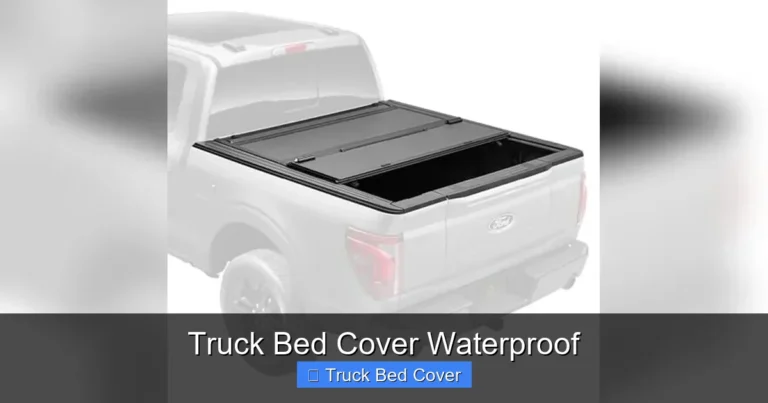
Installing a truck bed cover might sound intimidating, but with the right preparation and a clear plan, it’s totally doable—even if you’re not a mechanic. Whether you’re upgrading from an old tarp or adding a brand-new cover to a bare truck bed, this process can boost your vehicle’s security, improve aerodynamics, and give it a polished, professional look. From roll-up vinyl to heavy-duty aluminum hardtops, there are plenty of styles to choose from, and each has its own installation quirks. But don’t worry—this guide breaks everything down into simple, manageable steps.
Before you grab your tools, take a moment to understand what kind of cover you’re working with. Some are bolt-on systems that require drilling into the bed rails, while others use clamp-style mounts that sit directly on top. The installation method will vary based on your truck model, bed length, and cover type. That’s why we’ll walk through common scenarios and share pro tips along the way. By the end, you’ll know exactly how to install truck bed cover like a seasoned DIYer—without breaking a sweat.
Key Takeaways
- Choose the right type: Roll-up, tri-fold, retractable, and hard folding covers each offer unique benefits depending on your needs.
- Gather essential tools: You’ll need a socket wrench, rubber mallet, tape measure, and possibly a drill for certain models.
- Read the manual first: Every cover is different—manufacturer instructions are your best friend during installation.
- Work in good conditions: Install on a calm, dry day to avoid slipping or misalignment.
- Double-check fit and security: A poorly installed cover can rattle, leak, or even fly off at high speeds.
- Lubricate moving parts: Use silicone spray on latches and hinges to keep them smooth and quiet.
- Test the system: Open and close the cover several times to ensure smooth operation before hitting the road.
Quick Answers to Common Questions
How long does it take to install a truck bed cover?
Most roll-up and tri-fold covers can be installed in under an hour. Retractable systems may take 2–3 hours due to rail mounting and alignment.
Can I install a truck bed cover myself?
Yes! Many truck owners successfully install covers themselves with basic tools. Just follow the manual and take your time.
Do I need to drill into my truck bed?
It depends on the cover type. Clamp-on models don’t require drilling, but bolt-in systems do. Always check compatibility first.
Will a bed cover affect my gas mileage?
Yes, especially a well-sealed cover improves aerodynamics, which can increase fuel efficiency by 1–2 mpg.
Can I drive with the bed cover open?
Absolutely. All modern covers are designed for partial or full opening. Just make sure latches are engaged securely.
📑 Table of Contents
Types of Truck Bed Covers: Which One Is Right for You?
Not all truck bed covers are created equal. Choosing the wrong one can lead to poor fit, constant rattling, or even damage to your truck. Let’s go over the most popular types so you can pick the one that matches your lifestyle.
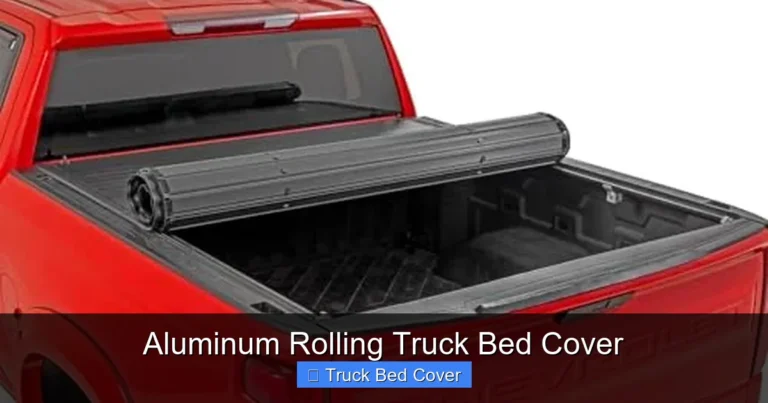
Roll-Up Covers
These are the most affordable and user-friendly options. Made from durable vinyl stretched over a metal frame, roll-up covers unroll like a window shade and secure at the cab end. They’re great for occasional hauling and offer decent weather protection without blocking the entire bed view.
Tri-Fold Hard Covers
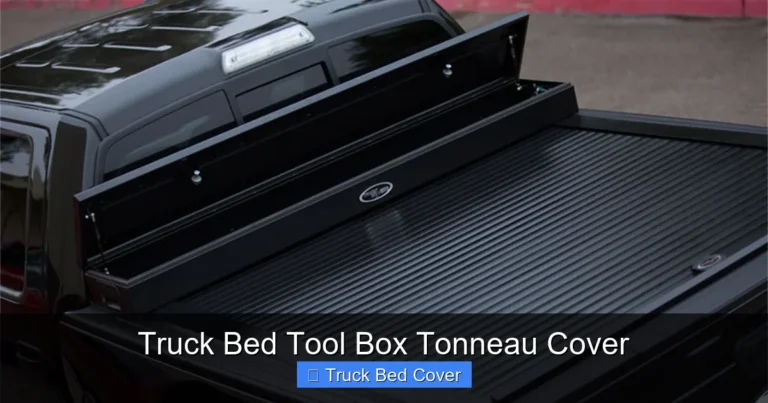
Pop-up in the middle and fold up like a tent, these covers are made of lightweight yet sturdy aluminum or fiberglass. They’re easy to remove and provide full bed coverage when closed. Ideal for daily drivers who want both security and convenience.
Retractable Covers
For the tech-savvy truck owner, retractable covers slide open using a rail system and lock in place at any point along the bed. Think of them like a garage door—smooth, powerful, and fully customizable. They’re pricier but worth it if you frequently access the bed without removing the whole cover.
Fiberglass Hard Covers
If you want maximum durability and a flush, factory-like finish, fiberglass covers are the way to go. They’re heavier and more expensive but offer superior protection against theft, UV rays, and harsh weather.
Soft Top Covers
Made from layered fabric and reinforced with plastic bows, soft tops are lighter and less expensive than hard covers. They’re perfect for light-duty use and offer moderate weather resistance.
Each type comes with its own installation requirements. For example, retractable covers usually need a professional rail mounting system, while tri-folds can often be clamped onto existing bed rails. Always verify compatibility with your specific truck make and model before purchasing.
Tools and Supplies You’ll Need
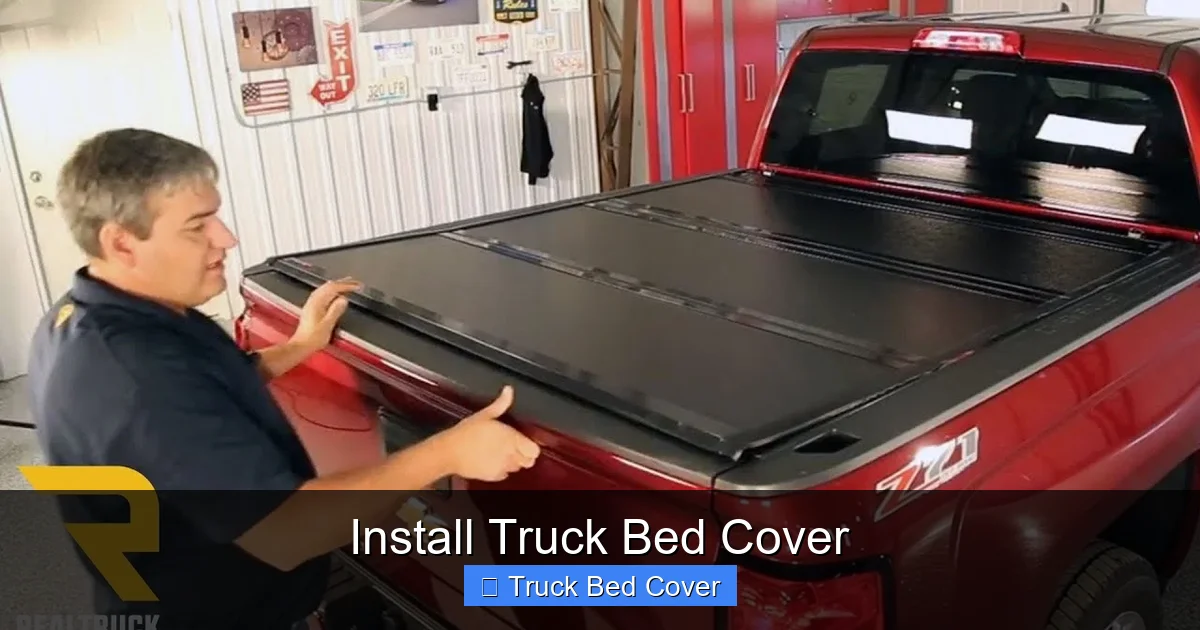
Visual guide about Install Truck Bed Cover
Image source: i.ytimg.com
Before you start, make sure you have everything on hand. Having the right tools saves time, prevents mistakes, and reduces frustration.
Essential Hand Tools
– Socket wrench set (including extensions)
– Phillips and flathead screwdrivers
– Rubber mallet (for gentle tapping without scratching)
– Adjustable wrench
Measuring and Marking Tools
– Tape measure
– Pencil or marker
– Level (to ensure even mounting)
Optional but Helpful
– Drill with bits (some covers require pre-drilling holes)
– Silicone lubricant or weatherproof sealant
– Magnetic level (great for tight spaces)
Protective Gear
– Work gloves (to protect your hands from sharp edges)
– Safety glasses (especially when drilling or hammering)
Pro tip: Lay out your tools and supplies on a clean, flat surface before starting. It’s amazing how much faster you can work when everything is within reach.
Preparing Your Truck Bed
A clean, dry bed is the foundation of a successful installation. Any dirt, rust, or debris can interfere with the seal and cause leaks later.
Clean the Bed Thoroughly
Wash the entire bed area with soap and water. Pay special attention to the rails, where dust and grime tend to accumulate. Dry completely with a towel or compressed air.
Inspect for Damage
Check for dents, rust spots, or loose bolts on the bed rails. If you find issues, repair them before installing the cover. A wobbly rail can throw off the entire system.
Remove Obstructions
Take out any tie-down anchors, spare tire, or aftermarket accessories that might get in the way. If your cover requires drilling, now’s the time to plan where those holes will go.
Mark Measurement Points
Use a tape measure to mark key points along the bed rails. This ensures symmetry and helps you center the cover properly. Double-check your measurements—measure twice, cut once!
Test Fit the Cover
Lay the cover flat on the bed (don’t fasten anything yet). Make sure it aligns evenly and doesn’t drag on the sides. Adjust as needed before moving forward.
Step-by-Step Installation Process
Now comes the fun part—actually putting the cover on. We’ll break this down by common cover types, but always follow your manufacturer’s instructions first.
For Tri-Fold and Roll-Up Covers
1. **Position the Cover:** Place the cover centered on the bed. Ensure it extends slightly over the tailgate edge for a better seal.
2. **Attach Side Clamps:** Slide the side clamps over the bed rails. These usually secure with wing nuts or bolts.
3. **Tighten Securely:** Use a wrench to tighten bolts evenly—don’t overtighten, or you’ll warp the rails.
4. **Install Front Header:** Most covers have a front bar that attaches near the cab. Align it and secure with provided hardware.
5. **Test the Fold/Unfold:** Open and close the cover a few times to check alignment and tension.
For Retractable Covers
1. **Mount the Rails:** Install left and right rails using U-bolts and clamps. Make sure they’re perfectly level.
2. **Attach the Headboard:** Bolt the front panel to the rails. Use a level to ensure it sits straight.
3. **Slide the Cover In:** Carefully insert the cover into the rail system. It should glide smoothly.
4. **Secure the Tailgate Seal:** Attach the rear gasket to prevent water intrusion.
5. **Connect the Motor (if electric):** Follow wiring diagrams carefully. Test the remote control before finalizing.
For Hard Folding Covers
1. **Unpack and Inspect:** Check all panels and hardware for damage.
2. **Assemble Panels:** Connect the side panels to the center panel using hinges and screws.
3. **Mount to Rails:** Secure the assembly to the bed rails using provided brackets.
4. **Align and Fasten:** Use a level to ensure the cover sits flush. Tighten all bolts gradually.
5. **Add Latches and Seals:** Install tailgate latches and apply weather stripping for a watertight seal.
Common Mistakes to Avoid
Even experienced DIYers make errors during installation. Here are the most frequent pitfalls—and how to dodge them.
Mistake 1: Skipping the Manual
Every cover comes with a unique setup guide. Ignoring it leads to confusion, misalignment, and sometimes voided warranties.
Mistake 2: Overtightening Bolts
This can crack plastic components or bend metal rails. Tighten just enough to hold securely—use a torque wrench if possible.
Mistake 3: Installing in Bad Weather
Wind, rain, or extreme heat affects materials. Choose a calm, dry day with temperatures between 50–85°F (10–30°C).
Mistake 4: Not Testing the System
After installation, open and close the cover multiple times. Listen for unusual noises or sticking—address them immediately.
Mistake 5: Neglecting Maintenance
Covers need care. Clean them regularly with mild soap and water. Lubricate hinges and latches every few months.
Post-Installation Tips for Longevity
Your cover is only as good as its upkeep. Follow these tips to extend its life and performance.
Regular Cleaning
Wipe down the cover weekly with a damp cloth. For stubborn stains, use a soft brush and non-abrasive cleaner. Never use harsh chemicals that degrade vinyl or paint.
Lubricate Moving Parts
Apply silicone spray to hinges, latches, and sliding mechanisms every 3–6 months. Avoid WD-40—it attracts dirt and wears out seals.
Store Properly When Not in Use
If you remove the cover for winter or long-term storage, clean it thoroughly and store it in a cool, dry place away from direct sunlight.
Check Seals Annually
Inspect weather stripping and gaskets for cracks or wear. Replace if damaged to maintain waterproofing.
Avoid Sharp Objects
Don’t drag heavy tools across the cover. Use a tarp or drop cloth underneath to prevent scratches and punctures.
When to Call a Professional
While many covers are DIY-friendly, some situations call for expert help.
Complex Rail Systems
Retractable covers with integrated electronics often require precise alignment and wiring—best left to certified technicians.
Rare Truck Models
If your truck has a composite bed, camper shell, or non-standard rail design, consult a professional to avoid costly damage.
Lack of Confidence
If you’re unsure about drilling, torque specs, or electrical connections, it’s okay to ask for help. Safety and quality matter more than pride.
Many auto shops offer installation services for a modest fee. It’s cheaper than buying a new cover and guarantees a perfect fit.
Frequently Asked Questions
What’s the difference between a soft and hard truck bed cover?
Soft covers are made of fabric and are lighter and cheaper, while hard covers (like tri-folds or retracting models) use rigid materials for better security and weather resistance.
Do truck bed covers keep things dry?
Yes, especially hard covers with proper sealing. Soft covers offer moderate protection but may allow minor moisture seepage in heavy rain.
Can I wash my truck with the bed cover on?
Yes, but avoid high-pressure washes directly over the cover. Use low pressure and direct the nozzle around the edges instead.
Are truck bed covers theft deterrents?
They definitely help. A locked hard cover makes it harder for thieves to access your cargo compared to an open bed.
How do I remove a truck bed cover?
Most covers are designed for easy removal. Unlatch the sides, lift off, and store it in a safe place. Keep screws organized so reassembly is simple.
Will a bed cover damage my truck?
No, if installed correctly. Poorly mounted covers can scratch paint or warp rails, but reputable brands include instructions to prevent damage.