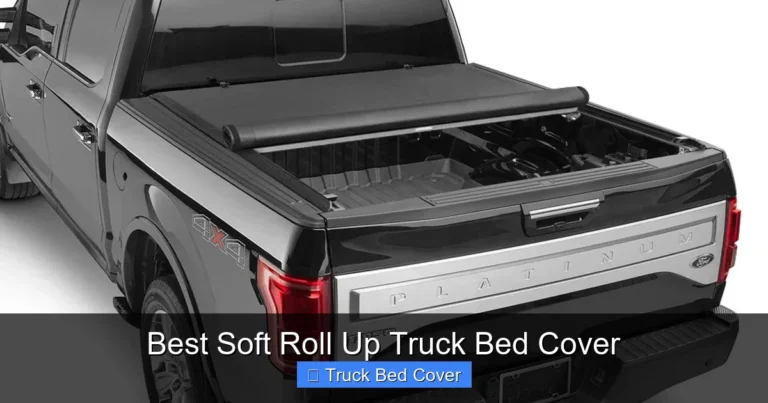
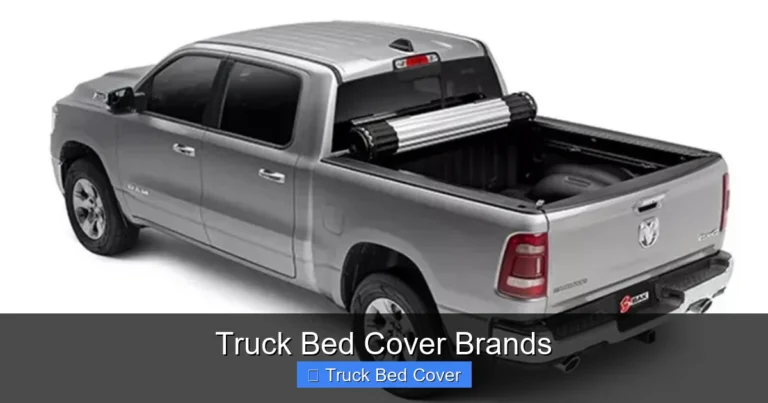
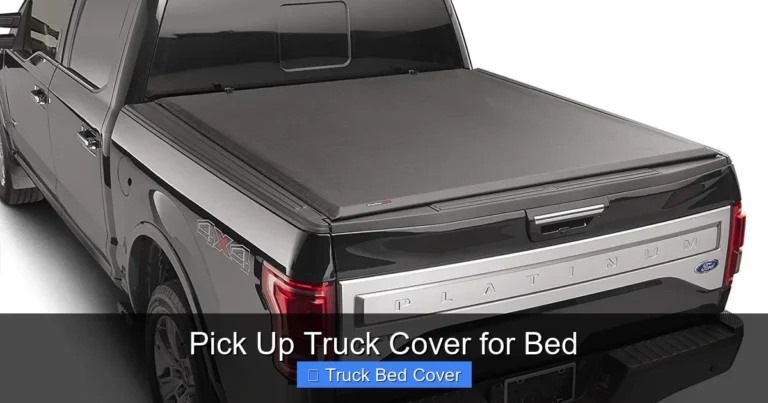
How to Make a Truck Bed Cover
Want to protect your truck bed from weather, dirt, and theft? Making your own truck bed cover is a smart, cost-effective solution that adds value and style to your vehicle. With basic tools and materials, you can create a custom-fit cover that fits your needs—whether you’re hauling gear, protecting cargo, or just want a sleek look.
Key Takeaways
- Custom Fit: A DIY truck bed cover ensures a perfect fit for your specific truck model, unlike generic aftermarket options.
- Cost Savings: Building your own cover can save hundreds compared to buying pre-made covers from stores.
- Material Flexibility: Choose from plywood, aluminum, canvas, or plastic depending on your needs—durability, weight, and budget.
- Weather Protection: A well-made cover shields your cargo from rain, snow, UV rays, and debris.
- Security Boost: Adds a layer of protection against theft by hiding valuable items in plain sight.
- Easy to Upgrade: You can modify or upgrade components like latches, hinges, or insulation over time.
- Skill Level: Suitable for beginners with basic woodworking or metalworking skills—no advanced experience required.
Quick Answers to Common Questions
Can I make a truck bed cover without power tools?
Yes, you can use hand tools like a hand saw, hammer, and screwdriver. However, power tools make cutting and assembly faster and more precise.
How long does it take to build a truck bed cover?
Most DIYers complete a basic cover in 4–8 hours over one or two days, depending on experience and complexity.
Will a homemade cover fit all trucks?
No—you must measure your specific truck bed. Dimensions vary by make, model, and year, so custom measurement is essential.
Is a truck bed cover worth it?
Absolutely. It protects cargo from weather, deters theft, improves aerodynamics, and increases your truck’s resale value.
Do I need a license to make and install a cover?
No, making and installing a truck bed cover is legal in most areas. Just ensure it doesn’t obstruct lights, license plate, or safety features.
📑 Table of Contents
- How to Make a Truck Bed Cover: A Complete DIY Guide
- Why Make Your Own Truck Bed Cover?
- Step 1: Measure Your Truck Bed
- Step 2: Choose the Right Materials
- Step 3: Build the Frame
- Step 4: Add the Top Layer
- Step 5: Install Hardware and Latches
- Step 6: Test and Adjust
- Advanced Upgrades
- Maintenance Tips
- Final Thoughts
How to Make a Truck Bed Cover: A Complete DIY Guide
So, you’ve got a truck, and it’s awesome—but your truck bed is wide open. Every time you park outside, you wonder if someone’s going to steal your tools, or worse, if the rain will ruin your camping gear. Enter: the truck bed cover. It’s not just about looks—it’s about protection, security, and convenience. And the best part? You don’t have to spend $500+ on a factory-installed tonneau cover. With a little know-how, some basic tools, and the right materials, you can build your own custom truck bed cover that fits perfectly and saves you money.
In this guide, we’ll walk you through everything—from choosing the right materials to installing latches and seals. Whether you’re a weekend warrior or a full-time DIYer, this project is totally doable. Let’s get started!
Why Make Your Own Truck Bed Cover?
Before jumping into tools and measurements, let’s talk about why building your own cover makes sense. First, customization. Off-the-shelf tonneau covers come in standard sizes—but every truck is slightly different. By making your own, you ensure a perfect fit. Second, cost. A quality pre-made cover can run $400–$800. A DIY version using plywood and hardware? Under $100. Third, control over materials. Want aluminum for durability? Go for it. Prefer lightweight foam-core? You decide. Finally, satisfaction. There’s nothing quite like saying, “I built that.”
Now, let’s break down the process into manageable steps.
Step 1: Measure Your Truck Bed
Get Accurate Measurements
The foundation of any good truck bed cover is precise measurement. Grab a tape measure and record the length, width, and depth of your truck bed. Don’t forget to note where the tailgate sits—some covers attach to the tailgate, others are separate. Also, check the height of the bed rails (those raised edges along the sides). This affects how high your cover can be.
Pro tip: Measure twice, cut once. It’s tempting to rush, but accurate measurements prevent wasted materials and ill-fitting covers.
Consider Your Truck Model
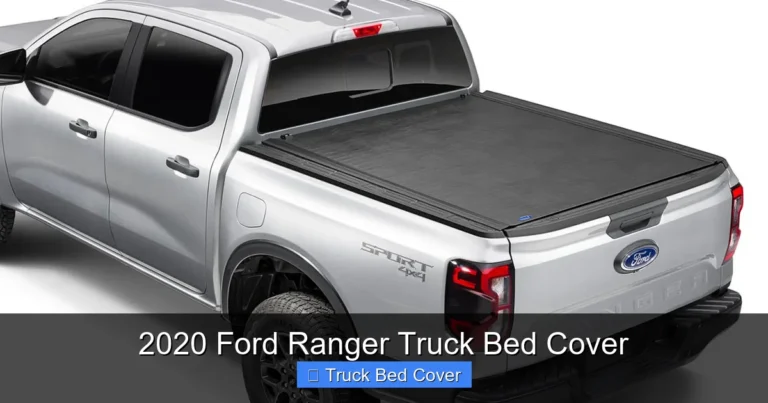
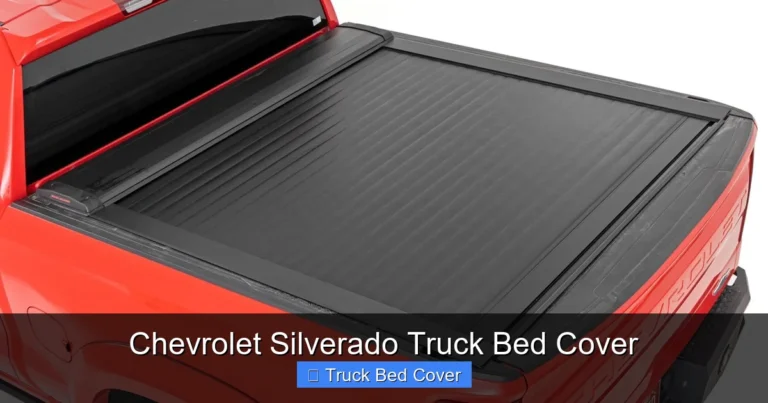
If you drive a Ford F-150, Chevy Silverado, or Toyota Tacoma, your bed dimensions vary. Use your truck’s make, model, and year to find exact specs online. Some manufacturers even offer free PDFs of bed layouts. Knowing your exact model helps when selecting materials and hardware.
Step 2: Choose the Right Materials
Your material choice determines durability, weight, and function. Here are the most common options:
- Plywood: Affordable, easy to work with, and great for flatbed-style covers. Use marine-grade plywood for outdoor resistance.
- Aluminum: Lightweight yet strong. Ideal for long-term use and rust resistance. Requires power tools and more skill.
- Foam Core: Lightweight and insulating. Great for temperature-sensitive cargo. Can be covered with fabric or vinyl.
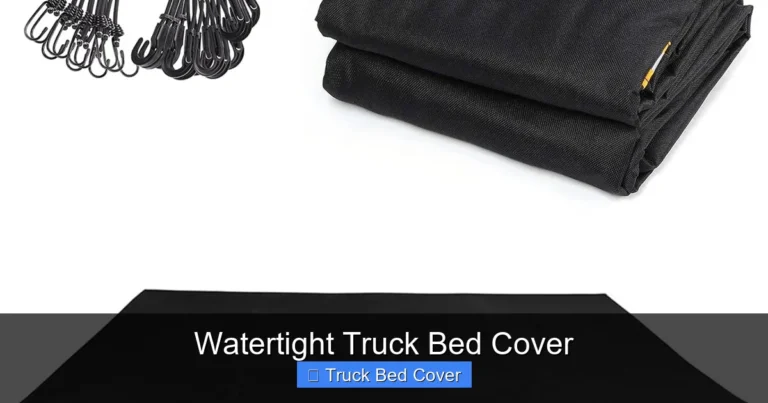
- Fabric (Canvas/Vinyl): Used as a top layer over rigid frames. Water-resistant and flexible. Often paired with aluminum frames.
- Polyethylene Sheets: Inexpensive and waterproof. Best for temporary or low-cost covers.
For most DIYers, a plywood or aluminum frame with a vinyl top offers the best balance of cost, strength, and ease of installation.
Step 3: Build the Frame
Design the Frame Layout
Sketch a simple design: a rectangular base with side rails and cross supports. The crossbars add stiffness and help distribute weight. For a 6-foot bed, space crossbars every 18–24 inches.
Example: If your bed is 78 inches long and 60 inches wide, your frame should be slightly smaller—about 76″ x 58″—to allow for mounting hardware and flexibility.
Cut and Assemble
Using a circular saw or jigsaw, cut your frame pieces to size. For plywood, use ¾-inch thickness for strength. Secure corners with screws and corner brackets. Sand rough edges to prevent injury and paint if desired.
Tip: Pre-drill holes before screwing to avoid splitting the wood.
Step 4: Add the Top Layer
Vinyl or Fabric Covers
Once the frame is ready, attach your chosen top material. For vinyl, use spray adhesive or staple it tightly over the frame, securing the edges with screws or rivets. Trim excess material carefully.
For fabric, consider using a heavy-duty canvas with a waterproof coating. Stretch it tight and fasten with clips or zippers for easy removal.
Sealing the Edges
Use weatherstripping or rubber gaskets around the edges to keep water out. Apply a bead of silicone sealant at seams for extra protection.
Step 5: Install Hardware and Latches
You’ll need hinges, latches, and clamps to secure the cover. Here’s what to include:
- Hinges: Spring-loaded or fixed hinges allow the cover to open and close smoothly. Mount one end to the truck bed rail and the other to the cover.
- Latches: Clamp-style or flip locks secure the cover when closed. Place them near the cab end for easy access.
- C-Clamps or Brackets: Use these to attach the cover to the bed rails without drilling directly into the truck.
Test the movement before finalizing—make sure it opens fully and seals tightly.
Step 6: Test and Adjust
Once everything is installed, do a real-world test. Drive over bumps, check for leaks, and ensure the cover stays secure. Adjust hinges or latches as needed. Over time, you may notice slight settling—so plan for minor tweaks.
Bonus: Add reflectors or LED lights for nighttime visibility.
Advanced Upgrades
Ready to level up? Consider adding:
- Locking System: Install keyed latches for added security.
- Insulation: Foam backing keeps cold out and heat in—great for winter.
- Tool Storage Pockets: Sew or glue pouches inside for small items.
- LED Lighting: Battery-powered strips under the cover illuminate the bed.
- Custom Graphics: Vinyl decals or painted designs for personalization.
These upgrades take time but make your cover truly unique.
Maintenance Tips
A DIY truck bed cover can last years with proper care:
- Wipe down with mild soap and water monthly.
- Reapply sealant annually.
- Lubricate hinges and latches with silicone spray.
- Store indoors during harsh winters if possible.
Even a homemade cover deserves respect—treat it well, and it’ll treat you back.
Final Thoughts
Making your own truck bed cover isn’t just about saving money—it’s about creating something tailored to your life. Whether you’re hauling firewood, protecting electronics, or just want a cleaner look, a custom cover does the job better than generic options. Plus, you’ll gain confidence in your DIY skills and enjoy the pride of a hands-on project.
Remember: start simple, measure carefully, and don’t fear mistakes. Even seasoned builders tweak their first projects. With this guide, you’re more than ready to roll up your sleeves and get to work.
Happy building!
Frequently Asked Questions
What’s the best material for a DIY truck bed cover?
Marine-grade plywood with a vinyl top is popular for its balance of affordability, strength, and weather resistance. Aluminum is durable but pricier.
Can I add a tonneau cover to a truck without rails?
Yes, many DIY covers use clamp-on systems or bolt directly to the bed without rails. Just ensure secure attachment points.
How do I keep water out of my truck bed cover?
Use weatherstripping, silicone sealant, and a tight fit. Angle the cover slightly forward so water runs off instead of pooling.
Will a homemade cover affect my truck’s gas mileage?
A properly fitted cover can improve aerodynamics and save 5–10% on fuel efficiency by reducing drag.
Can I remove the cover easily?
Yes, most DIY covers use quick-release hinges and latches for easy removal and reattachment.
Is it safe to drive with a truck bed cover open?
Yes, but avoid high speeds. Wind can lift unsecured covers, especially on open roads. Always secure loose ends.