Installing a Truck Bed Cover
Installing a truck bed cover is easier than you think and delivers real benefits—like protecting cargo, improving aerodynamics, and boosting your truck’s curb appeal. With the right tools and a little patience, you can complete the job in under an hour. This guide walks you through every step, from choosing the right cover to securing it tightly against the bed rails.
Key Takeaways
- Choose the right cover: Select a truck bed cover that matches your needs—roll-up for easy access, tri-fold for durability, or retractable for sleek storage.
- Gather essential tools: You’ll need a tape measure, socket wrench, screwdriver set, and possibly a rubber mallet or hammer for stubborn bolts.
- Prepare your truck bed: Clean and inspect the bed rails, remove old hardware if needed, and ensure the surface is free of debris or rust.
- Follow manufacturer instructions: Each truck bed cover brand has unique installation steps—always start with the manual for accuracy.
- Secure all mounting points: Tighten bolts evenly to avoid warping the cover; double-check alignment before finalizing.
- Test for weather resistance: After installation, spray water on the cover to check for leaks around seals and latches.
- Maintain regularly: Wipe down seals, lubricate hinges (if applicable), and re-tighten hardware every 6–12 months.
Quick Answers to Common Questions
How long does it take to install a truck bed cover?
Most DIY installations take 1–2 hours, depending on your experience level and cover type. Retractable models may require longer due to wiring or calibration.
Can I install a truck bed cover myself?
Yes! With basic tools and clear instructions, nearly anyone can install a standard roll-up or tri-fold cover without professional help.
Do I need special tools for installation?
No—just common household tools like screwdrivers, wrenches, and a tape measure. Heavy-duty kits might need a socket set, but most include everything you need.
Will a truck bed cover affect my truck’s resale value?
In most cases, yes—especially if it’s high-quality and professionally installed. Buyers often view covers as added value for security and weather protection.
What happens if my truck bed cover leaks?
Leaks usually stem from loose seals or misaligned brackets. Re-tighten hardware, check gaskets, and ensure the tailgate closes flush. Contact the manufacturer if problems persist.
📑 Table of Contents
Why Install a Truck Bed Cover?
If you drive a pickup truck, you know how useful—and vulnerable—your bed can be. Whether you’re hauling gear, protecting tools, or just keeping your cargo dry during a rainy commute, a truck bed cover offers serious advantages. Not only does it shield your belongings from the elements, but it also improves your truck’s aerodynamics, which can lead to better gas mileage. Plus, a well-fitted cover enhances your vehicle’s appearance, giving it a clean, custom look that turns heads on the road.
But here’s the thing: installing a truck bed cover isn’t as simple as tossing it on and calling it a day. A poorly installed cover can rattle, leak, or even fall off while driving—posing safety risks and voiding warranties. That’s why taking the time to do it right matters. In this guide, we’ll walk you through everything you need to know, from picking the perfect cover to locking it into place securely. By the end, you’ll feel confident tackling the project yourself—no mechanic required.
Choosing the Right Truck Bed Cover
Before you even unbox your new truck bed cover, you need to decide which type best fits your lifestyle. There are three main styles: roll-up, tri-fold, and retractable. Each has pros and cons depending on how you use your truck.
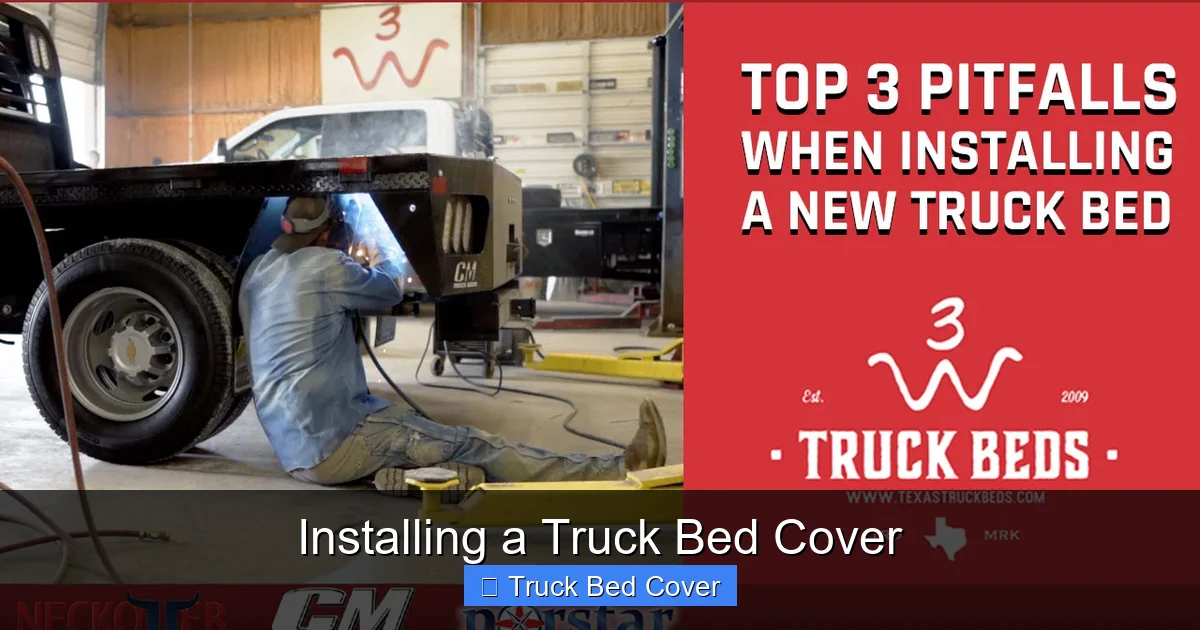
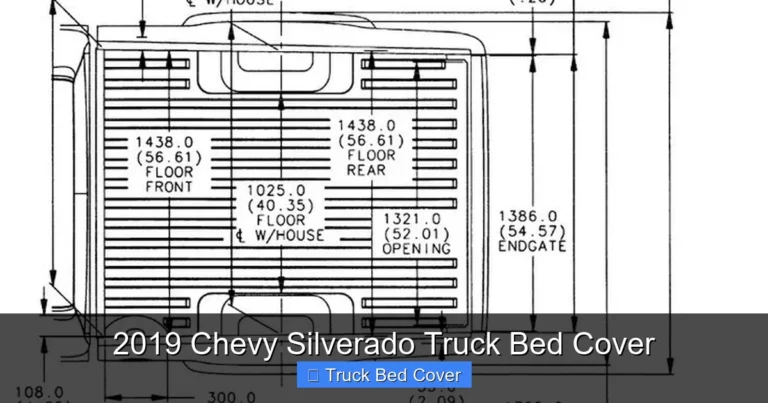
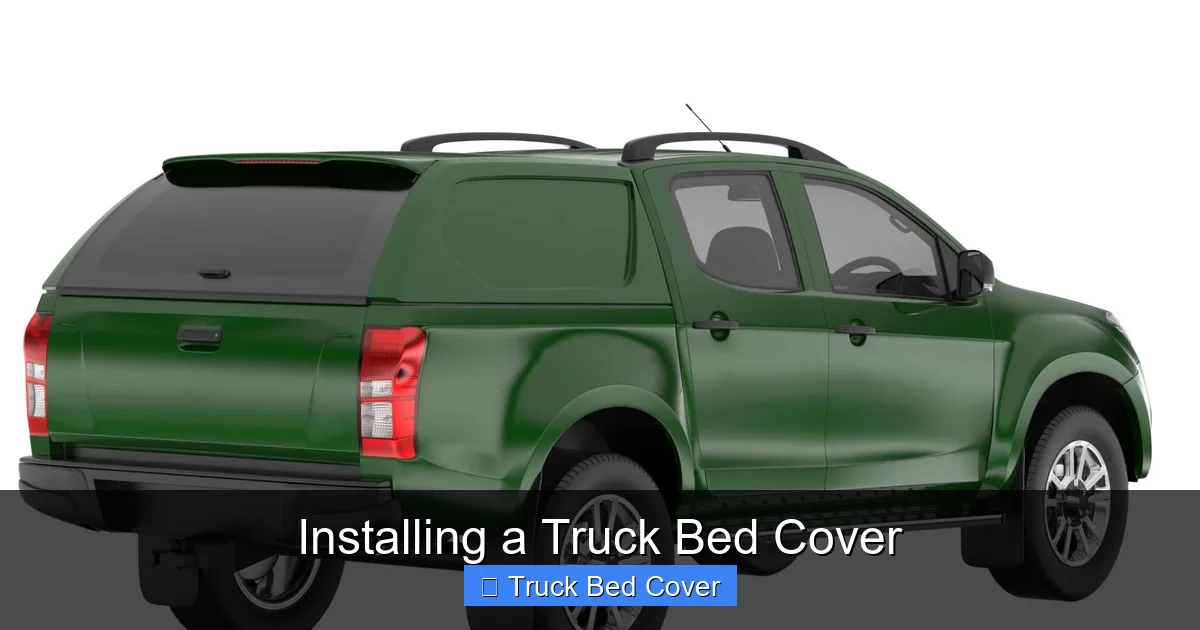
Visual guide about Installing a Truck Bed Cover
Image source: texastruckbeds.com
Roll-Up Covers: The Everyday Workhorse
Roll-up covers are among the most popular choices thanks to their simplicity and affordability. They unroll from a bulkhead-mounted roller and tuck neatly behind the cab. These are ideal if you need quick access to your bed without lifting anything heavy. Just roll it back when loading large items like furniture or equipment.
However, keep in mind that roll-ups may not offer full bed coverage unless they’re designed for your exact truck model. Also, prolonged exposure to sunlight can degrade the vinyl over time, so consider UV-resistant models for long-term use.
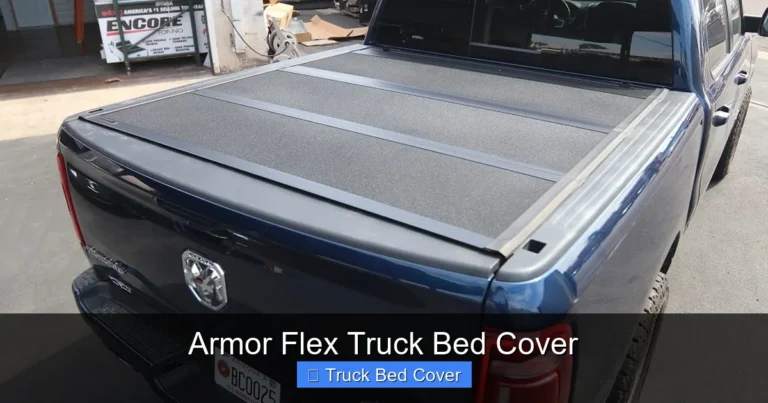
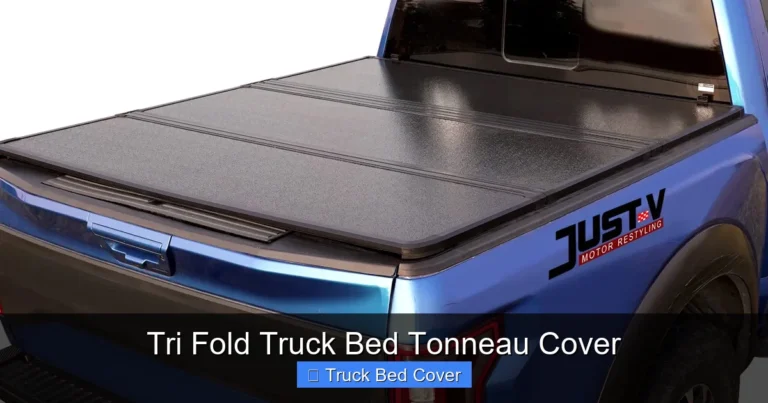
Tri-Fold Covers: Durability Meets Convenience
Tri-fold covers fold into three sections and sit flush across the bed. They’re heavier than roll-ups but provide excellent protection against rain, snow, and theft. Because they lie flat, they also improve wind resistance and fuel economy slightly more than roll-ups.
One downside? They take up more space when open—about two-thirds of the bed length. But if you park in tight garages or have limited tailgate clearance, this might not be an issue. Most tri-folds come pre-assembled, making installation faster than DIY kits.
Retractable Covers: Sleek and Modern
For those who want maximum style and minimal maintenance, retractable covers are hard to beat. These slide open using a motorized system (or hand crank) and store inside a protective shell at the front of the bed. They look incredibly sharp and offer full bed coverage when closed.
The trade-off? Higher cost and potential complexity if something goes wrong. Repairs can be pricey, and some models require professional setup. Still, if aesthetics and advanced features matter most, a retractable cover delivers.
Tools and Materials You’ll Need
Even though most truck bed cover installations are straightforward, having the right tools makes the process smoother and safer. Here’s what to gather before you begin:
- Screwdriver set – Phillips and flathead drivers for tightening bolts and adjusting clamps.
- Socket wrench or ratchet – For removing factory-installed bed bolts (common on newer trucks).
- Tape measure – To confirm your bed dimensions match the cover specifications.
- Rubber mallet or soft-faced hammer – Helps gently tap parts into place without scratching paint.
- Clean rags and mild soap – For wiping down the bed rails and removing dirt or grease.
- Lubricant (optional) – Silicone-based spray for hinges or sliding mechanisms.
- Zip ties or cable locks (if needed) – Some DIY kits include these for extra security.
Don’t forget gloves! Working near sharp edges or metal components can cut your hands, especially when handling older truck beds with rough welds or rust spots.
Preparing Your Truck Bed
A successful truck bed cover installation starts with a clean slate. Begin by washing the entire bed area—including inside the rails—with soap and water. Residue, oil, or mud can prevent proper adhesion and cause misalignment later.
Inspect the Bed Rails
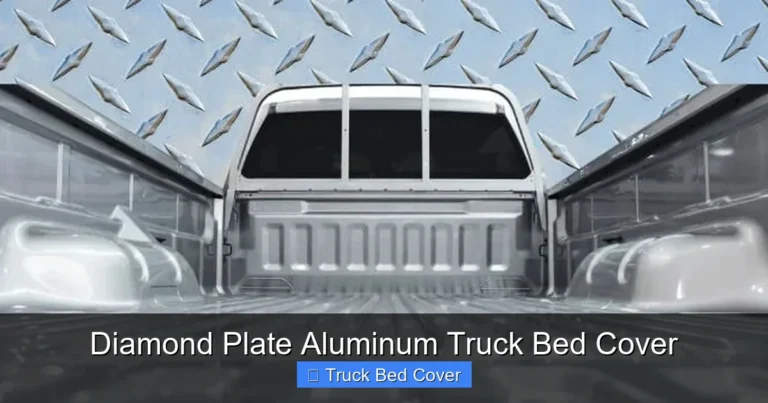
Check both sides of the bed rails for dents, rust, or missing bolts. If your truck came with pre-drilled holes, verify they align with the cover’s mounting brackets. On newer models, some bolts may be hidden under plastic caps—use a flashlight to locate them.
Remove Old Hardware (If Applicable)
If you’re replacing an old cover, take photos before unscrewing anything. Note where clips, brackets, or seals were positioned. This helps avoid confusion during reinstallation. Use pliers to grip stripped screws—never force them!
Align the Cover Before Mounting
Lay the cover flat on the ground beside your truck to compare lengths. Ensure there’s no gap at the tailgate side. Some covers include adjustable end caps—test-fit them now so you know how much room to allow during final placement.
Step-by-Step Installation Process
Now comes the fun part: putting it all together. While exact steps vary by brand, here’s a general workflow that works for most truck bed cover types:
Step 1: Position the Cover
Carefully lift the cover onto the bed, starting from the front. Align the leading edge with the bulkhead. Make sure it sits centered and doesn’t drag on either rail. If your cover has side rails, slide them into the bed grooves first—this prevents shifting during installation.
Step 2: Attach Side Rails
Most covers use U-bolts or clamps to secure side rails. Slide each rail into its designated slot, then thread bolts through from underneath. Hand-tighten initially—you’ll adjust later. Avoid over-torquing, which can crack plastic components.
Step 3: Secure Front and Rear Brackets
At the front, attach the bulkhead bracket using included hardware. At the rear, connect the tailgate bracket. Use washers between metal and plastic to prevent corrosion. If your truck has a drop-in bedliner, trim the liner edges first to allow full contact.
Step 4: Tighten Evenly
Go back and forth tightening bolts in a crisscross pattern. This ensures even pressure and prevents warping. Refer to your manual for torque specs—most recommend 15–20 ft-lbs for aluminum frames.
Step 5: Test Latches and Seals
Close the tailgate completely and press down firmly. Listen for clicks from the latch mechanism. Check for gaps around the edges—they should seal tightly when closed. Adjust tension knobs if necessary.
Common Mistakes to Avoid
Even experienced DIYers make errors during truck bed cover installation. Watch out for these pitfalls:
- Skipping the test fit – Always lay the cover flat before drilling or clamping.
- Ignoring weather conditions – Install in dry, mild temperatures; cold snaps can stiffen adhesives or plastics.
- Using wrong tools – Never hammer aluminum brackets—use rubber tools only.
- Overlooking warranty terms – Self-modifications may void coverage; stick to OEM-approved methods.
- Neglecting final inspection – Walk around the truck after installation to spot loose hardware or misalignment.
Maintenance Tips for Long-Lasting Performance
A properly installed truck bed cover lasts 5–10 years with basic care. Here’s how to keep it looking great:
- Wipe down weekly – Remove dust, bird droppings, and salt residue with a microfiber cloth.
- Inspect seals annually – Replace cracked or hardened rubber gaskets to prevent leaks.
- Lubricate moving parts – Apply silicone spray to hinges, rollers, or sliding tracks twice yearly.
- Store properly – Roll up or fold covers loosely; don’t stack heavy objects on top.
- Re-tighten hardware seasonally – Vibration from driving can loosen bolts over time.
Pro tip: Keep spare screws and clips in your glove compartment—you never know when you’ll need them during repairs.
Conclusion
Installing a truck bed cover is one of the most rewarding upgrades you can make to your pickup. Not only does it protect your cargo and improve fuel efficiency, but it also adds a polished, professional look to your ride. With the right preparation, tools, and attention to detail, the entire process takes less than two hours—even if you’ve never done it before.
Remember, the key to success lies in patience and precision. Don’t rush the alignment stage, and always consult your owner’s manual for model-specific guidance. And once it’s installed, treat your cover like an investment—clean it regularly and address small issues before they become big problems.
Whether you chose a rugged tri-fold for work or a sleek retractable for show, your new truck bed cover will serve you well for years. So roll up your sleeves, grab those tools, and get ready to enjoy the benefits of a secure, stylish, and functional truck bed.
Frequently Asked Questions
Is a truck bed cover worth it?
Absolutely. It protects cargo from rain, snow, and theft, improves aerodynamics for better gas mileage, and enhances your truck’s appearance. The upfront cost pays off quickly in convenience and durability.
Can I remove and reinstall a truck bed cover frequently?
Yes, but frequent removal stresses seals and mounting points. If you plan to take it off monthly, choose a removable-style cover and inspect hardware afterward for wear.
Do I need to drill holes to install a truck bed cover?
Not always. Many modern covers use clamp-on systems or bolt directly to existing factory holes. Drilling is rare and only needed for custom setups or older trucks without pre-installed mounts.
Will a truck bed cover fit any truck?
No—covers are made for specific truck models and bed sizes (short, standard, long). Always confirm compatibility using your VIN or truck year/make/model before purchasing.
How do I clean a truck bed cover?
Use mild soap and water with a soft cloth. Avoid abrasive cleaners or high-pressure washes near seams. Dry thoroughly to prevent mold or mildew in humid climates.
Can I install a truck bed cover in winter?
It’s possible, but cold temperatures can make vinyl stiff and adhesives less flexible. If installing in sub-freezing weather, bring the cover indoors to warm up first for easier handling.