How to Install Truck Bed Cover
Installing a truck bed cover is easier than you think—and it can protect your cargo, boost fuel efficiency, and improve your truck’s look. With the right tools and a little patience, you can complete the job in under an hour. Whether you’re using a roll-up, folding, or retractable model, this guide walks you through every step so you can do it safely and correctly.
Key Takeaways
- Measure twice, install once: Always confirm your truck bed dimensions before purchasing a cover—measure length, width, and height to ensure a perfect fit.
- Choose the right type: Roll-up, folding, retractable, and tonneau covers each offer different benefits; pick one that matches your needs for security, accessibility, and weather protection.
- Gather tools in advance: You’ll need basic hand tools like a socket wrench, screwdriver, tape measure, and possibly a drill—having everything ready saves time and frustration.
- Follow manufacturer instructions: Every cover is slightly different. Skipping the manual can lead to misalignment, leaks, or even damage to your truck.
- Secure bolts tightly but not over-tightened: Proper tension prevents shifting, but overtightening can crack clamps or warp metal rails.
- Check for leaks after rain: Even small gaps can let water in. Inspect seals and adjust as needed to keep your cargo dry.
Quick Answers to Common Questions
Can I install a truck bed cover myself?
Yes! Most truck bed covers are designed for DIY installation and take under an hour to install with basic tools.
Do I need special tools to install a cover?
You’ll need common hand tools like a socket wrench, screwdrivers, and a measuring tape. A drill may be required depending on the model.
Will a truck bed cover fit my specific truck?
Always check the manufacturer’s fitment guide using your truck’s year, make, and model. Universal covers rarely provide a perfect seal.
Can I install a cover over existing accessories?
It depends. Some accessories like bed liners or toolboxes may interfere. Consult your cover’s manual for compatibility details.
How do I fix a leaky truck bed cover?
Leaks usually come from loose seals or misaligned panels. Re-tighten clamps, reapply weatherstripping, and ensure the cover sits flush against the bed walls.
📑 Table of Contents
- How to Install Truck Bed Cover: A Step-by-Step Guide
- Understanding Your Options: Types of Truck Bed Covers
- Preparing for Installation: Tools, Supplies, and Safety Tips
- Step-by-Step Installation Process for Most Roll-Up and Folding Covers
- Special Considerations for Retractable and Custom Covers
- Common Mistakes and How to Avoid Them
- Maintenance and Care After Installation
- Conclusion: Why a Well-Installed Truck Bed Cover Pays Off
How to Install Truck Bed Cover: A Step-by-Step Guide
Have you ever unloaded groceries only to find them soaked from a sudden downpour? Or maybe you’ve worried about someone breaking into your truck bed while you grab lunch across town? If so, installing a truck bed cover could be one of the smartest upgrades you make to your vehicle. Not only do these covers protect your belongings from rain, snow, sun damage, and theft—they also improve your truck’s aerodynamics, which can save fuel and reduce wind noise. Plus, they give your ride a sleek, finished look that turns heads at the job site or on the weekend trail.
But here’s the thing: many people assume installing a truck bed cover is complicated, requires professional help, or takes all day. The truth? With the right preparation and a clear plan, most DIYers can install a high-quality cover in under an hour. Whether you’re going with a simple roll-up canvas model, a heavy-duty hard folding cover, or a fancy retractable system, this guide will walk you through everything—from choosing the right product to securing it tightly without damaging your truck.
In this article, we’ll break down the entire process into easy-to-follow steps, explain common mistakes to avoid, and share pro tips that make installation smoother than expected. By the end, you’ll feel confident handling any type of truck bed cover—even if you’ve never worked on your truck before.
Understanding Your Options: Types of Truck Bed Covers
Before diving into installation, it’s important to understand the main types of truck bed covers available. Each has unique features, pros, and cons—so picking the wrong one could mean constant adjustments or early replacement.
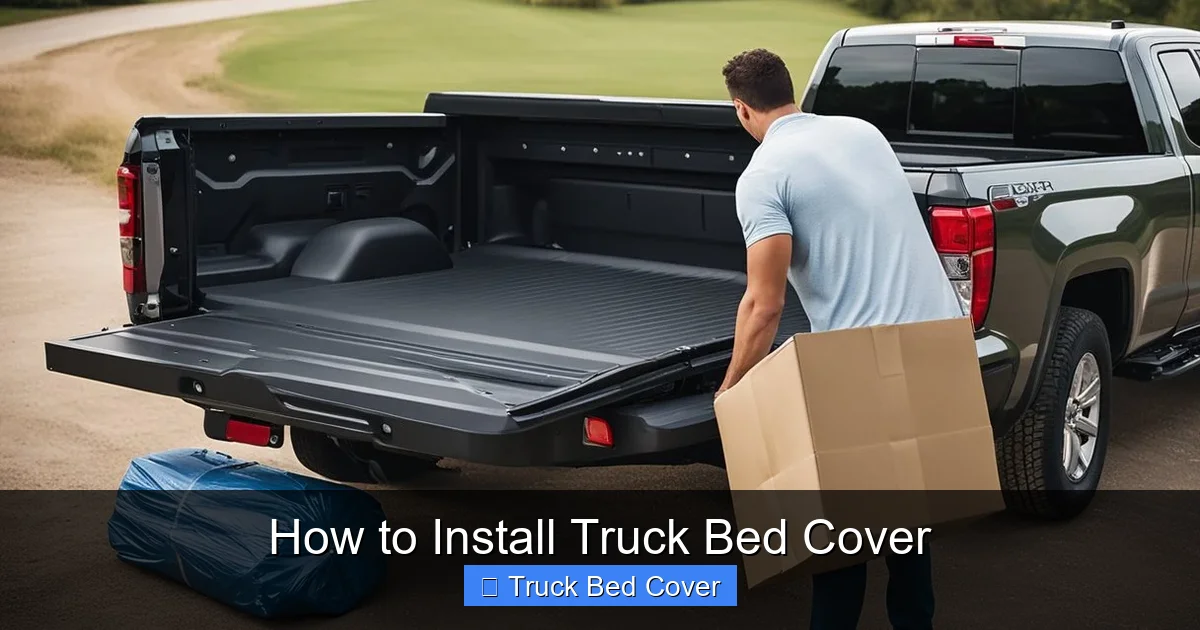
Visual guide about How to Install Truck Bed Cover
Image source: koala.sh
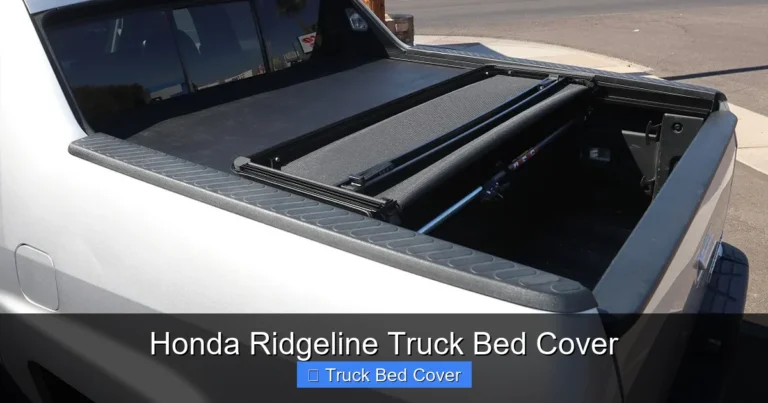
Roll-Up Covers
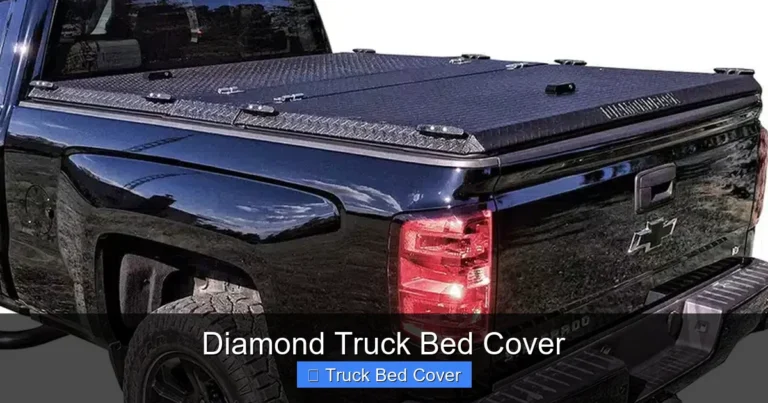
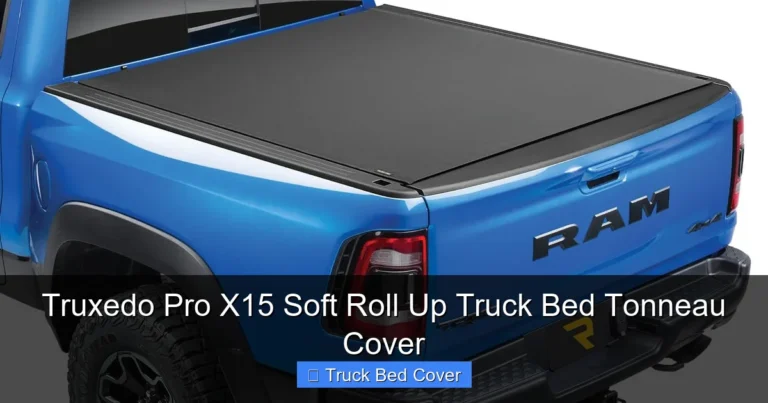
The most affordable and popular option, roll-up covers are made of durable vinyl stretched over aluminum or steel frames. They roll up toward the cab and latch securely in place. Ideal for light-duty use, they offer good UV resistance and are easy to access frequently. However, they may not hold up as well in extreme weather or heavy loads compared to harder models.
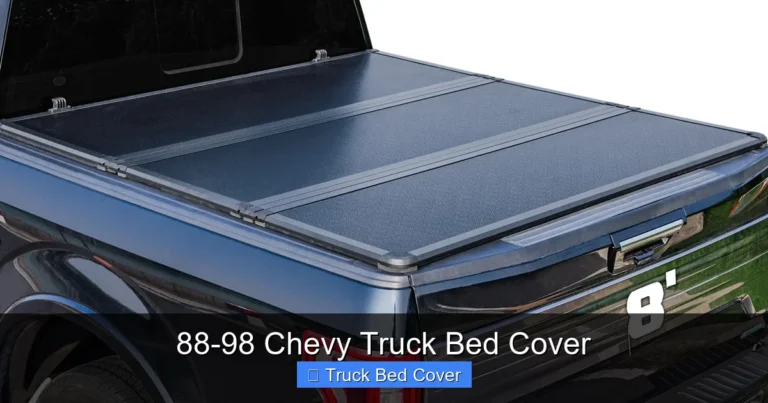
Folding (Hard) Covers
Also known as tri-fold or dual-fold covers, these feature rigid panels that fold flat against the cab when open. Made from aluminum or fiberglass-reinforced polymer, they provide excellent security and full-bed coverage. Great for hauling tools or equipment, they’re more expensive than roll-ups but last longer and resist dents better.
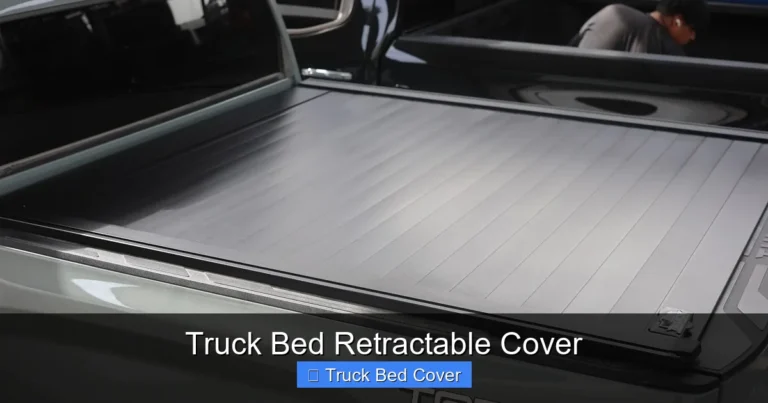
Retractable Covers
These sleek systems slide open like garage doors using side-mounted rails. Fully motorized options exist, but manual versions are more common and budget-friendly. Retractables offer maximum flexibility—you can leave them partially open for ventilation—and often include integrated locks and weather seals. Installation is slightly more involved due to rail alignment requirements.
Tonneau Covers
This is actually a category rather than a single style. Tonneau covers include roll-ups, folds, retractions, and even soft top designs. The name comes from the French word for “drum,” referencing their rounded shape. They’re designed specifically for pickup trucks and prioritize aerodynamics and low profile.
Soft Top & Hard Shell Options
Some owners prefer removable shell-style covers that sit directly on the bed rails. These are less common but offer a custom look and full enclosure. Installation usually involves bolting brackets onto the bed sides and snapping or clamping the shell into place.
Now that you know your choices, remember: the best cover for you depends on your driving habits, climate, and budget. Once selected, proper installation ensures performance and longevity.
Preparing for Installation: Tools, Supplies, and Safety Tips
Even the highest-quality truck bed cover won’t perform well if installed improperly. That starts with preparation. Gathering the right tools ahead of time avoids mid-process trips to the hardware store and keeps you focused on the task.
Essential Tools You’ll Need
- Safety glasses and work gloves
- Socket wrench set (usually 10mm–13mm sockets)
- Phillips and flathead screwdrivers
- Rubber mallet or plastic hammer (for tapping parts gently)
- Measuring tape or ruler
- Lubricant spray (silicone-based works best on rubber seals)
- Drill with appropriate bits (if required by your model)
- Level (for retractable covers with side rails)
What to Check Before Starting
Inspect your truck bed thoroughly before beginning. Look for:
- Rust or corrosion on rails and mounting points—clean or sand if necessary
- Uneven surfaces that might interfere with seal contact
- Existing hardware that may conflict with new brackets
Also, choose a calm day with no rain forecasted. Moisture can cause seals to stick or shrink temporarily, leading to poor fits later.
Workspace Setup Tips
Work in a clean, flat area—preferably in your driveway or garage. Lay down cardboard or a tarp to catch screws and prevent scratching your paint. Have a helper nearby (optional but helpful), especially when lifting heavier components like folding panels or retractable rails.
Read the Manual First!
Every manufacturer includes detailed diagrams and torque specifications. Skipping this step is like building furniture without the instructions—it’s possible, but you risk errors. Take 10 minutes to review yours now. Note special warnings (e.g., “Do not drill into bed floor”) and gather extra fasteners if needed.
Step-by-Step Installation Process for Most Roll-Up and Folding Covers
While exact steps vary by brand, here’s a general workflow that applies to most roll-up and folding truck bed covers. We’ll focus on common scenarios first, then address specialized cases.
Step 1: Unbox and Organize Components
Carefully unpack all parts and lay them out on your workspace. You should have:
- Main cover panel(s)
- Side rails or mounting brackets
- Clamps or bolts
- Seal strips or gaskets
- Instruction booklet
Double-check against the parts list in the manual. Missing pieces? Contact customer support immediately—don’t force anything together with incorrect components.
Step 2: Install Side Rails (If Applicable)
For rolling and folding covers, side rails run along both sides of the truck bed. Position them flush with the top edge of the bed wall. Use included clamps to secure them temporarily. Then, drill pilot holes (if required) and fasten permanently with bolts. Tighten just enough to hold position—you’ll fine-tune alignment next.
Step 3: Attach the Main Cover Panel
For roll-up models, thread the cover through the side rail guides and pull it fully across the bed. Secure the front latch at the cab end. For folding covers, unfold the panels and align hinges carefully. Slide the rear panel into the tailgate bracket and lock it in place. Ensure there’s no gap between sections.
Step 4: Adjust Tension and Alignment
Most covers include tension straps or adjustable clamps at the tailgate. Loosen these initially, then gradually tighten as you test movement. The goal is smooth operation—not stiffness. Use a level to check that the cover sits evenly across the bed. If one side dips, loosen bolts and reposition slightly.
Step 5: Seal and Test
Apply lubricant to rubber seals to prevent sticking. Close the cover completely and inspect for gaps, especially near the cab and tailgate. Spray water lightly (or wait for real rain) to test for leaks. If water seeps in, re-adjust seals or add weatherstripping as recommended.
Pro Tip:
Take photos during installation. If something goes wrong later, you can reference your pictures to troubleshoot without guesswork.
Special Considerations for Retractable and Custom Covers
Retractable covers demand extra precision due to their sliding mechanism. Misaligned rails cause jamming or uneven wear. Follow these additional steps:
Rail Installation Precision
Use a laser level or long straightedge to ensure both rails are perfectly parallel and plumb (vertical). Shim if needed—but avoid over-thick shims that create stress points. Torque bolts to manufacturer specs (typically 8–12 ft-lbs). Over-tightening bends metal; under-tightening lets rails shift.
Track Lubrication
Apply silicone spray to internal tracks before first use. Do not use WD-40—it attracts dirt and degrades rubber over time.
Tailgate Compatibility
Some retractables require a lowered tailgate or special adapter. Confirm compatibility before purchase. Never force the cover past mechanical stops.
For custom or aftermarket shells, follow bracket manufacturer guidelines closely. These often involve drilling into bed rails—only do this if explicitly approved. Use self-tapping screws rated for metal and always plug drilled holes afterward to prevent rust.
Common Mistakes and How to Avoid Them
New installers often make avoidable errors that compromise performance or void warranties. Here’s what to watch out for:
Mistake 1: Not Measuring Accurately
Buying a cover too short or wide causes poor sealing and frequent adjustments. Measure from inside cab wall to tailgate latch—not outside edges. Add ½ inch clearance on each side for thermal expansion.
Mistake 2: Skipping Weather Sealing
Dry rubber seals crack quickly in hot climates. Always apply sealant per instructions. For added protection, consider third-party weatherstripping kits.
Mistake 3: Using Wrong Fasteners
Aluminum covers need stainless steel or coated hardware to prevent galvanic corrosion. Never mix metals unless specified.
Mistake 4: Ignoring Maintenance
Covers accumulate dust, debris, and moisture. Clean monthly with mild soap and water. Lubricate moving parts seasonally.
Mistake 5: Installing in Extreme Heat or Cold
Vinyl contracts in cold temps and expands in heat. Install in moderate conditions (50–75°F ideal). Let materials acclimate indoors for 24 hours before installation.
Maintenance and Care After Installation
A properly installed truck bed cover lasts 5–10 years with routine care. Here’s how to maximize its lifespan:
- Clean regularly: Wash with car soap and soft brush. Avoid harsh chemicals that degrade vinyl.
- Inspect seals: Replace worn gaskets annually or if you notice leaks.
- Lubricate hinges/clamps: Every 3–6 months with silicone spray.
- Store properly: Roll up covers loosely—do not tie too tight—to prevent creases.
- Park in shade when possible: Prolonged sun exposure fades colors and weakens materials.
For retractables, check motor lubricants (if electric) and battery connections. Keep track clean of leaves and bird droppings.
Conclusion: Why a Well-Installed Truck Bed Cover Pays Off
Installing a truck bed cover isn’t just about aesthetics—it’s an investment in convenience, safety, and vehicle value. A secure, watertight cover means peace of mind whether you’re hauling camping gear, protecting sensitive electronics, or simply keeping your truck looking sharp. And thanks to modern designs, you don’t need mechanical expertise to get it done right.
By following this guide—choosing the right cover, preparing thoroughly, installing carefully, and maintaining consistently—you’ll enjoy years of reliable service. Remember: patience pays off. Rushing leads to mistakes. When in doubt, consult the manual or reach out to the manufacturer. Most companies offer free technical support.
So roll up your sleeves, grab those tools, and transform your truck bed today. Your future self—and your cargo—will thank you.
Frequently Asked Questions
How long does it take to install a truck bed cover?
Most standard covers can be installed in 30–60 minutes for beginners. Retractable models may take up to 2 hours due to rail alignment requirements.
Do truck bed covers require drilling?
Many bolt directly to existing bed rails without drilling. However, some custom or shell-style covers require pilot holes—always check the manual first.
Can I wash my truck after installing a bed cover?
Wait at least 24 hours after installation to allow adhesives and seals to cure fully. Then, use gentle pressure and non-abrasive cleaners.
Will a bed cover affect my truck’s fuel economy?
Yes—especially if you choose a low-profile, aerodynamic design. Studies show fuel savings of 2–5% depending on driving conditions and cover type.
Are hard covers better than soft ones?
Hard covers offer superior security, durability, and weather resistance, while soft covers are lighter, cheaper, and easier to operate. Choose based on your priorities.
What’s the best time of year to install a truck bed cover?
Spring or fall (moderate temperatures) is ideal. Avoid extreme heat or cold, as vinyl and rubber behave differently in those conditions.