Do It Yourself Truck Bed Cover
Installing a DIY truck bed cover is easier than you think—and far cheaper than buying one pre-made. With the right tools, materials, and a little know-how, you can customize your truck’s bed protection while boosting fuel efficiency and weather resistance. Whether you’re hauling gear or just want a sleek look, a do it yourself truck bed cover gives you full control over design and function.
Key Takeaways
- Saves Money: A DIY truck bed cover costs significantly less than factory-installed or aftermarket models.
- Customizable Design: You choose materials, size, shape, and finish—perfect for personalizing your truck.
- Improves Fuel Efficiency: A smooth, enclosed bed reduces drag, helping improve gas mileage by up to 10%.
- Protects Cargo: Keeps tools, equipment, and supplies dry, clean, and secure from wind and debris.
- Easy to Install: Most DIY kits use simple clamps, bolts, or adhesives—no welding required for beginners.
- Boosts Resale Value: A well-maintained custom cover increases your truck’s market appeal.
- Weather-Resistant Options: Use marine-grade vinyl, aluminum, or fiberglass for long-lasting durability.
Quick Answers to Common Questions
Can I install a DIY truck bed cover on any pickup truck?
Yes! As long as you have a standard or short-bed truck, you can build a cover tailored to your dimensions. Measure carefully and adjust your design accordingly.
How long does it take to build a DIY truck bed cover?
Most beginners finish in one weekend (10–15 hours). Experienced builders can complete it in 6–8 hours with pre-cut materials.
Do I need special tools to make a DIY truck bed cover?
Basic tools like a drill, saw, tape measure, and clamps are sufficient. Power tools make the job faster, but hand tools work too.
Will a homemade cover affect my truck’s warranty?
In most cases, no—unless you modify structural components. Bolt-on covers typically don’t void warranties if installed properly.
Can I still open the tailgate with the cover installed?
Absolutely! Just ensure your design allows full tailgate swing. Many DIY covers include cutouts or hinges for easy access.
📑 Table of Contents
- Introduction: Why Choose a Do It Yourself Truck Bed Cover?
- Benefits of Installing a DIY Truck Bed Cover
- Choosing the Right Materials for Your DIY Truck Bed Cover
- Step-by-Step Guide to Building Your Own Truck Bed Cover
- Design Tips to Make Your DIY Cover Stand Out
- Common Mistakes to Avoid When Installing a DIY Truck Bed Cover
- Maintenance Tips for Long-Lasting Performance
- Conclusion: Your Truck Deserves Better Than an Open Bed
Introduction: Why Choose a Do It Yourself Truck Bed Cover?
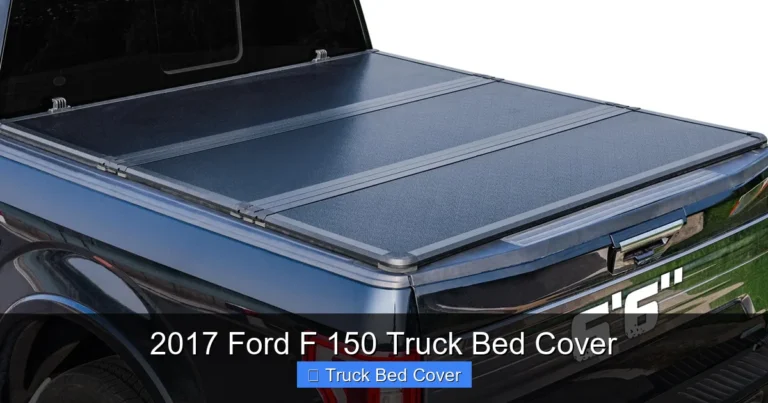
Ever looked at your open truck bed and thought, “There has to be a better way”? Maybe it’s time to consider a do it yourself truck bed cover. Not only does it shield your belongings from rain, snow, and sun, but it also adds a polished look to your ride. Plus, when you build it yourself, you save money and get exactly what you want—no compromises.
Building your own truck bed cover isn’t rocket science. With basic tools and a weekend to spare, you can create a functional, stylish solution that fits your needs. Whether you’re hauling lumber, fishing gear, or just want a cleaner look, a DIY cover gives you total control. And let’s be honest—there’s something satisfying about saying, “I made that.”
In this guide, we’ll walk you through everything you need to know: from planning and materials to installation tips and design ideas. By the end, you’ll feel confident tackling your first DIY truck bed cover project. Ready to roll up your sleeves? Let’s get started.
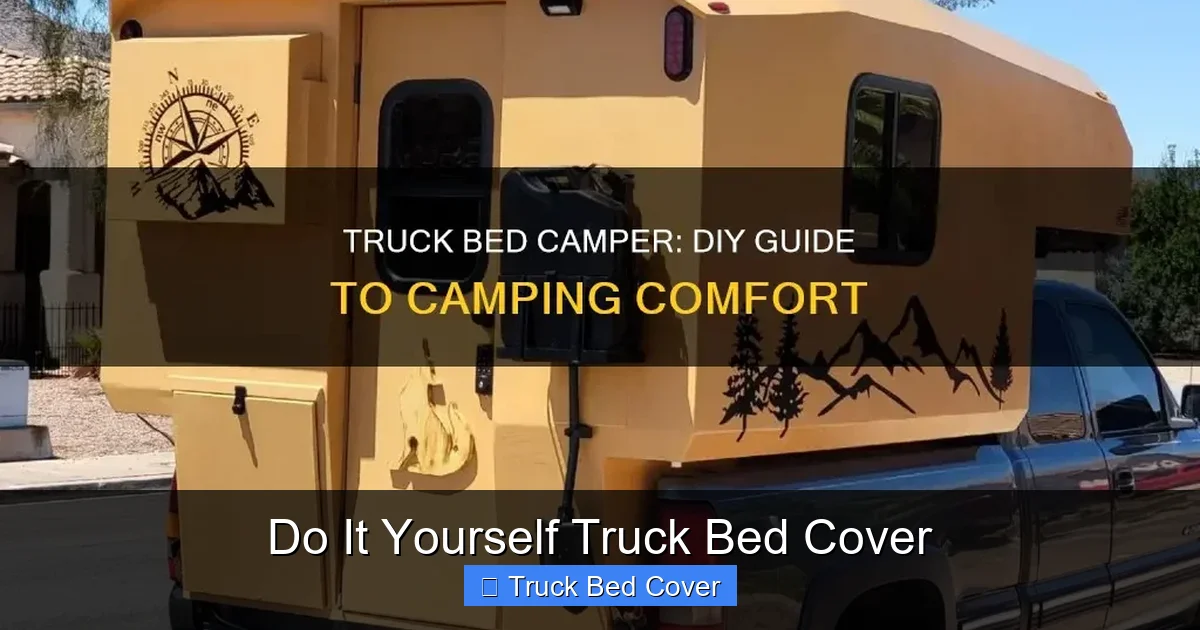
Benefits of Installing a DIY Truck Bed Cover
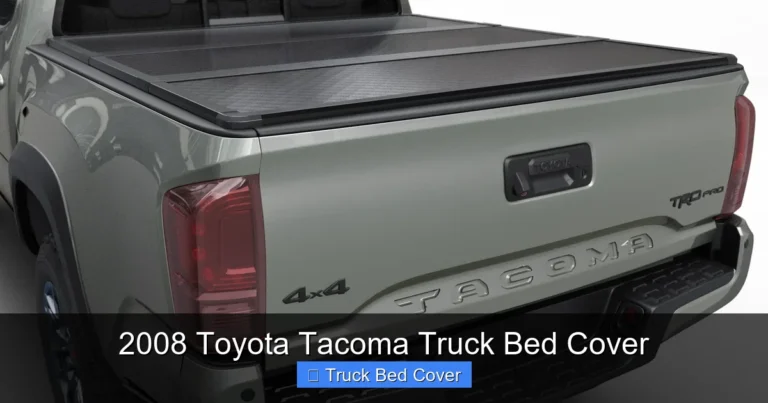
Visual guide about Do It Yourself Truck Bed Cover
Image source: m.media-amazon.com
Before diving into tools and templates, it helps to understand why so many truck owners are turning to DIY solutions. The truth is, a custom-built bed cover offers advantages you won’t find in store-bought options—especially if you tailor it to your lifestyle.
Safety and Security First
One of the biggest headaches with an open bed is theft or accidental spills. Tools, coolers, or even groceries can vanish in seconds—or get soaked in a sudden downpour. A do it yourself truck bed cover acts like a lockable vault. Even if someone tries to break in, the added layer of protection makes your stuff harder to access. For truck owners who frequently leave items unattended, this peace of mind is priceless.
Fuel Efficiency Gains
Did you know your open bed could be hurting your gas mileage? Yep—aerodynamic drag increases with exposed cargo space. According to the U.S. Department of Energy, a well-designed tonneau cover can improve fuel economy by up to 10%. That’s not just good for your wallet; it’s better for the planet too. A smooth, enclosed bed reduces wind resistance, especially at highway speeds.
Style Meets Function
Let’s face it: aesthetics matter. A generic rubber mat or flimsy plastic sheet doesn’t scream “quality.” But a custom-fitted cover made from aluminum or canvas? Now that’s a statement piece. You can match colors, add logos, or even integrate LED lighting. With a DIY approach, your truck becomes an extension of your personality—not just a workhorse.
Cost-Effective Over Time
Factory-installed covers can run $500–$1,200. Aftermarket brands aren’t much cheaper. Meanwhile, a DIY project might cost under $200, depending on materials. And here’s the kicker: you’re not limited to one size or brand. Need a low-profile design? Go for it. Want roll-up flexibility? No problem. DIY means freedom—and savings.
Choosing the Right Materials for Your DIY Truck Bed Cover
Not all materials are created equal. The choice you make affects durability, weight, weather resistance, and ease of installation. Let’s break down the most popular options.
Marine-Grade Vinyl
Best for: Weatherproofing and affordability
Pros: Water-resistant, UV-protected, lightweight, and easy to clean
Cons: Can stretch over time; may require occasional resealing
Ideal for: Daily drivers who deal with rain or snow
Marine-grade vinyl is a favorite among DIYers because it’s tough yet flexible. It bonds well with adhesives and works great over plywood or aluminum frames. Brands like Sunbrella or Perennia offer top-tier options that resist fading and cracking.
Aluminum Panels
Best for: Heavy-duty use and modern looks
Pros: Durable, rust-proof, fire-resistant, and sleek
Cons: Heavier than other materials; can dent if dropped hard objects
Installation tip: Use rubber gaskets between panels to reduce noise and prevent rattling
Aluminum is perfect if you want a professional finish without spending a fortune. Anodized finishes come in black, silver, or bronze—so you can blend it with your truck’s color scheme.
Fiberglass Composite
Best for: Maximum strength and low profile
Pros: Extremely rigid, impact-resistant, and aerodynamic
Cons: Expensive; requires careful shaping during fabrication
Best suited for: Trucks used in construction or off-road environments
Fiberglass combines lightweight properties with rock-solid durability. While more complex to work with, it’s ideal if you want a flush-mounted, OEM-like appearance.
Canvas or Fabric Covers
Best for: Roll-up convenience and breathability
Pros: Lightweight, breathable (prevents condensation), and easy to remove
Cons: Less waterproof; may sag without tensioning systems
Great for: Campers or farmers who need quick access
Canvas covers often pair with aluminum bows or bungee cords for tension. They’re soft on cargo and allow airflow—perfect for storing sensitive equipment.
Step-by-Step Guide to Building Your Own Truck Bed Cover
Now comes the fun part: building it! Follow these steps to create a reliable, long-lasting cover.
Measure Twice, Cut Once
Start by measuring your truck bed inside and out—length, width, and height at key points. Don’t forget side rails or toolboxes, which can complicate measurements. Sketch a layout showing where hinges, latches, or mounting brackets will go. Accuracy here saves headaches later.
Gather Your Tools and Supplies
Here’s a basic list:
– Measuring tape and level
– Circular saw or jigsaw (for cutting wood/aluminum)
– Drill with bits
– Screws, bolts, and corrosion-resistant hardware
– Adhesive or sealant (silicone-based works best)
– Clamps and sandpaper
– Safety gear: gloves, goggles, mask
Optional but helpful: a laser level for alignment and a staple gun for attaching fabric.
Build the Frame
For most DIY projects, a wooden or aluminum frame provides structure. Start with the base: cut two side rails and a front crossmember to fit snugly inside the bed. Secure them with screws or bolts—make sure they’re level! Add a rear support beam if your cover is long (over 6 feet).
If using aluminum, consider pre-drilling holes to avoid warping. Always reinforce corners with L-brackets for extra strength.
Attach the Top Layer
Once the frame is solid, attach your chosen material. For vinyl, apply adhesive evenly across the frame and press the material down. Smooth out air bubbles as you go. Trim excess material with a sharp utility knife.
For rigid panels like aluminum or fiberglass, screw them directly into the frame. Leave small gaps (about 1/8 inch) between panels to allow for thermal expansion.
Add Fastening Mechanisms
Latches, Velcro straps, or sliding locks keep your cover closed securely. Install them near the front and sides for balanced tension. Test the closure multiple times before final assembly.
Pro tip: Use stainless steel hardware to prevent rust—especially important in humid or salty climates.
Design Tips to Make Your DIY Cover Stand Out
Functionality is key, but why not make it beautiful too?
Low Profile vs. Full-Height
A low-profile design sits closer to the bed rails, giving your truck a sporty, aggressive look. Full-height covers offer more storage space but may catch wind at high speeds. Most DIYers opt for a mid-range height—enough clearance for boxes, but not so tall that it creates drag.
Integrate Lighting
Add LED strips along the underside of the cover for nighttime visibility. This is especially useful for farmers or contractors working after dark. Solar-powered lights eliminate wiring hassles.
Privacy and Ventilation
Consider adding small vents or mesh panels to prevent condensation buildup. If privacy matters (like when storing valuables), use opaque materials or add curtains inside the bed.
Color Coordination
Match your cover to your truck’s paint job or accessories. Black covers look sleek on red trucks; silver complements white or gray. Custom decals or powder coating take it to the next level.
Modular Design
Build your cover in sections so you can remove individual panels for loading large items. This is common in hybrid setups—rigid panels in front, fabric rolls behind.
Common Mistakes to Avoid When Installing a DIY Truck Bed Cover
Even experienced builders slip up sometimes. Here’s how to dodge the most frequent pitfalls.
Skipping the Seal
Water intrusion starts with tiny gaps. Always apply silicone sealant around edges and joints. Reapply annually if exposed to harsh weather.
Underestimating Weight
Heavy materials like fiberglass or multiple aluminum layers can strain your tailgate hinge. Reinforce the tailgate latch or upgrade to heavy-duty hardware if needed.
Poor Alignment
An uneven cover looks sloppy and won’t close properly. Use a level frequently during assembly. Shim thin pieces of wood or metal if necessary.
Ignoring Tailgate Clearance
Ensure your cover doesn’t interfere with tailgate operation. Leave at least 1–2 inches of clearance on both sides and bottom.
Using Cheap Hardware
Stainless steel or coated fasteners last longer than regular screws. Salt spray, rain, and dirt accelerate rust—don’t cut corners on connectors.
Maintenance Tips for Long-Lasting Performance
A well-built cover deserves ongoing care.
Clean Regularly
Wipe down vinyl or fabric with mild soap and water monthly. For aluminum or fiberglass, use a non-abrasive cleaner to avoid scratches.
Check Latches and Hinges
Loose parts compromise security. Tighten bolts every few months or after off-road trips.
Inspect for Damage
Look for cracks, tears, or loose seams. Repair small issues immediately before they worsen.
Lubricate Moving Parts
Spray silicone lubricant on hinges and latches once a year to prevent sticking.
Store Properly
If removable, roll fabric covers loosely to avoid creases. Keep rigid panels in a dry place to prevent warping.
Conclusion: Your Truck Deserves Better Than an Open Bed
There you have it—a complete roadmap to building your very own do it yourself truck bed cover. From choosing the right materials to installing latches and sealing edges, every step brings you closer to a safer, smarter, and more stylish ride.
You don’t need fancy tools or years of experience. Just passion, patience, and a willingness to learn. And remember: the best part isn’t just the cover itself—it’s the pride of knowing you built it yourself.
Whether you’re protecting expensive gear, saving on gas, or simply upgrading your truck’s curb appeal, a DIY bed cover delivers real value. So grab those clamps, measure your bed again, and start crafting something uniquely yours.
Your truck is more than transportation—it’s your workspace, your adventure vehicle, and your investment. Treat it right with a custom cover that’s as tough as you are.
Frequently Asked Questions
What’s the cheapest material for a DIY truck bed cover?
Marine-grade vinyl is often the most affordable option, costing around $50–$100 per panel. Plywood with weatherproof coating is another budget-friendly choice.
How do I keep my DIY cover from blowing off in strong winds?
Use heavy-duty latches, secure straps, and proper sealing at edges. A low-profile design also reduces wind lift. Reinforce the tailgate latch if needed.
Can I paint my DIY truck bed cover?
Yes, but only if using aluminum or fiberglass panels. Use automotive-grade primer and paint designed for exterior use. Vinyl and canvas cannot be painted.
Is a DIY cover as durable as a commercial tonneau cover?
With quality materials and proper installation, a DIY cover can be just as durable—sometimes more so because you’ve customized it to your exact needs.
Should I insulate my DIY truck bed cover?
Insulation is optional but beneficial in extreme climates. Add foam board or reflective insulation between the frame and top layer to regulate temperature inside the bed.
How do I fix a sagging DIY bed cover?
Sagging usually results from weak framing or improper tension. Reinforce the frame with additional crossbeams or install adjustable tension rods to pull the cover taut.