How To Reattach A Car Emblem(Step-by-Step Guide)
To reattach a car emblem, clean the surface thoroughly, apply adhesive, and carefully press the emblem onto the surface. Car emblems can add a touch of personalization and style to your vehicle.
However, they can sometimes become loose or fall off due to weather conditions or wear and tear. If you’re wondering how to reattach a car emblem, the process is relatively simple. In this guide, we’ll walk you through the steps to successfully reattach a car emblem, ensuring it stays in place for the long haul.
By following these steps, you can restore your car’s aesthetic appeal and showcase your unique personality on the road. So, let’s get started with reattaching your car emblem securely and effectively.
Why Reattaching A Car Emblem Is Important
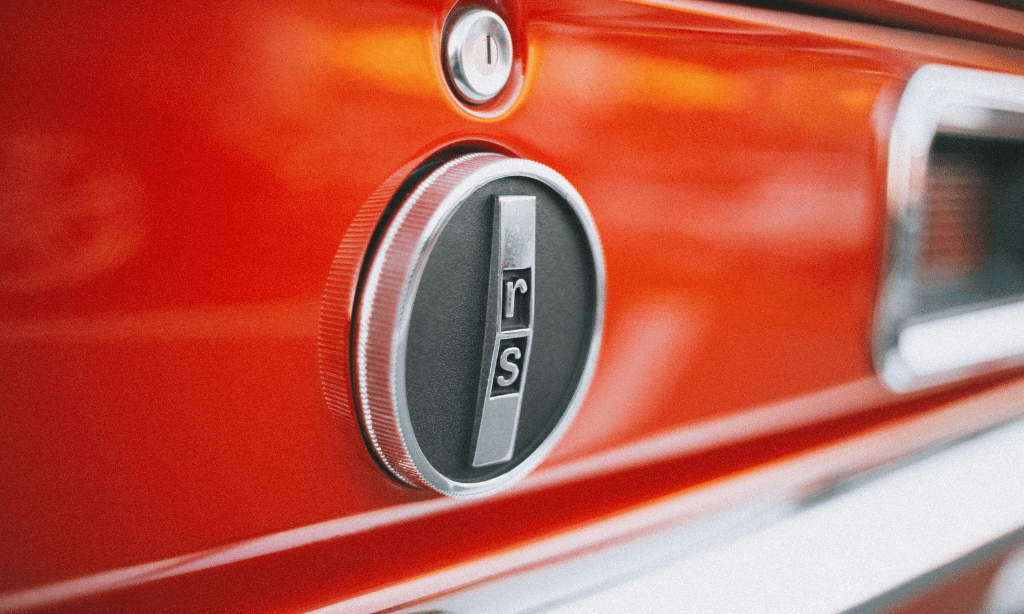
Reattaching a car emblem is crucial as it plays a significant role in maintaining a car’s appearance. The emblem enhances the aesthetics and adds a touch of elegance to the vehicle. Neglecting to reattach a car emblem can make your car look incomplete or damaged.
By ensuring the emblem is securely fixed, you’re preserving the overall appeal of your car. Not only does a properly attached emblem give your car a polished look, but it also reflects your attention to detail and pride in your vehicle.
Plus, a well-maintained car appearance can positively impact its resale value. So, take the necessary steps to reattach your car emblem and enjoy the improved visual appeal it brings.
Factors That Lead To Car Emblem Detachment
Car emblem detachment can occur due to environmental conditions and regular wear and tear. Extreme temperatures, such as excessive heat or cold, can weaken the adhesive bond. Additionally, exposure to direct sunlight and harsh weather conditions can further loosen the emblem’s grip.
Another factor is the low-quality adhesive used during the initial attachment. If the glue is not strong enough, it can fail over time, leading to the emblem detaching from the car’s surface. To reattach a car emblem, it is important to first clean the surface thoroughly and remove any residue.
Then, apply a high-quality automotive adhesive that is specifically designed for outdoor use. Press the emblem firmly against the surface for a few seconds to ensure proper adhesion. Regularly check the emblem to ensure it remains securely attached and make any necessary reattachments promptly.
Tools And Materials Required
To reattach a car emblem, you will need a screwdriver or pry tool, adhesive remover, a clean cloth or towel, and new adhesive tape or emblem-specific adhesive. Begin by using the screwdriver or pry tool to gently lift the emblem away from the vehicle.
Next, apply the adhesive remover to the emblem and the car’s surface to eliminate any old adhesive residue. Use a clean cloth or towel to wipe away any excess adhesive remover. Once the surface is clean, apply a new adhesive tape or emblem-specific adhesive to the back of the emblem.
Press the emblem firmly onto the car’s surface and hold it in place for a few seconds. Ensure that the emblem is securely attached before closing the hood or trunk. Reattaching a car emblem is a simple process that can be done with the right tools and materials.
Step 1: Removing The Detached Car Emblem
To reattach a car emblem, start by identifying its location. Carefully use a screwdriver or pry tool to detach the emblem. Then, eliminate any remaining adhesive residue using an adhesive remover. Ensuring a secure reattachment requires following these steps precisely.
Remember to take your time and be gentle during the removal process. Avoid rushing or using excessive force, as this can damage the emblem or the car’s surface. Once the emblem is detached and any residue is removed, you can proceed to the next steps for reattaching it securely.
This simple process will help you restore your car’s emblem to its original position and maintain the vehicle’s overall appearance.
Step 2: Preparing The Emblem For Reattachment
To prepare the emblem for reattachment, start by cleaning both the emblem and the surrounding area. This will ensure proper adhesion. After cleaning, make sure to dry both the emblem and the car surface completely. Following these steps will help you successfully reattach your car emblem.
Remember to be thorough in your cleaning process to ensure a strong bond between the emblem and the car. Take your time and be gentle when handling the emblem to avoid any damage. Once the cleaning and drying process is complete, you can move on to the next step in reattaching your car emblem.
Step 3: Applying New Adhesive
To reattach a car emblem, start by cutting adhesive tape according to the emblem’s size and shape. Peel off the backing from the adhesive and carefully place it on either the emblem or the car surface, depending on the type of adhesive used.
Make sure to align the emblem with precision for a seamless attachment. Following these step-by-step instructions will help you successfully reattach your car emblem and ensure it stays firmly in place. Reattaching a car emblem is a simple process that can be done with the right tools and a little precision.
Take your time and follow these steps to achieve a professional-looking result.
Step 4: Reattaching The Car Emblem
Step 4: reattaching the car emblem requires applying pressure evenly to ensure proper adhesion. This is crucial for a secure attachment. Waiting for the recommended time for the adhesive to set is essential to achieve the best results. By doing so, you allow the adhesive to fully bond the emblem to the car’s surface.
Apply firm and consistent pressure to ensure the emblem stays in place. Avoid any sudden movements or pulling on the emblem during this process, as it can compromise the adhesive’s effectiveness. Remember to follow the manufacturer’s instructions carefully to guarantee a successful reattachment.
Taking these steps will help you reattach your car emblem securely and restore its aesthetic appeal.
Step 5: Final Check And Clean Up
To ensure the car emblem is securely attached, perform a final check for any loose areas. After confirming its stability, use a clean cloth or towel to remove any excess adhesive.
Tips And Precautions
When reattaching a car emblem, it is crucial to take certain precautions. Firstly, avoid touching the adhesive side of the tape or emblem to prevent any contamination. Secondly, consider the weather conditions before starting the process, as extreme temperatures can impact the adhesion of the emblem.
Thirdly, it is always wise to test the new adhesive on a small and inconspicuous area before applying it to the entire emblem. By following these guidelines, you can ensure a successful and long-lasting reattachment of your car emblem.
Conclusion
Reattaching a car emblem is a relatively simple process that can be done at home with a few basic tools and some patience. By following the step-by-step guide provided in this blog post, you can easily restore the appearance of your vehicle and prevent further damage to the emblem.
Remember to start by cleaning both the emblem and the surface where it will be reattached, as this will ensure a secure bond. Next, apply adhesive or double-sided tape to the back of the emblem and carefully position it onto the surface, pressing firmly to set it in place.
Allow the adhesive to dry completely before driving or washing your car. With just a little effort and attention to detail, you can have your car emblem looking brand new again in no time.
- How To Expertly Attach Patches To Headliner: Master the Process - October 3, 2023
- Can You Safely Clear Coat Your Polished Aluminum for Ultimate Shine? - October 3, 2023
- Will A Raptor Grill Fit An F150? Unveiling the Perfect Customization Option - October 3, 2023


